8310 specifications
The NuTone 8310 is a powerful and efficient ventilation fan designed to enhance indoor air quality and comfort in residential spaces. Known for its blend of functionality and innovation, this model boasts a number of features that make it an ideal choice for homeowners seeking reliable airflow management.One of the standout characteristics of the NuTone 8310 is its impressive airflow capacity. This ventilation fan is capable of moving air at a rate of 110 cubic feet per minute (CFM), making it suitable for medium to large-sized bathrooms. This high airflow rate helps to swiftly eliminate humidity, odors, and airborne pollutants, thereby preventing the growth of mold and mildew and ensuring a healthier living environment.
The NuTone 8310 is designed with advanced technology that promotes energy efficiency. It operates using a relatively low wattage, which not only translates into savings on energy bills but also contributes to a lower environmental impact. This makes the fan a cost-effective choice for long-term use, aligning with contemporary eco-friendly practices.
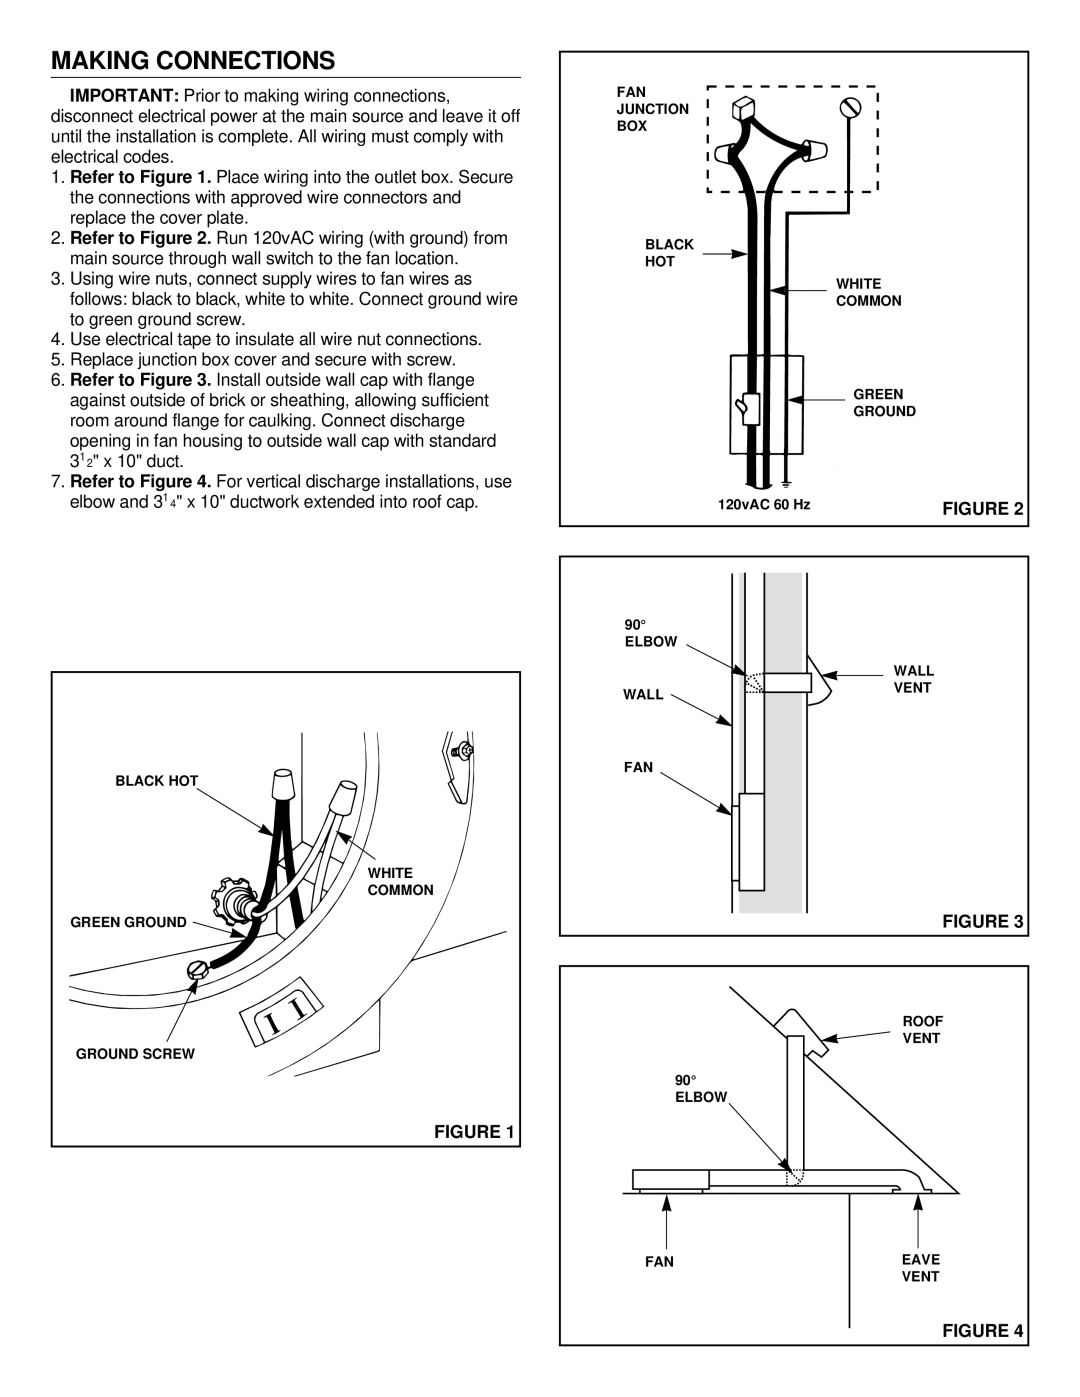
In terms of installation, the NuTone 8310 features a compact and lightweight design that allows for easy mounting. It is compatible with various ceiling types and can be installed in both new and existing constructions. The fan is also equipped with a durable, easy-to-clean grille that enhances its aesthetic appeal while simplifying maintenance.
Noise levels are a crucial consideration in fan performance, and the NuTone 8310 excels in this aspect as well. With a low sone rating, this fan operates quietly, ensuring minimal disruption in your bathroom or any other space where it is installed. This is particularly beneficial for households with children or for those who value peace and tranquility.
Furthermore, the NuTone 8310 incorporates a long-lasting motor that is engineered for reliable performance over time. The robust construction of the motor minimizes wear and tear, extending the lifespan of the unit, which ultimately contributes to customer satisfaction.
In summary, the NuTone 8310 stands out with its powerful airflow rate, energy efficiency, ease of installation, quiet operation, and durable motor. Whether you are renovating a bathroom or looking for effective ventilation solutions, this model offers an array of features that cater to modern needs, making it a valuable addition to any home.

