WATER COOLER SET-UP & PREPARATION INSTRUCTION
A)Inspection
1)Inspect the carton and the water cooler for evidence of rough handling and concealed damage. Damage claims should be filed with the carrier.
2)Remove the foam packing blocks from between the reservoir and the cabinet front.
B)In-shop Preparation procedures -
Filter/RO Unit Preparation
Warning - Failure to follow these procedures will affect cooler performance and void the warranty.
Install Filters/RO cartridges as follows:
1)Remove the access door on the front of the unit by grasping the handholds on the sides and pulling off the door. A tap with the palm of your hand about 6” (15cm) up the side of the cabinet will allow the door to pop off quite easily. Note marked area on replacement parts drawing.
2)Remove the manifold assembly and quad filter from the mounting brackets and set them outside the cabinet. There is no need to disconnect the tubing.
3)Install filters as stated in filter “Installation and Service Guide”.
4)Note: For RO models, do not install the membrane at this time.
5)Snap the access door back in place on the front of the unit.
Note: There are snap points at the handholds and near the base.
Filter/RO Flushing Procedures:
Following this procedure will prepare your OASIS® cooler to deliver the best possible drinking water.
1)Filters are installed, cooler unplugged, top is off.
2)Flush filters and reservoir as described in filter “Installation and Service Guide”.
3)Replace cabinet top.
C)Water Cooler Installation Instructions
Reservoir and Filter Flushing procedures previously outlined must be completed before cooler is installed.
NOTE: The following states require a licensed plumber to install cooler; AR, GA, MA, MI, OK, RI, SC, SD, TX, VT and WI.
CA, KS, MN, NM and OR allow for a
WARNING: A pressure regulator, such as a slow flow regulator, must be installed in front of the unit’s water inlet if the water pressure (including any possible pressure spikes) could exceed 100 P.S.I.G. (690kPA). Failure to comply
will void the warranty. The manufacturer accepts no liability for damage caused by excessive water pressure.
1)Determine the best installation location considering customer preference, electrical outlet, water line access, and if applicable, drain locations.
2)The water cooler should be located at least 2” (5cm) from the wall to assure adequate condenser air circulation.
3)Locate your best access to the water source. Tap into the water line with a saddle tapping valve**, a faucet fitting ball valve, a solder tee, or similar device.
NOTE: Always check the local plumbing codes before tapping into a water line. **(See the Saddle Tapping Valve Installation Instructions in this manual if applicable. Valves are available from the Service Department).
4)Warning: Use only ¼” OD copper tubing to connect your water supply to the cooler access port. Connect your water line to the port labeled “water inlet”. The inlet fittings used on the OASIS® Cooler are quick- connect fittings. Simply push the tube into the fitting until it firmly seats in the bottom of the fitting. To remove the tube, push in the collet and pull the tube from the fitting. Units are shipped with blue plugs in each fitting. Remove the plugs in the same manner described above before inserting the tube. A stop valve (not included) is recommended near the inlet connection to the cooler.
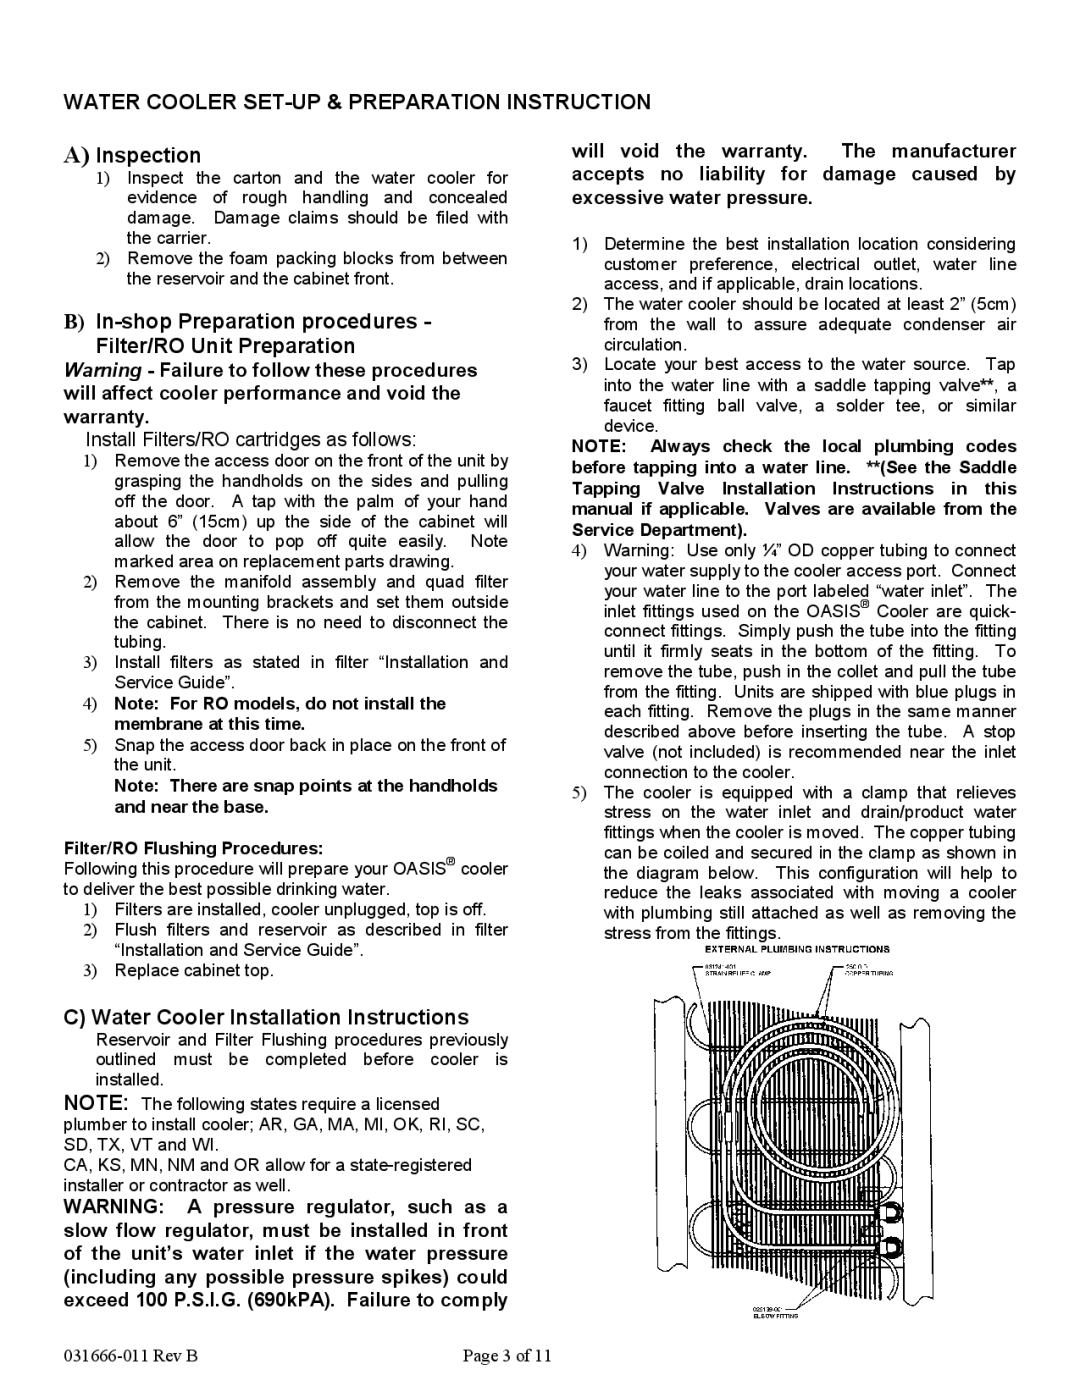
5)The cooler is equipped with a clamp that relieves stress on the water inlet and drain/product water fittings when the cooler is moved. The copper tubing can be coiled and secured in the clamp as shown in the diagram below. This configuration will help to reduce the leaks associated with moving a cooler with plumbing still attached as well as removing the stress from the fittings.
Page 3 of 11 |