HCG-801 specifications
The Omron HCG-801 is a sophisticated and advanced body composition monitor designed to provide accurate and comprehensive health assessments for users seeking to manage their weight and overall fitness. This innovative device integrates cutting-edge technology with user-friendly features to deliver reliable data on body composition metrics.One of the standout features of the Omron HCG-801 is its ability to measure body weight, body fat percentage, visceral fat, muscle mass, bone mass, and metabolic age. By utilizing a bioelectrical impedance analysis (BIA) method, the device sends a low-level electrical current through the body to estimate the composition of tissues. This technology allows users to gain insight into their body’s health beyond just weight fluctuation.
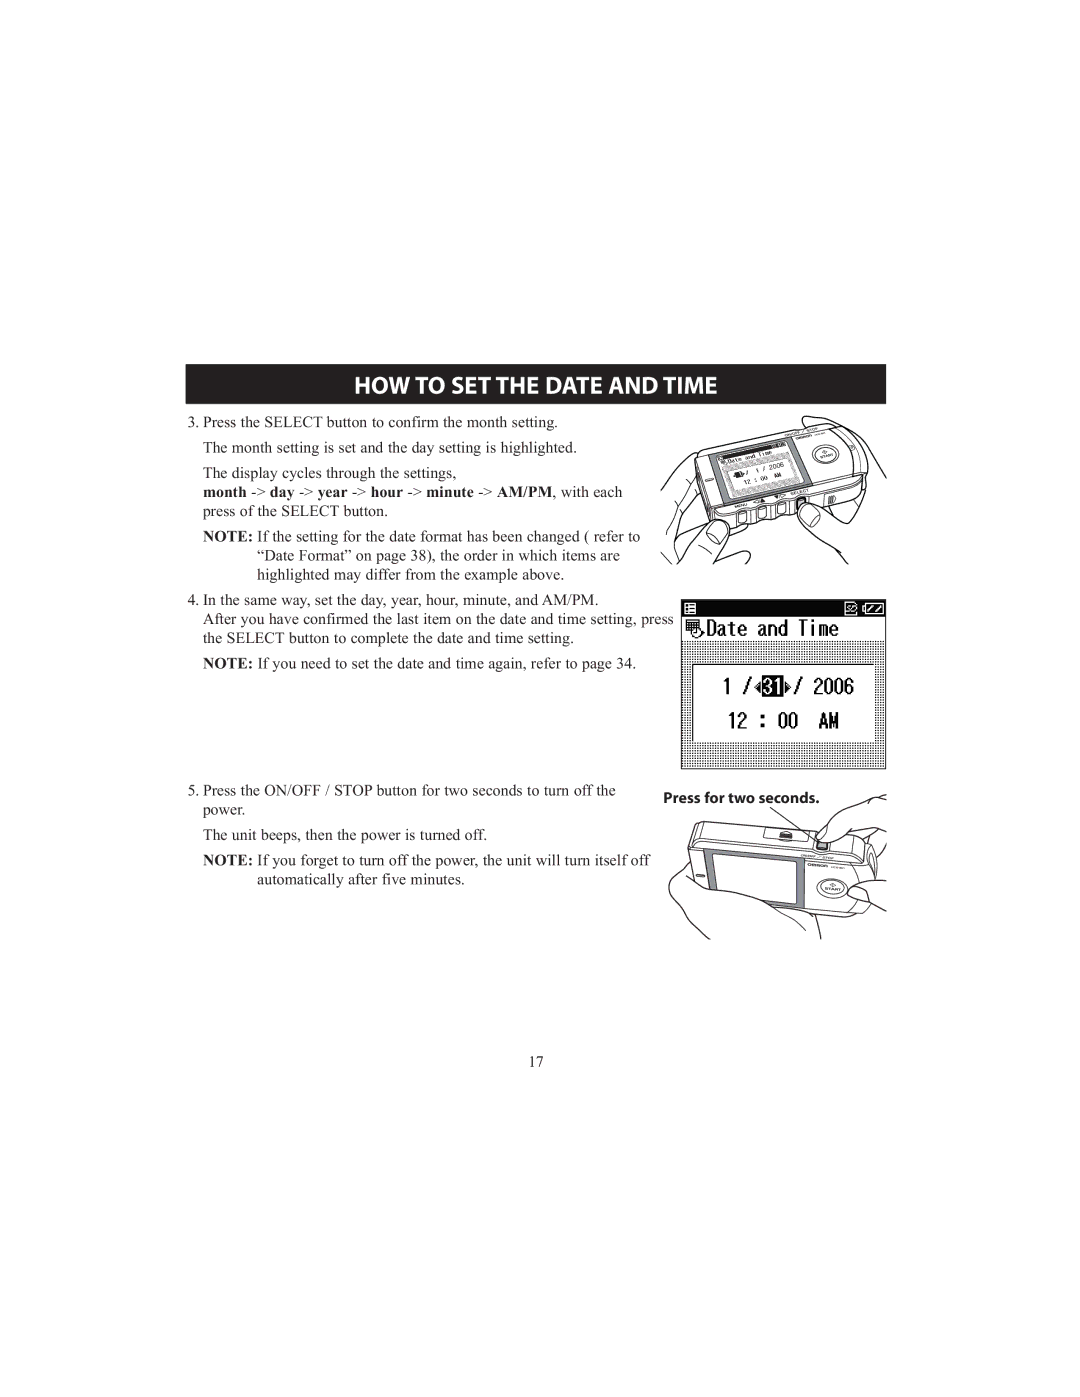
The HCG-801 is designed with precision and user convenience in mind. It features a large, easy-to-read LCD display that clearly presents the various measurements, making it accessible for users of all ages. The device can store data for multiple users, accommodating up to four individual profiles. This capability makes it suitable for families or shared fitness environments, allowing everyone to track their progress without mixing data.
To enhance the accuracy of measurements, the HCG-801 incorporates advanced sensor technology. This includes high sensitivity electrodes that ensure consistent readings regardless of factors such as hydration levels or time of day. Furthermore, the device has an ergonomic design, ensuring comfort during use and providing stability while users stand on the scale.
Connectivity features further elevate the user experience, as the HCG-801 can sync data with Omron's health management apps. This integration allows users to monitor their progress over time, set health goals, and receive personalized recommendations based on their body composition data. The Omron app is intuitive and provides users with graphs and trends to visualize their journey toward better health.
In terms of power efficiency, the HCG-801 runs on batteries, making it portable and easy to use at home or on the go. With its sleek design, durable construction, and reliable performance, the Omron HCG-801 stands out as an essential tool for individuals serious about their health and fitness. By providing detailed insights into body composition, it empowers users to make informed decisions regarding their exercise routines and dietary habits, promoting overall well-being.

