Directions for Use
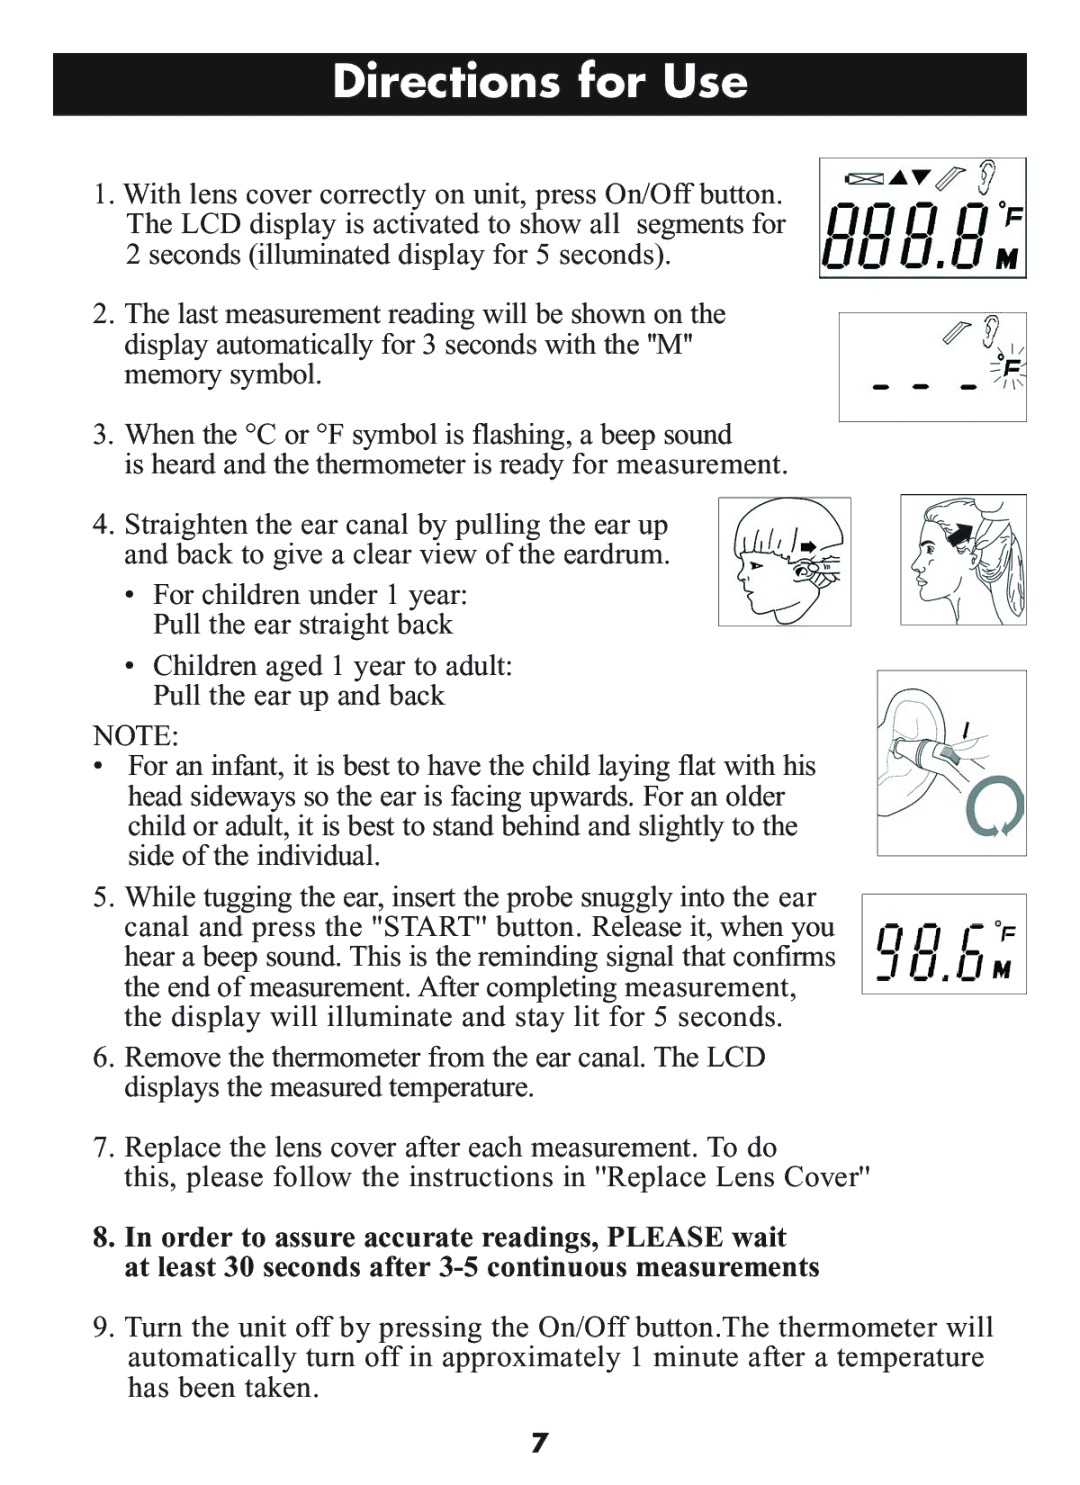
1.With lens cover correctly on unit, press On/Off button. The LCD display is activated to show all segments for 2 seconds (illuminated display for 5 seconds).
2.The last measurement reading will be shown on the display automatically for 3 seconds with the ''M'' memory symbol.
3.When the °C or °F symbol is flashing, a beep sound
is heard and the thermometer is ready for measurement.
4.Straighten the ear canal by pulling the ear up and back to give a clear view of the eardrum.
•For children under 1 year: Pull the ear straight back
•Children aged 1 year to adult: Pull the ear up and back
NOTE:
•For an infant, it is best to have the child laying flat with his head sideways so the ear is facing upwards. For an older child or adult, it is best to stand behind and slightly to the side of the individual.
5.While tugging the ear, insert the probe snuggly into the ear canal and press the ''START'' button. Release it, when you hear a beep sound. This is the reminding signal that confirms the end of measurement. After completing measurement, the display will illuminate and stay lit for 5 seconds.
6.Remove the thermometer from the ear canal. The LCD displays the measured temperature.
7.Replace the lens cover after each measurement. To do
this, please follow the instructions in ''Replace Lens Cover''
8.In order to assure accurate readings, PLEASE wait at least 30 seconds after
9.Turn the unit off by pressing the On/Off button.The thermometer will automatically turn off in approximately 1 minute after a temperature has been taken.
7
