
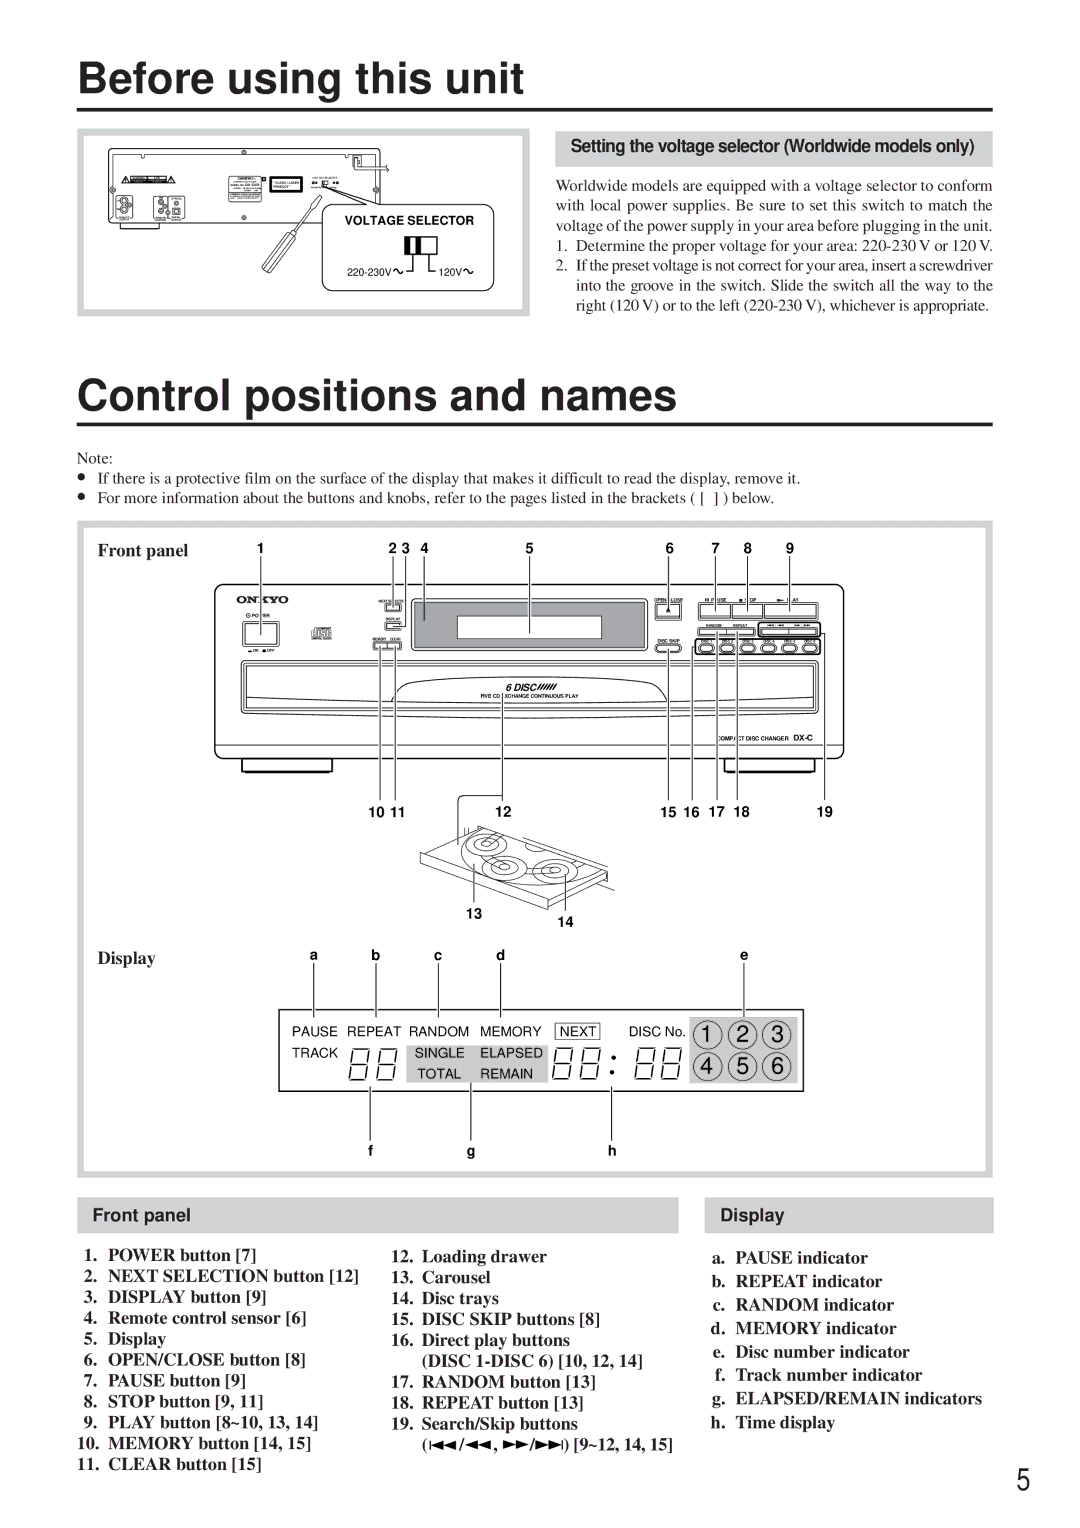
DX-C370 specifications
The Onkyo DX-C370 is a high-quality compact disc player designed for audio enthusiasts seeking versatile playback options and superior sound quality. Renowned for its reliability and performance, this model incorporates advanced technology and a sleek design that fits seamlessly into any audio setup.One of the standout features of the DX-C370 is its ability to handle various CD formats. It supports standard CDs, CD-R, and CD-RW discs, allowing users to enjoy a wide range of music collections with ease. The player’s robust disc mechanism ensures precise tracking and minimizes errors, contributing to a smooth playback experience.
The DX-C370 is equipped with a 192 kHz / 24-bit digital-to-analog converter (DAC), which enhances sound clarity and fidelity. This high-resolution audio output allows listeners to experience every detail and nuance in their music, making it an excellent choice for audiophiles. Furthermore, the player boasts a high-performance audio circuitry designed to minimize interference and preserve signal integrity, ensuring that the audio replay is true to the original recording.
In terms of usability, the Onkyo DX-C370 features an intelligent programming system that allows users to create custom playlists with ease. The user-friendly interface provides straightforward navigation through tracks and albums, while the remote control enhances convenience, allowing users to manage playback from a distance.
Connectivity is another strength of the DX-C370. It includes standard analog audio outputs, which can be connected to receivers or amplifiers, and digital outputs for those looking to use external DACs. This flexibility ensures compatibility with a wide range of audio equipment, making it suitable for various home audio setups.
In addition to its technical prowess, the design of the DX-C370 reflects Onkyo’s commitment to aesthetics and craftsmanship. The player features a clean, classic look with a sturdy build that ensures durability over time. Its compact form factor makes it an ideal option for smaller spaces without sacrificing performance.
Overall, the Onkyo DX-C370 is a powerful and versatile CD player that combines exceptional sound quality with user-friendly features. Whether you're a casual listener or a dedicated audiophile, the DX-C370 provides an impressive listening experience, making it a valuable addition to any music collection.