3.7Using Light Function
•The setting allows you to extend the brightness of the objects that are dark or in the shadow. Using the
1. Digital Light On ( ![]() ): To extend the dynamic range for backlight and high contrast sense so that the objects will be brighter and clearer.
): To extend the dynamic range for backlight and high contrast sense so that the objects will be brighter and clearer.
2. Light On( ![]() ): The light will be turned on and keep providing light.
): The light will be turned on and keep providing light.
3. Light Off ( ): The light is turned off.
4. Press [Video Button] to start recording or press [Photo Button] to take photo.
3.8 Options for Record Menu
Video | Photo | Effect | Setting* |
• | Resolution | • | Resolution | • | Light | • | Sound |
• | Stabilization | • | ISO | • | Scene | • | TV |
• | Motion Detect | • | • | WB(White Balance) | • | Language | |
• | Slow Motion |
|
| • | Face Tracking | • | Time Setting |
• | Time Lapse |
|
|
|
| • | Date Printing |
• |
|
|
|
| • | Format | |
|
|
|
|
|
| • | Default Setting |
*Please refer to Section 5 for the detailed information about [Setting].
3.9Operations for Record Mode
Operation | Display Screen |
1.Touch ![]() on the screen in Record Mode to enter the on screen menu. The menu icon will be shown on the bottom left corner of the screen.
on the screen in Record Mode to enter the on screen menu. The menu icon will be shown on the bottom left corner of the screen.
2.The option menu will pop up on the screen.
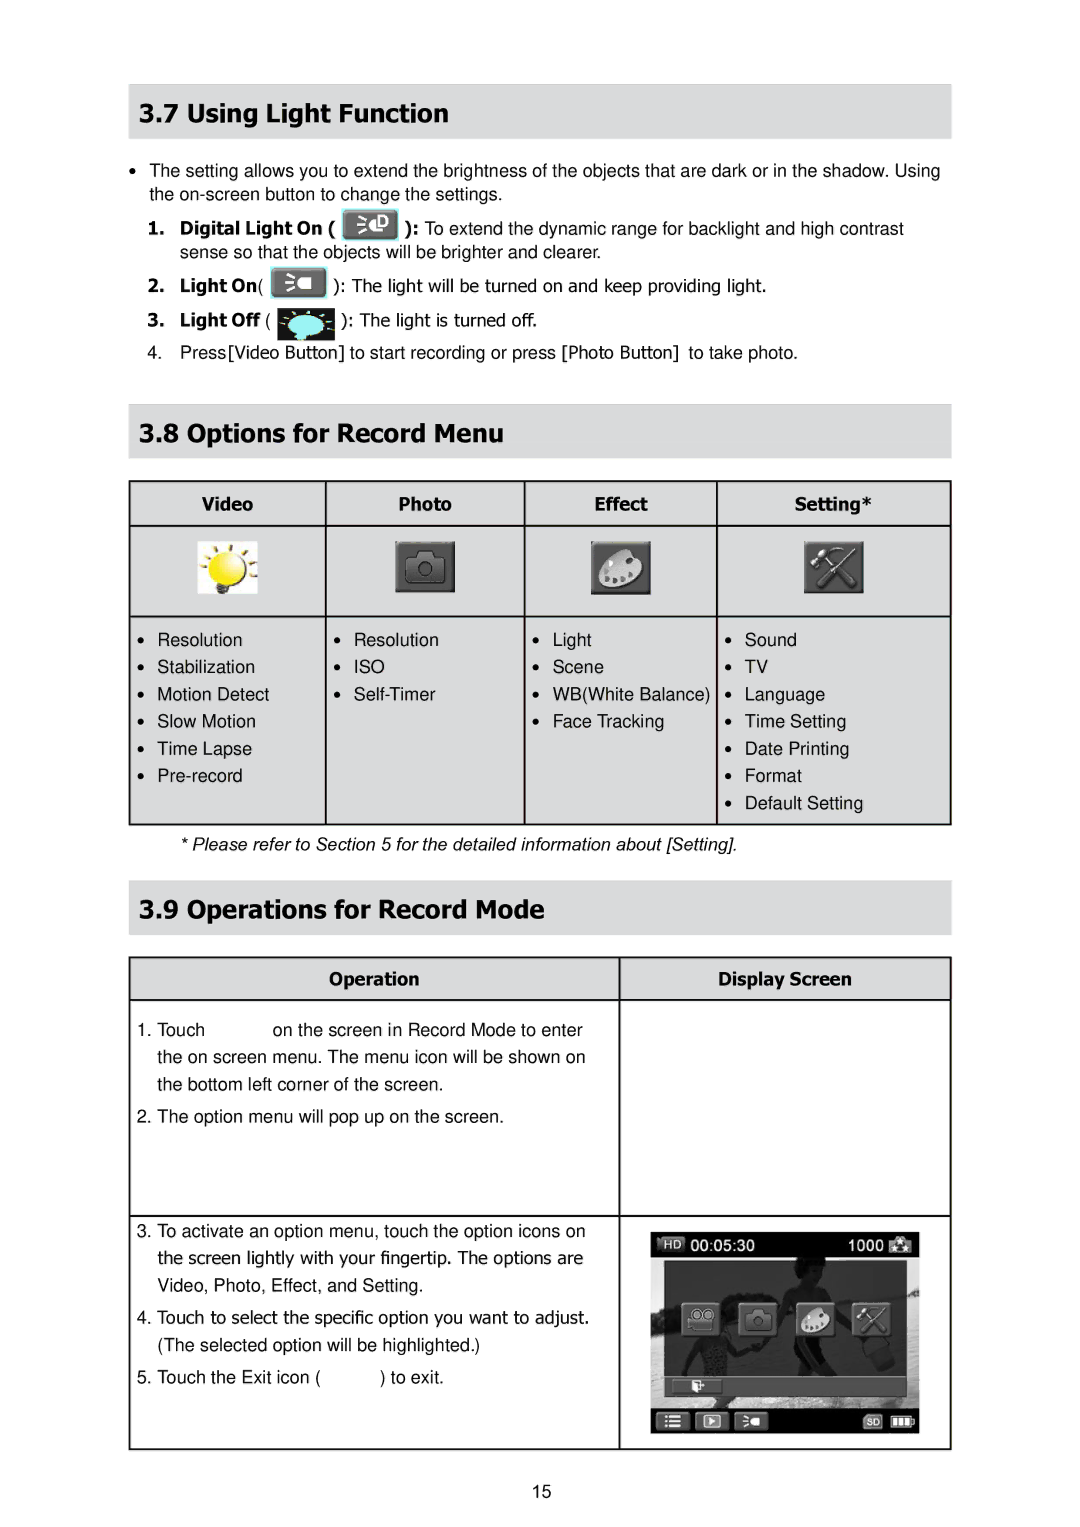
3.To activate an option menu, touch the option icons on the screen lightly with your fingertip. The options are
Video, Photo, Effect, and Setting.
4.Touch to select the specific option you want to adjust.
(The selected option will be highlighted.)
5.Touch the Exit icon ( ![]() ) to exit.
) to exit.
15