2.5Turning the Digital Camcorder On
•To power on the camera:
1.Flip out the LCD panel; the camera will turn on automatically.
2.If the LCD panel is flipped open and the camcorder is off, press [Power Button] for one second.
2.6Configuring the Initial Date and Time Setup
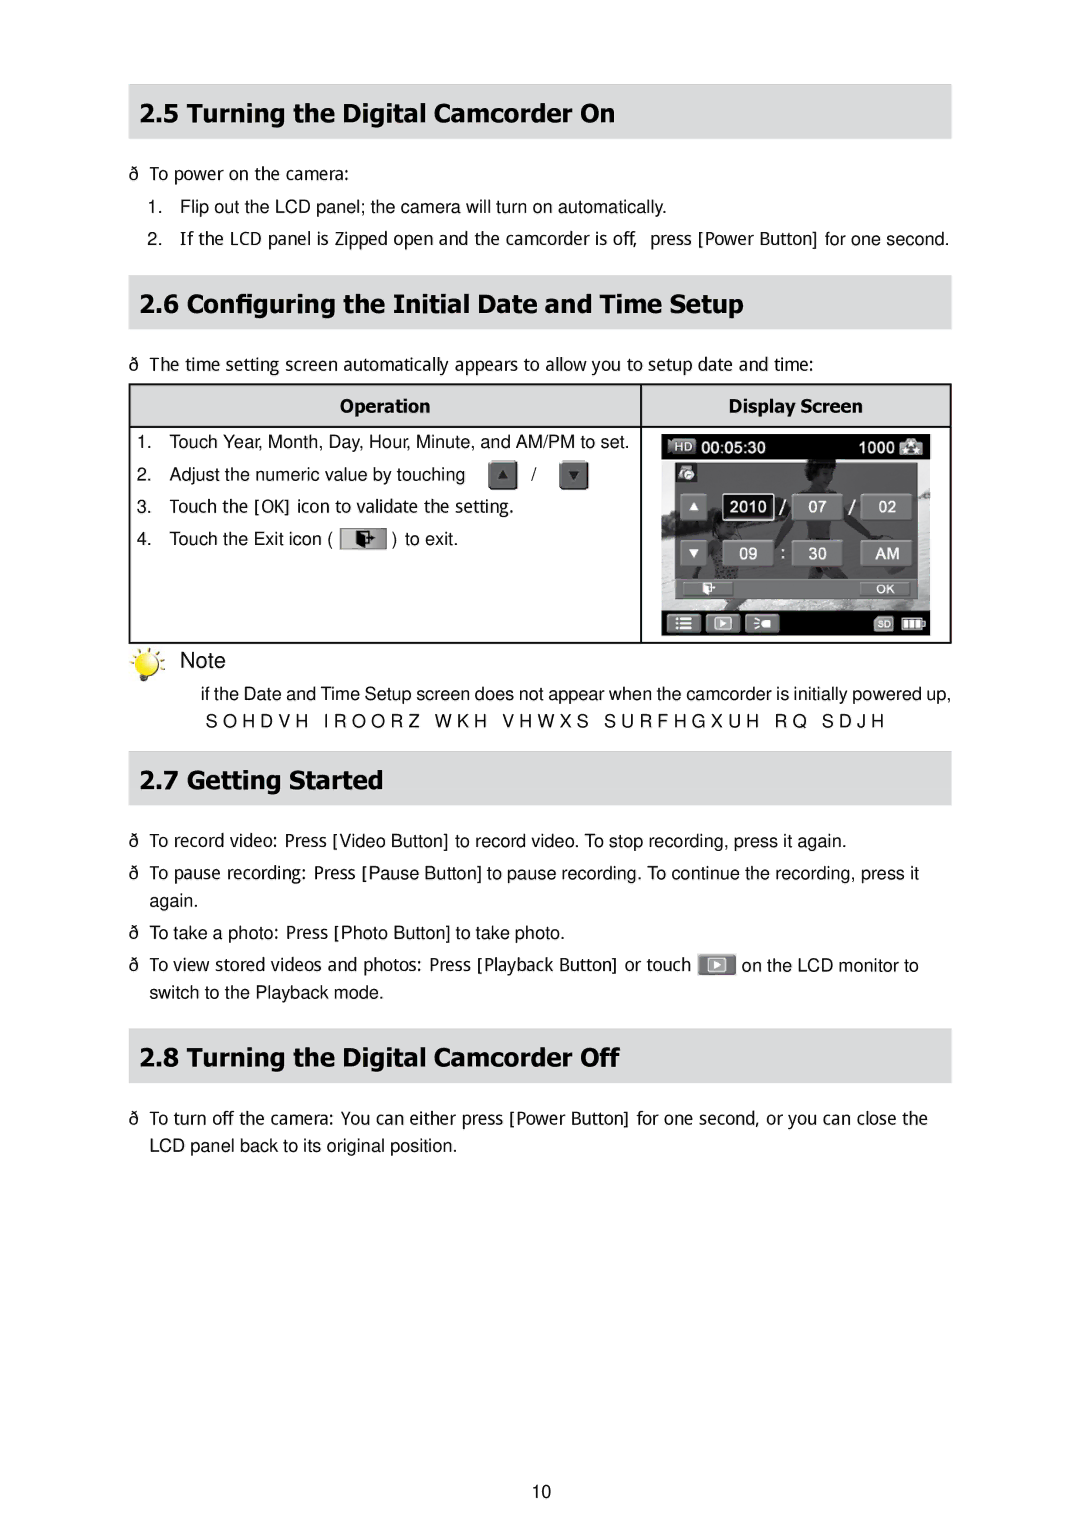
•The time setting screen automatically appears to allow you to setup date and time:
| Operation | Display Screen |
|
| |
1. | Touch Year, Month, Day, Hour, Minute, and AM/PM to set. | |
2. | Adjust the numeric value by touching | / |
3.Touch the [OK] icon to validate the setting.
4.Touch the Exit icon ( ![]() ) to exit.
) to exit.
Note
•if the Date and Time Setup screen does not appear when the camcorder is initially powered up, please follow the setup procedure on page 29.
2.7Getting Started
•To record video: Press [Video Button] to record video. To stop recording, press it again.
•To pause recording: Press [Pause Button] to pause recording. To continue the recording, press it again.
•To take a photo: Press [Photo Button] to take photo.
•To view stored videos and photos: Press [Playback Button] or touch ![]() on the LCD monitor to switch to the Playback mode.
on the LCD monitor to switch to the Playback mode.
2.8Turning the Digital Camcorder Off
•To turn off the camera: You can either press [Power Button] for one second, or you can close the
LCD panel back to its original position.
10