Selecting a sound source
Setting the input signal format
If the input source is DVD, CD, VIDEO 1, VIDEO 2 or TAPE, you can specify the input signal format.
With the initial setting, AUTO is assigned to the DVD and CD inputs, and ANALOG is assigned to the TAPE, VIDEO 1 and VIDEO 2 inputs. You can change this according to the signal format of the input source.
For example, follow the steps below to specify the input signal format for the VIDEO 2 input:
1.Press the VIDEO 2 button.
VIDEO 2 is selected as the input source and “VIDEO 2” appears in the display.
2.Press the AUDIO SELECTOR button.
The current setting is displayed.
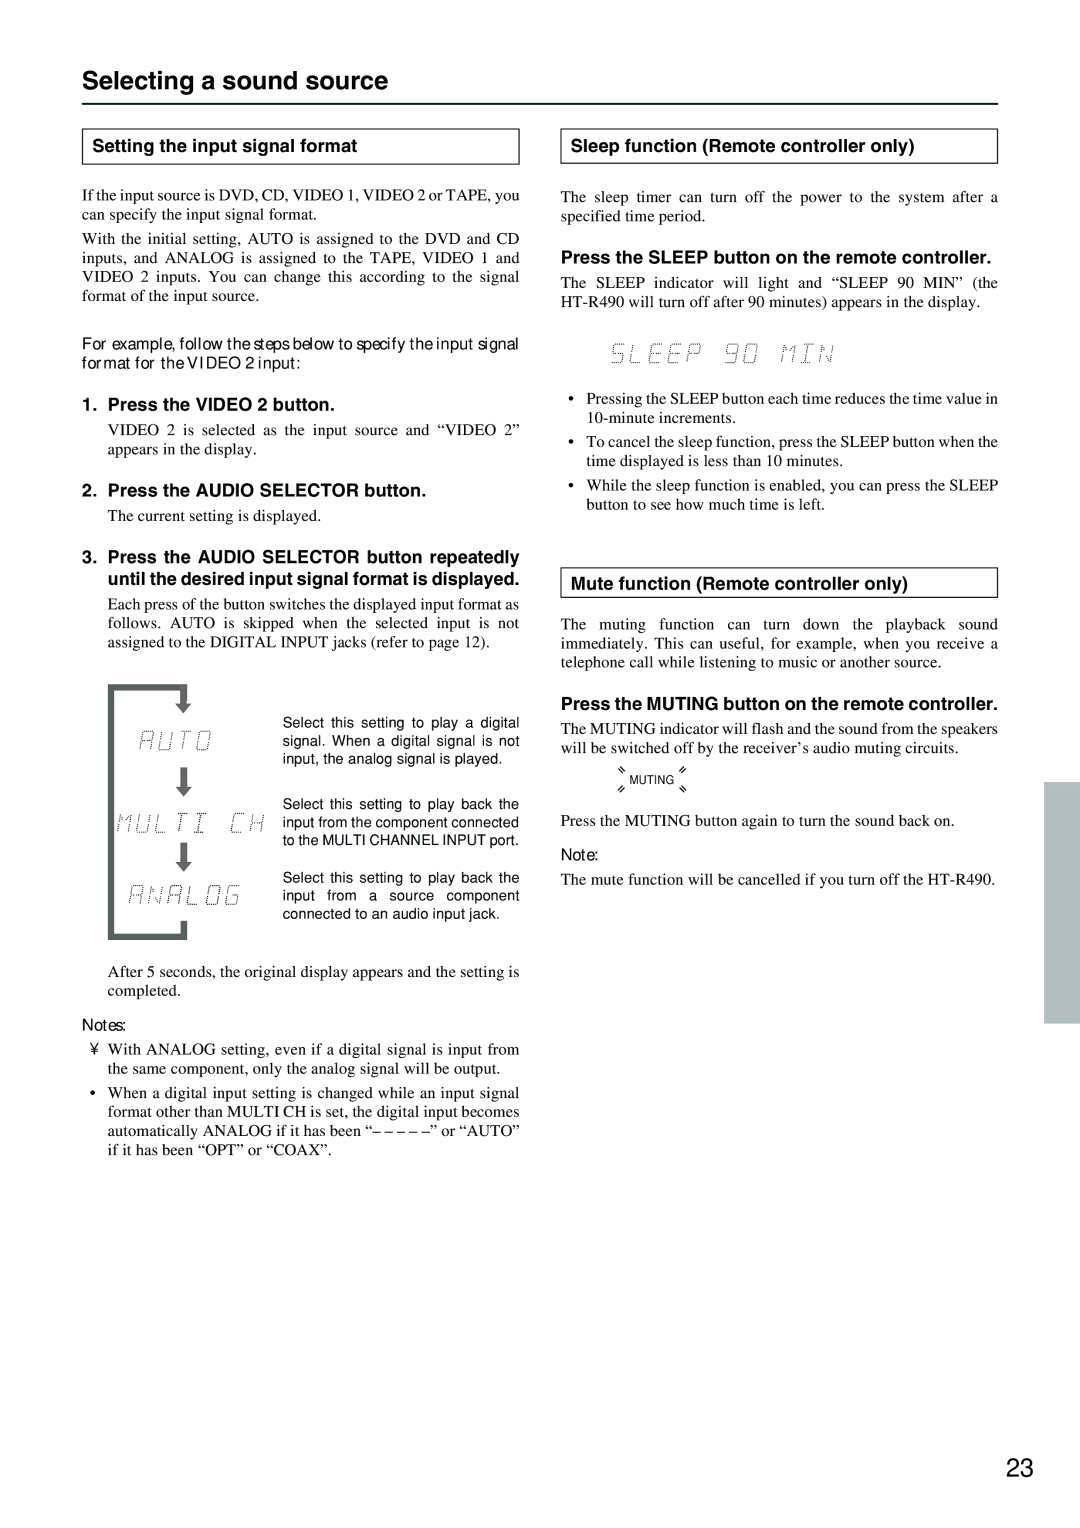
3.Press the AUDIO SELECTOR button repeatedly until the desired input signal format is displayed.
Each press of the button switches the displayed input format as follows. AUTO is skipped when the selected input is not assigned to the DIGITAL INPUT jacks (refer to page 12).
Sleep function (Remote controller only)
The sleep timer can turn off the power to the system after a specified time period.
Press the SLEEP button on the remote controller.
The SLEEP indicator will light and “SLEEP 90 MIN” (the
•Pressing the SLEEP button each time reduces the time value in
•To cancel the sleep function, press the SLEEP button when the time displayed is less than 10 minutes.
•While the sleep function is enabled, you can press the SLEEP button to see how much time is left.
Mute function (Remote controller only)
The muting function can turn down the playback sound immediately. This can useful, for example, when you receive a telephone call while listening to music or another source.
Select this setting to play a digital signal. When a digital signal is not input, the analog signal is played.
Select this setting to play back the input from the component connected to the MULTI CHANNEL INPUT port.
Select this setting to play back the input from a source component connected to an audio input jack.
After 5 seconds, the original display appears and the setting is completed.
Notes:
•With ANALOG setting, even if a digital signal is input from the same component, only the analog signal will be output.
•When a digital input setting is changed while an input signal format other than MULTI CH is set, the digital input becomes automatically ANALOG if it has been “– – – –
Press the MUTING button on the remote controller.
The MUTING indicator will flash and the sound from the speakers will be switched off by the receiver’s audio muting circuits.
MUTING
Press the MUTING button again to turn the sound back on.
Note:
The mute function will be cancelled if you turn off the
23
