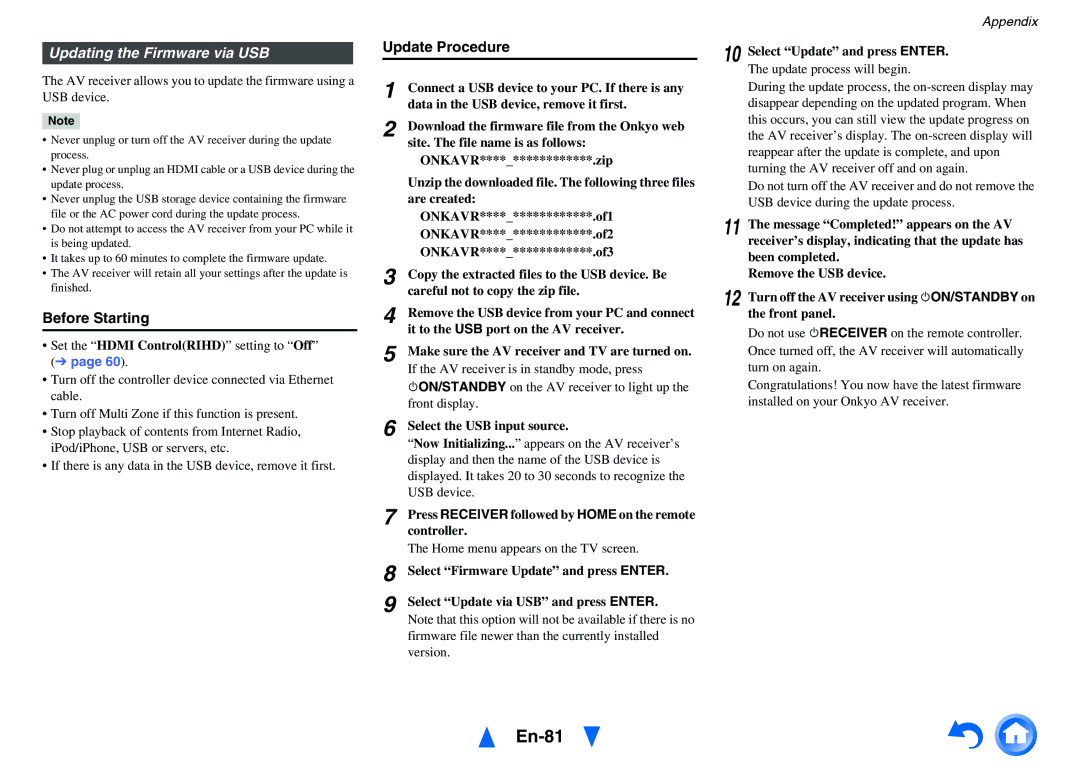
Updating the Firmware via USB

The AV receiver allows you to update the firmware using a USB device.

Note

Never unplug or turn off the AV receiver during the update process.

Never plug or unplug an HDMI cable or a USB device during the update process.

Never unplug the USB storage device containing the firmware file or the AC power cord during the update process.

Do not attempt to access the AV receiver from your PC while it is being updated.

It takes up to 60 minutes to complete the firmware update.

The AV receiver will retain all your settings after the update is finished.

Before Starting

Set the “HDMI Control(RIHD)” setting to “Off” (page 60).

Turn off the controller device connected via Ethernet cable.

Turn off Multi Zone if this function is present.

Stop playback of contents from Internet Radio, iPod/iPhone, USB or servers, etc.

If there is any data in the USB device, remove it first.

Update Procedure

1

Connect a USB device to your PC. If there is any


data in the USB device, remove it first.

2

Download the firmware file from the Onkyo web


site. The file name is as follows:


ONKAVR****_************.zip


Unzip the downloaded file. The following three files


are created:


ONKAVR****_************.of1


ONKAVR****_************.of2


ONKAVR****_************.of3

3

Copy the extracted files to the USB device. Be


careful not to copy the zip file.

4

Remove the USB device from your PC and connect


it to the USB port on the AV receiver.

5

Make sure the AV receiver and TV are turned on.


If the AV receiver is in standby mode, press


8ON/STANDBY on the AV receiver to light up the


front display.

6

Select the USB input source.


Now Initializing...” appears on the AV receiver’s


display and then the name of the USB device is


displayed. It takes 20 to 30 seconds to recognize the


USB device.

7

Press RECEIVER followed by HOME on the remote


controller.


The Home menu appears on the TV screen.

8

Select “Firmware Update” and press ENTER.

9

Select “Update via USB” and press ENTER.

Note that this option will not be available if there is no firmware file newer than the currently installed version.

En-81

Appendix

10Select “Update” and press ENTER. The update process will begin.

During the update process, the on-screen display may disappear depending on the updated program. When this occurs, you can still view the update progress on the AV receiver’s display. The on-screen display will reappear after the update is complete, and upon turning the AV receiver off and on again.

Do not turn off the AV receiver and do not remove the USB device during the update process.

11The message “Completed!” appears on the AV receiver’s display, indicating that the update has been completed.

Remove the USB device.

12Turn off the AV receiver using 8ON/STANDBY on the front panel.

Do not use 8RECEIVER on the remote controller. Once turned off, the AV receiver will automatically turn on again.

Congratulations! You now have the latest firmware installed on your Onkyo AV receiver.

Page 81
Image 81
Onkyo HT-R791 instruction manual En-81, Updating the Firmware via USB

HT-R791 specifications

The Onkyo HT-R791 is a highly regarded home theater receiver that seamlessly combines power, flexibility, and advanced technology to provide a captivating audio experience. This receiver is designed for both movie enthusiasts and music lovers, delivering high-quality sound and a variety of connectivity options to accommodate modern entertainment setups.

At the heart of the HT-R791 is its power amplification, featuring a 7.1 channel configuration that can deliver a robust 100 watts per channel. This allows for immersive surround sound that brings movies, music, and gaming to life, creating a dynamic audio environment. With multiple amplification circuits, the receiver ensures optimal performance and minimal distortion, resulting in crystal-clear sound reproduction.

The HT-R791 is equipped with various advanced surround sound technologies, including Dolby TrueHD and DTS-HD Master Audio. These formats are synonymous with high-definition audio and provide lossless sound quality, enhancing the detail and richness of every sound effect and musical note. Furthermore, the receiver supports Dolby Pro Logic IIz, which adds an extra dimension to sound by including height channels, enriching the overall spatial experience.

One of the standout features of the Onkyo HT-R791 is its extensive connectivity options. It boasts numerous HDMI inputs, enabling seamless integration with HD devices like Blu-ray players, gaming consoles, and streaming devices. With 4K video pass-through support, the receiver ensures compatibility with the latest display technologies, making it future-proof for homeowners looking to upgrade their visual setup.

Additionally, the HT-R791 includes legacy connections, such as composite and component video inputs, along with optical and coaxial audio inputs, allowing users to integrate older devices easily. The inclusion of a USB port further allows for playback of digital audio files directly from compatible devices.

For user convenience, the Onkyo HT-R791 features an easy-to-navigate on-screen display, making setup and operation straightforward even for novice users. Its user-friendly remote control provides quick access to essential controls, including listening modes and audio adjustments.

Overall, the Onkyo HT-R791 emerges as a versatile home theater receiver that blends power with intelligence, ensuring a rich audio-visual experience perfect for any home theater setup. Whether watching movies, enjoying music, or gaming, this receiver is designed to cater to diverse entertainment needs while maintaining exceptional sound quality and ease of use.