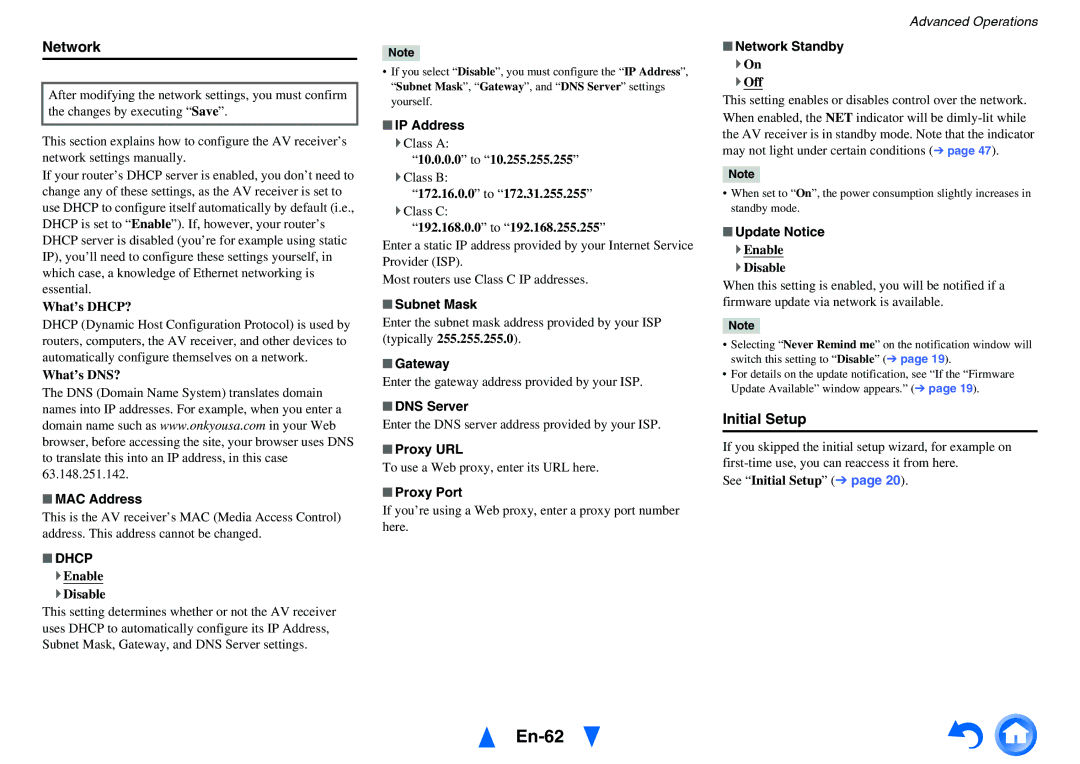
Network

After modifying the network settings, you must confirm the changes by executing “Save”.

This section explains how to configure the AV receiver’s network settings manually.

If your router’s DHCP server is enabled, you don’t need to change any of these settings, as the AV receiver is set to use DHCP to configure itself automatically by default (i.e., DHCP is set to “Enable”). If, however, your router’s DHCP server is disabled (you’re for example using static IP), you’ll need to configure these settings yourself, in which case, a knowledge of Ethernet networking is essential.

What’s DHCP?

DHCP (Dynamic Host Configuration Protocol) is used by routers, computers, the AV receiver, and other devices to automatically configure themselves on a network.

What’s DNS?

The DNS (Domain Name System) translates domain names into IP addresses. For example, when you enter a domain name such as www.onkyousa.com in your Web browser, before accessing the site, your browser uses DNS to translate this into an IP address, in this case 63.148.251.142.

MAC Address

This is the AV receiver’s MAC (Media Access Control) address. This address cannot be changed.

DHCP

`Enable

`Disable

This setting determines whether or not the AV receiver uses DHCP to automatically configure its IP Address, Subnet Mask, Gateway, and DNS Server settings.

Note

If you select “Disable”, you must configure the “IP Address”, “Subnet Mask”, “Gateway”, and “DNS Server” settings yourself.

IP Address

`Class A:

10.0.0.0” to “10.255.255.255

`Class B:

172.16.0.0” to “172.31.255.255

`Class C:

192.168.0.0” to “192.168.255.255

Enter a static IP address provided by your Internet Service Provider (ISP).

Most routers use Class C IP addresses.

Subnet Mask

Enter the subnet mask address provided by your ISP (typically 255.255.255.0).

Gateway

Enter the gateway address provided by your ISP.

DNS Server

Enter the DNS server address provided by your ISP.

Proxy URL

To use a Web proxy, enter its URL here.

Proxy Port

If you’re using a Web proxy, enter a proxy port number here.

Advanced Operations

Network Standby

`On

`Off

This setting enables or disables control over the network. When enabled, the NET indicator will be dimly-lit while the AV receiver is in standby mode. Note that the indicator may not light under certain conditions (page 47).

Note

When set to “On”, the power consumption slightly increases in standby mode.

Update Notice

`Enable

`Disable

When this setting is enabled, you will be notified if a firmware update via network is available.

Note

Selecting “Never Remind me” on the notification window will switch this setting to “Disable” (page 19).

For details on the update notification, see “If the “Firmware Update Available” window appears.” (page 19).

Initial Setup

If you skipped the initial setup wizard, for example on first-time use, you can reaccess it from here.

See “Initial Setup” (page 20).

En-62

Page 62
Image 62
Onkyo HT-R791 instruction manual En-62, Network, Initial Setup

HT-R791 specifications

The Onkyo HT-R791 is a highly regarded home theater receiver that seamlessly combines power, flexibility, and advanced technology to provide a captivating audio experience. This receiver is designed for both movie enthusiasts and music lovers, delivering high-quality sound and a variety of connectivity options to accommodate modern entertainment setups.

At the heart of the HT-R791 is its power amplification, featuring a 7.1 channel configuration that can deliver a robust 100 watts per channel. This allows for immersive surround sound that brings movies, music, and gaming to life, creating a dynamic audio environment. With multiple amplification circuits, the receiver ensures optimal performance and minimal distortion, resulting in crystal-clear sound reproduction.

The HT-R791 is equipped with various advanced surround sound technologies, including Dolby TrueHD and DTS-HD Master Audio. These formats are synonymous with high-definition audio and provide lossless sound quality, enhancing the detail and richness of every sound effect and musical note. Furthermore, the receiver supports Dolby Pro Logic IIz, which adds an extra dimension to sound by including height channels, enriching the overall spatial experience.

One of the standout features of the Onkyo HT-R791 is its extensive connectivity options. It boasts numerous HDMI inputs, enabling seamless integration with HD devices like Blu-ray players, gaming consoles, and streaming devices. With 4K video pass-through support, the receiver ensures compatibility with the latest display technologies, making it future-proof for homeowners looking to upgrade their visual setup.

Additionally, the HT-R791 includes legacy connections, such as composite and component video inputs, along with optical and coaxial audio inputs, allowing users to integrate older devices easily. The inclusion of a USB port further allows for playback of digital audio files directly from compatible devices.

For user convenience, the Onkyo HT-R791 features an easy-to-navigate on-screen display, making setup and operation straightforward even for novice users. Its user-friendly remote control provides quick access to essential controls, including listening modes and audio adjustments.

Overall, the Onkyo HT-R791 emerges as a versatile home theater receiver that blends power with intelligence, ensuring a rich audio-visual experience perfect for any home theater setup. Whether watching movies, enjoying music, or gaming, this receiver is designed to cater to diverse entertainment needs while maintaining exceptional sound quality and ease of use.