ST275 specifications
The Oregon ST275 is a versatile and powerful string trimmer designed for homeowners and landscaping professionals alike. Known for its reliability and efficiency, this tool stands out in the crowded market of outdoor power equipment.One of the main features of the Oregon ST275 is its lightweight and ergonomic design, making it easy to maneuver in various terrains. Weighing just around 12 pounds, it is comfortable to use for extended periods, reducing user fatigue. This makes it an ideal choice for those who undertake large landscaping projects or have substantial yard work.
The ST275 is equipped with a robust 40V lithium-ion battery that provides ample power for extended runtime. This battery technology ensures that users can complete their trimming tasks without frequent recharging interruptions. Moreover, the battery is compatible with other Oregon equipment, offering added convenience to users who own multiple tools from the Oregon lineup.
One of the standout technologies in the Oregon ST275 is its automatic feed system, which ensures that the cutting line is fed smoothly and efficiently during operation. This eliminates the need for manual line adjustments, allowing users to maintain their focus on trimming without the hassle of constant interruptions. The trimmer employs a dual-line cutting process, enhancing its cutting efficiency and effectiveness in managing thick grass and weeds.
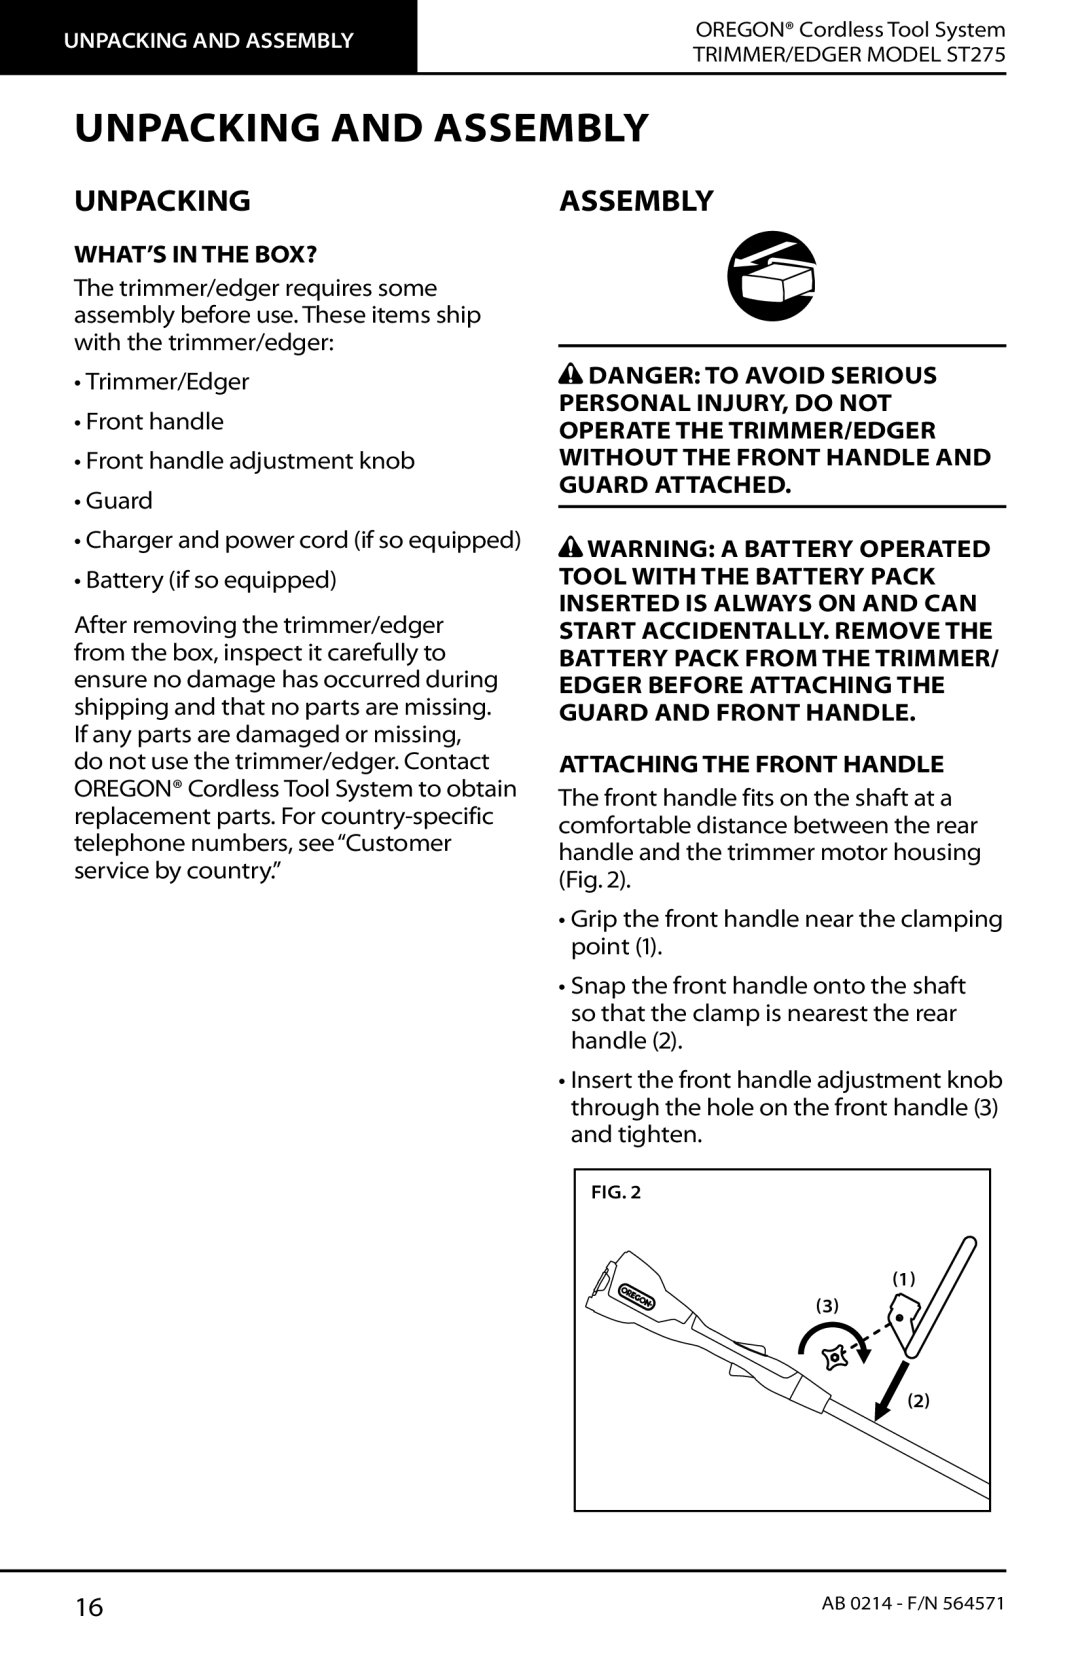
Additionally, the Oregon ST275 features an adjustable handle, enabling users to customize their grip and stance for maximum comfort. This is particularly beneficial for users of varying heights, promoting a more ergonomic and user-friendly experience. The trimmer also offers a 90-degree pivoting head, which allows for easy edging along driveways, sidewalks, and flower beds, making it a multi-functional tool.
In terms of durability, the Oregon ST275 is built with high-quality materials, ensuring that it can withstand the rigors of outdoor use. Its rugged construction combined with user-friendly features makes it a reliable choice for both novice gardeners and professional landscapers.
In summary, the Oregon ST275 string trimmer combines efficient power, user-friendly design, and advanced trimming technologies to deliver exceptional performance. Whether tackling everyday yard maintenance or professional landscaping tasks, the ST275 proves to be a valuable tool that meets the high demands of users seeking quality and reliability in their outdoor equipment.

