WR608 specifications
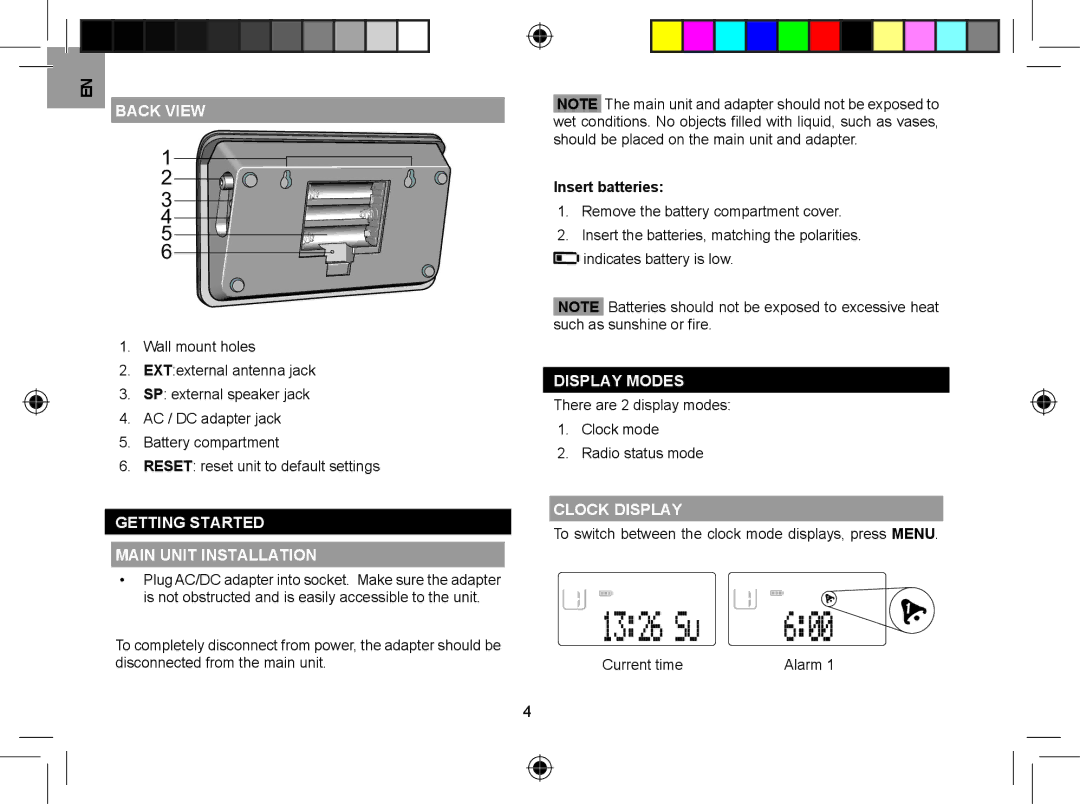
Oregon Scientific has been a pioneer in developing innovative weather monitoring technologies for over three decades. One of their standout products is the Oregon WR608, a highly advanced weather station designed for both indoor and outdoor use. This device combines sophisticated technology with user-friendly features, making it a favorite among weather enthusiasts and hobbyists alike.The Oregon WR608 boasts a sleek design and is equipped with a variety of sensors that provide accurate real-time data. It measures essential weather parameters such as temperature, humidity, wind speed, and rainfall, ensuring users have access to comprehensive weather information at their fingertips. The device features a clear LCD display that presents this data in a format that is easy to read and interpret, even from a distance.
One of the standout characteristics of the WR608 is its wireless capability, allowing users to place it virtually anywhere without dealing with cumbersome wires. The weather station wirelessly communicates with its sensors over a substantial range, making it suitable for various environments, from urban homes to rural settings. Its ability to connect with multiple sensors enables users to gather data from different locations, providing a more extensive understanding of local weather conditions.
The WR608 also incorporates advanced forecasting technology, using a built-in barometer to predict weather trends based on atmospheric pressure changes. This feature empowers users to anticipate shifts in weather, making it an invaluable tool for those who plan outdoor activities or simply want to stay informed.
In addition to its weather monitoring capabilities, the Oregon WR608 offers customizable alarms and alerts that notify users of extreme weather conditions, such as high wind or heavy rainfall. These alerts are crucial for maintaining safety and preparedness during unpredictable weather events.
Durability is another significant aspect of the Oregon WR608. Its rugged construction ensures it can withstand harsh outdoor conditions, making it a reliable choice for those who need consistent weather data over time. Overall, the Oregon WR608 stands out as a versatile and robust weather station, integrating advanced technologies with user-friendly features, providing an essential tool for accurate weather monitoring.

