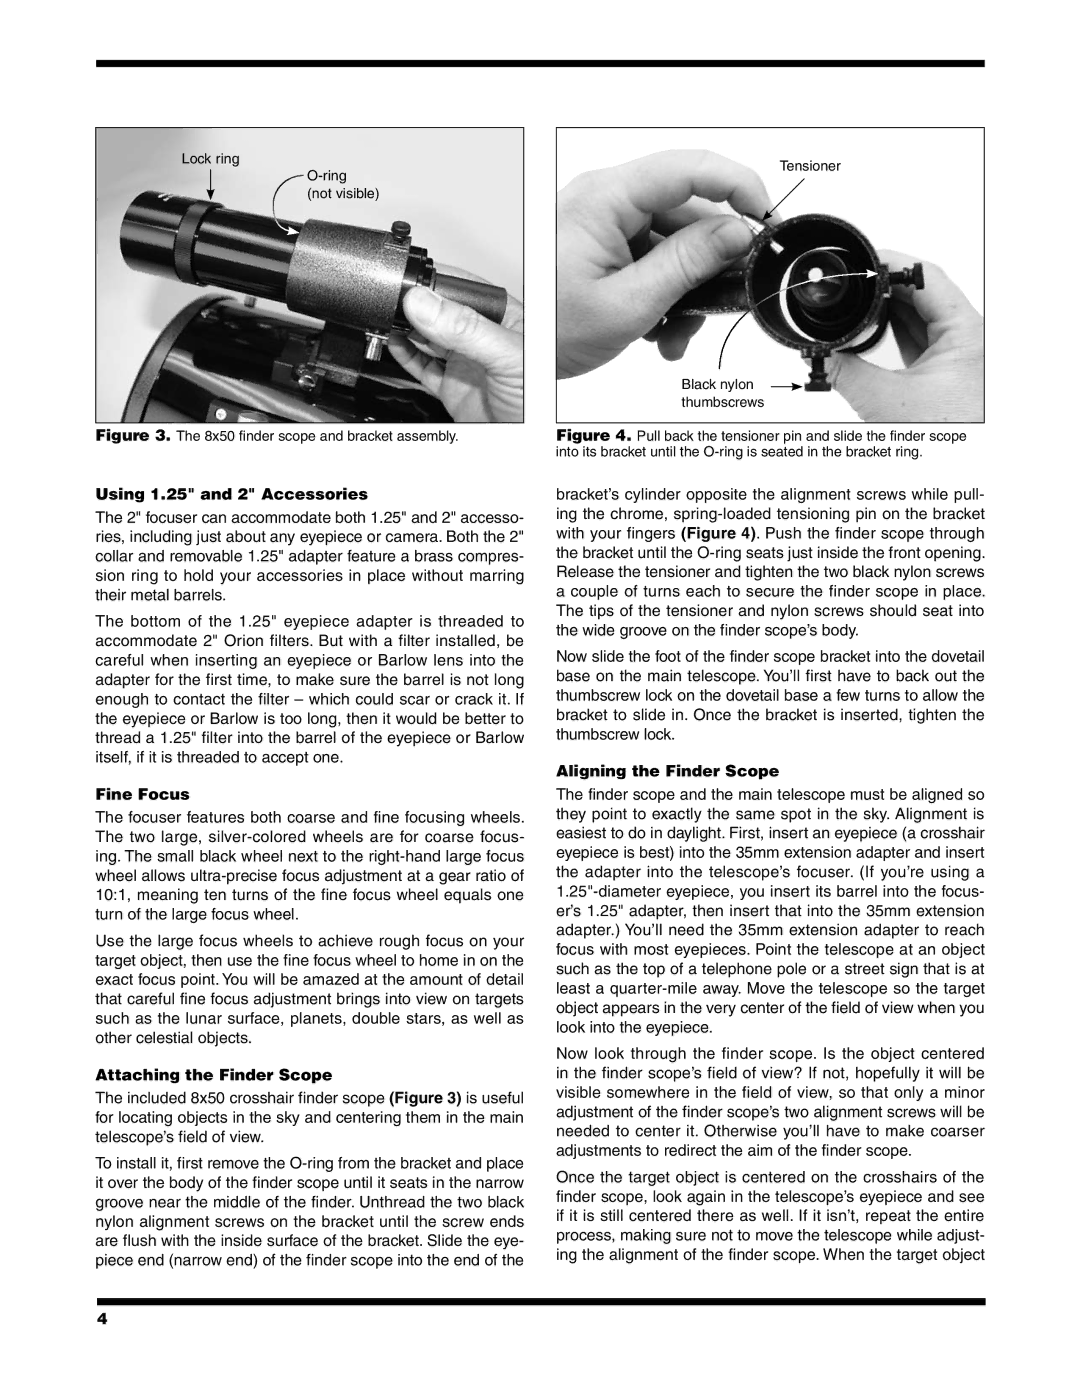
Lock ring
(not visible)
Figure 3. The 8x50 finder scope and bracket assembly.
Using 1.25" and 2" Accessories
The 2" focuser can accommodate both 1.25" and 2" accesso- ries, including just about any eyepiece or camera. Both the 2" collar and removable 1.25" adapter feature a brass compres- sion ring to hold your accessories in place without marring their metal barrels.
The bottom of the 1.25" eyepiece adapter is threaded to accommodate 2" Orion filters. But with a filter installed, be careful when inserting an eyepiece or Barlow lens into the adapter for the first time, to make sure the barrel is not long enough to contact the filter – which could scar or crack it. If the eyepiece or Barlow is too long, then it would be better to thread a 1.25" filter into the barrel of the eyepiece or Barlow itself, if it is threaded to accept one.
Fine Focus
The focuser features both coarse and fine focusing wheels. The two large,
Use the large focus wheels to achieve rough focus on your target object, then use the fine focus wheel to home in on the exact focus point. You will be amazed at the amount of detail that careful fine focus adjustment brings into view on targets such as the lunar surface, planets, double stars, as well as other celestial objects.
Attaching the Finder Scope
The included 8x50 crosshair finder scope (Figure 3) is useful for locating objects in the sky and centering them in the main telescope’s field of view.
To install it, first remove the
Tensioner
Black nylon ![]() thumbscrews
thumbscrews
Figure 4. Pull back the tensioner pin and slide the finder scope into its bracket until the O-ring is seated in the bracket ring.
bracket’s cylinder opposite the alignment screws while pull- ing the chrome,
Now slide the foot of the finder scope bracket into the dovetail base on the main telescope. You’ll first have to back out the thumbscrew lock on the dovetail base a few turns to allow the bracket to slide in. Once the bracket is inserted, tighten the thumbscrew lock.
Aligning the Finder Scope
The finder scope and the main telescope must be aligned so they point to exactly the same spot in the sky. Alignment is easiest to do in daylight. First, insert an eyepiece (a crosshair eyepiece is best) into the 35mm extension adapter and insert the adapter into the telescope’s focuser. (If you’re using a
Now look through the finder scope. Is the object centered in the finder scope’s field of view? If not, hopefully it will be visible somewhere in the field of view, so that only a minor adjustment of the finder scope’s two alignment screws will be needed to center it. Otherwise you’ll have to make coarser adjustments to redirect the aim of the finder scope.
Once the target object is centered on the crosshairs of the finder scope, look again in the telescope’s eyepiece and see if it is still centered there as well. If it isn’t, repeat the entire process, making sure not to move the telescope while adjust- ing the alignment of the finder scope. When the target object
4