Figure 11. Placing a piece of white paper inside the optical tube opposite the focuser provides a bright background when viewing into the focuser.
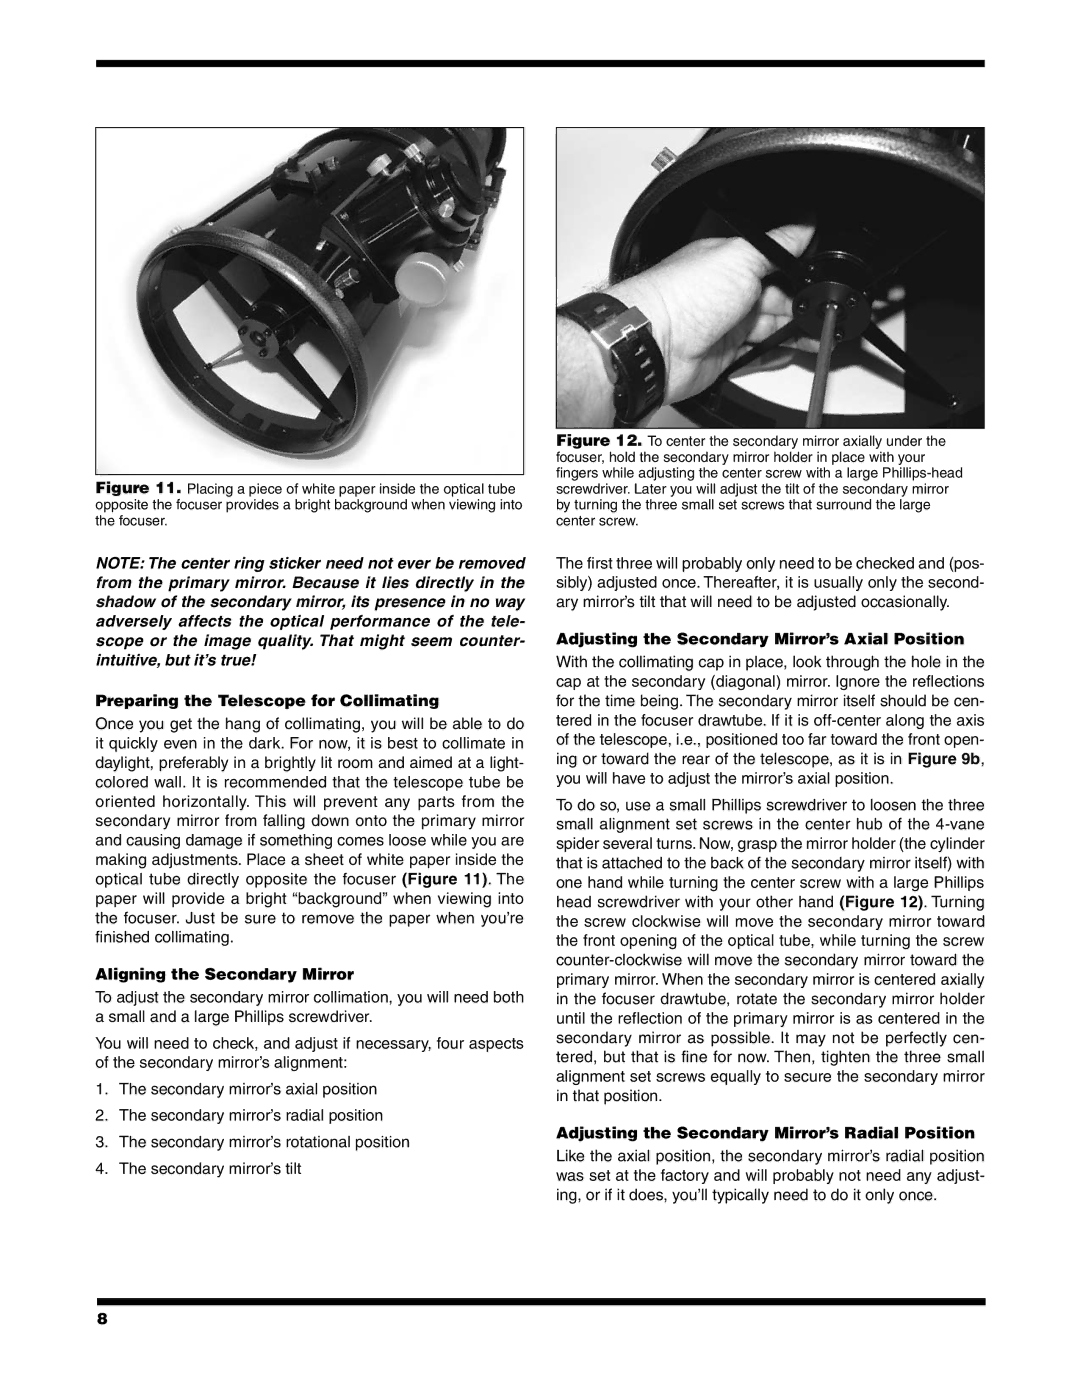
Figure 12. To center the secondary mirror axially under the focuser, hold the secondary mirror holder in place with your fingers while adjusting the center screw with a large Phillips-head screwdriver. Later you will adjust the tilt of the secondary mirror by turning the three small set screws that surround the large center screw.
NOTE: The center ring sticker need not ever be removed from the primary mirror. Because it lies directly in the shadow of the secondary mirror, its presence in no way adversely affects the optical performance of the tele scope or the image quality. That might seem counter intuitive, but it’s true!
Preparing the Telescope for Collimating
Once you get the hang of collimating, you will be able to do it quickly even in the dark. For now, it is best to collimate in daylight, preferably in a brightly lit room and aimed at a light- colored wall. It is recommended that the telescope tube be oriented horizontally. This will prevent any parts from the secondary mirror from falling down onto the primary mirror and causing damage if something comes loose while you are making adjustments. Place a sheet of white paper inside the optical tube directly opposite the focuser (Figure 11). The paper will provide a bright “background” when viewing into the focuser. Just be sure to remove the paper when you’re finished collimating.
Aligning the Secondary Mirror
To adjust the secondary mirror collimation, you will need both a small and a large Phillips screwdriver.
You will need to check, and adjust if necessary, four aspects of the secondary mirror’s alignment:
1.The secondary mirror’s axial position
2.The secondary mirror’s radial position
3.The secondary mirror’s rotational position
4.The secondary mirror’s tilt
The first three will probably only need to be checked and (pos- sibly) adjusted once. Thereafter, it is usually only the second- ary mirror’s tilt that will need to be adjusted occasionally.
Adjusting the Secondary Mirror’s Axial Position
With the collimating cap in place, look through the hole in the cap at the secondary (diagonal) mirror. Ignore the reflections for the time being. The secondary mirror itself should be cen- tered in the focuser drawtube. If it is
To do so, use a small Phillips screwdriver to loosen the three small alignment set screws in the center hub of the
Adjusting the Secondary Mirror’s Radial Position
Like the axial position, the secondary mirror’s radial position was set at the factory and will probably not need any adjust- ing, or if it does, you’ll typically need to do it only once.
8