The reticle of the polar axis finder scope has a tiny star map printed on it that makes precise polar alignment quick and easy. If you do not have a clear view of Polaris from your
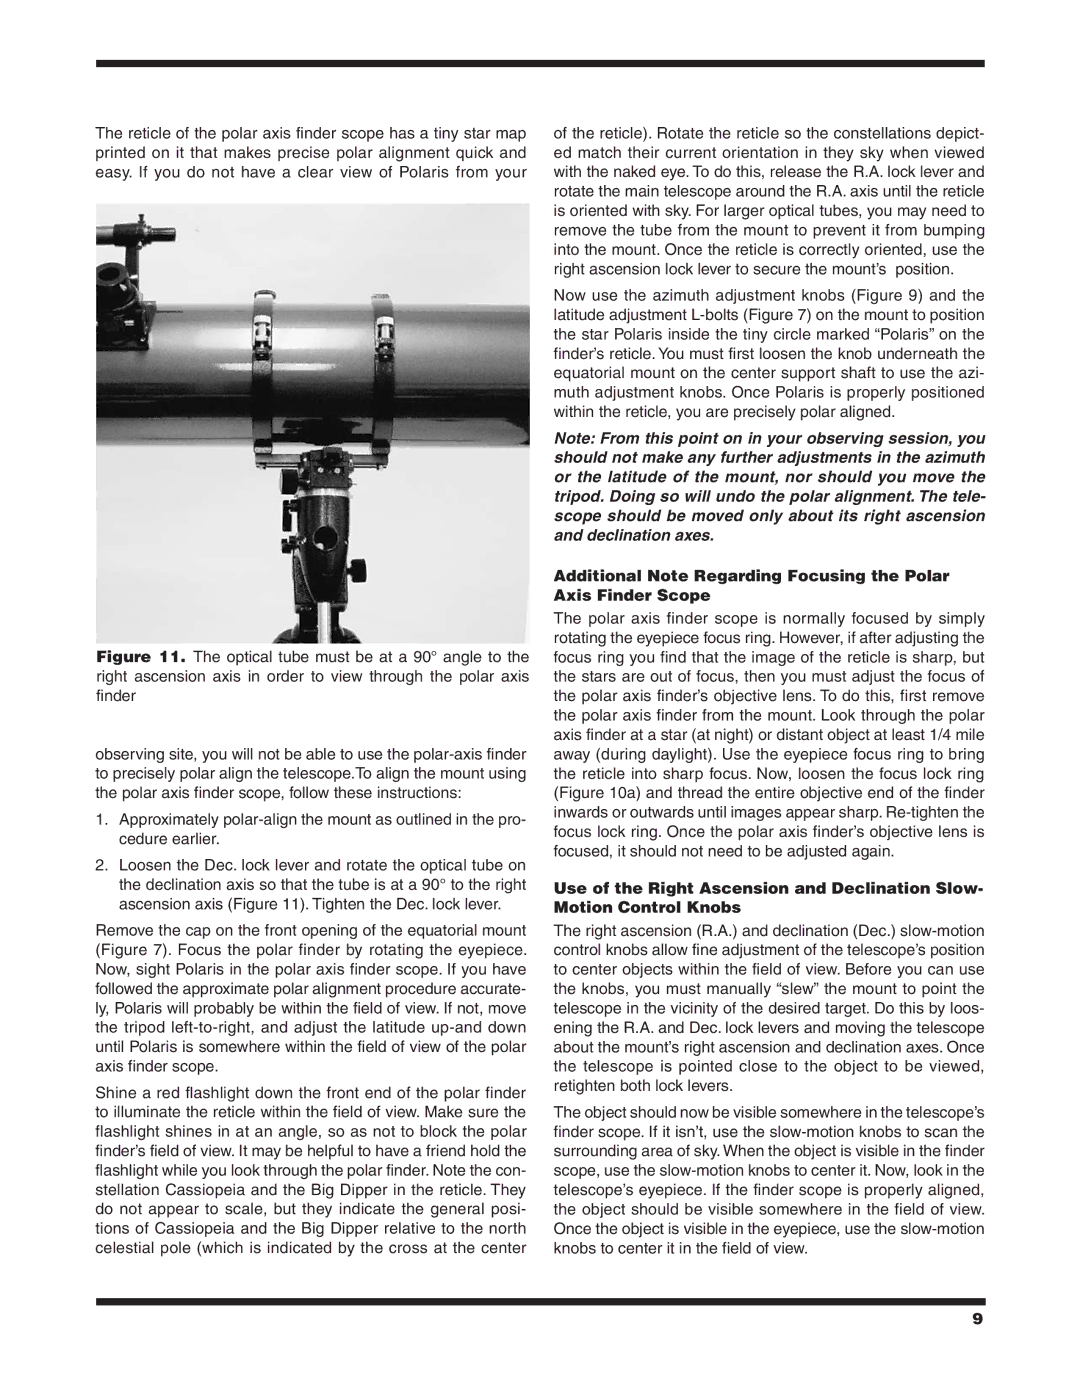
Figure 11. The optical tube must be at a 90° angle to the right ascension axis in order to view through the polar axis finder
observing site, you will not be able to use the
1.Approximately
2.Loosen the Dec. lock lever and rotate the optical tube on the declination axis so that the tube is at a 90° to the right ascension axis (Figure 11). Tighten the Dec. lock lever.
Remove the cap on the front opening of the equatorial mount (Figure 7). Focus the polar finder by rotating the eyepiece. Now, sight Polaris in the polar axis finder scope. If you have followed the approximate polar alignment procedure accurate- ly, Polaris will probably be within the field of view. If not, move the tripod
Shine a red flashlight down the front end of the polar finder to illuminate the reticle within the field of view. Make sure the flashlight shines in at an angle, so as not to block the polar finder’s field of view. It may be helpful to have a friend hold the flashlight while you look through the polar finder. Note the con- stellation Cassiopeia and the Big Dipper in the reticle. They do not appear to scale, but they indicate the general posi- tions of Cassiopeia and the Big Dipper relative to the north celestial pole (which is indicated by the cross at the center
of the reticle). Rotate the reticle so the constellations depict- ed match their current orientation in they sky when viewed with the naked eye. To do this, release the R.A. lock lever and rotate the main telescope around the R.A. axis until the reticle is oriented with sky. For larger optical tubes, you may need to remove the tube from the mount to prevent it from bumping into the mount. Once the reticle is correctly oriented, use the right ascension lock lever to secure the mount’s position.
Now use the azimuth adjustment knobs (Figure 9) and the latitude adjustment
Note: From this point on in your observing session, you should not make any further adjustments in the azimuth or the latitude of the mount, nor should you move the tripod. Doing so will undo the polar alignment. The tele- scope should be moved only about its right ascension and declination axes.
Additional Note Regarding Focusing the Polar Axis Finder Scope
The polar axis finder scope is normally focused by simply rotating the eyepiece focus ring. However, if after adjusting the focus ring you find that the image of the reticle is sharp, but the stars are out of focus, then you must adjust the focus of the polar axis finder’s objective lens. To do this, first remove the polar axis finder from the mount. Look through the polar axis finder at a star (at night) or distant object at least 1/4 mile away (during daylight). Use the eyepiece focus ring to bring the reticle into sharp focus. Now, loosen the focus lock ring (Figure 10a) and thread the entire objective end of the finder inwards or outwards until images appear sharp.
Use of the Right Ascension and Declination Slow- Motion Control Knobs
The right ascension (R.A.) and declination (Dec.)
The object should now be visible somewhere in the telescope’s finder scope. If it isn’t, use the
9
