of the central support shaft until the three tray arms are touching the legs of the tripod. The flat side of the acces- sory tray should be facing up. Make sure the “V” of each tray arm is against a tripod leg. Place the washer back on the center support shaft against the tray, and thread the securing knob all the way up the center support shaft until it is tight against the tray. The tripod support tray provides additional stability for the tripod, and holds five 1.25" eye- pieces and two 2" eyepieces.
Azimuth | Post |
adjustment | |
knobs |
|
| |
|
|
Figure 2. Orient the equatorial mount so that the post on the tripod head lines up with the azimuth adjustment knobs on the equatorial mount.
5.Thread the Latitude adjustment
6.Thread the counterweight shaft into the equatorial mount at the base of the declination axis until tight. Make sure the casting at the top is threaded clockwise as far as it will go before attaching the shaft. Once the shaft is installed, turn the casting
7.Remove the knurled “toe saver” retaining screw on the bottom of the counterweight shaft and slide both counter- weights onto the shaft. Make sure the counterweight lock knobs are adequately loosened to allow the counterweight shaft to pass through the hole. Position the counterweights about halfway up the shaft and tighten the lock knobs. Replace the toe saver at the end of the bar. The toe saver prevents the counterweights from falling on your foot if the lock knobs happen to come loose.
8.Attach the
9.Attach the tube mounting rings to the tube mounting plate using the attachment screws that are on the tube rings. The screws should go through the holes on the outer ends
of the mounting plate and rethread into the tube rings. Note that the side of the mounting plate with the central “groove” will be facing up. Use the small wrench to secure the tube rings to the mounting plate.
10.Loosen the black mounting plate securing knob as well as the metal safety thumbscrew. Place the mounting plate in the dovetail slot on top of the equatorial mount. Position the mounting plate so that it is centered on the dovetail slot.
11.Open the tube rings and lay the telescope optical tube in the rings at about the midpoint of the tube’s length. Rotate the tube so that the focuser is at a convenient height for viewing. Close the tube rings and tighten them.
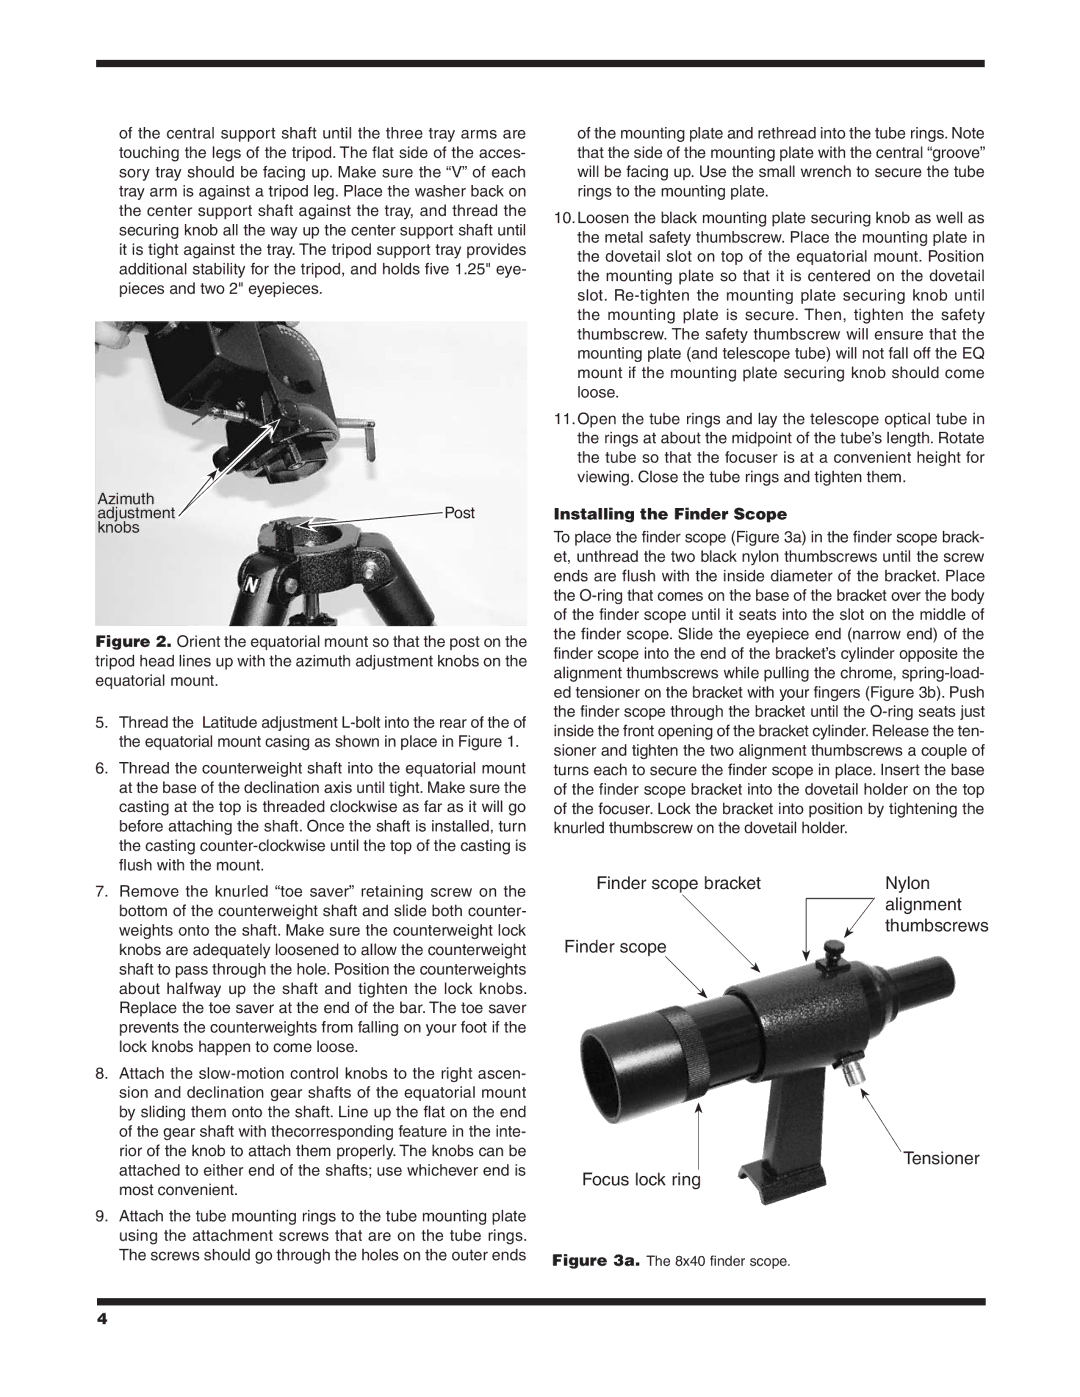
Installing the Finder Scope
To place the finder scope (Figure 3a) in the finder scope brack- et, unthread the two black nylon thumbscrews until the screw ends are flush with the inside diameter of the bracket. Place the
Finder scope bracket |
| Nylon |
|
| alignment |
|
| |
|
| thumbscrews |
Finder scope |
|
|
Tensioner
Focus lock ring
Figure 3a. The 8x40 finder scope.
4