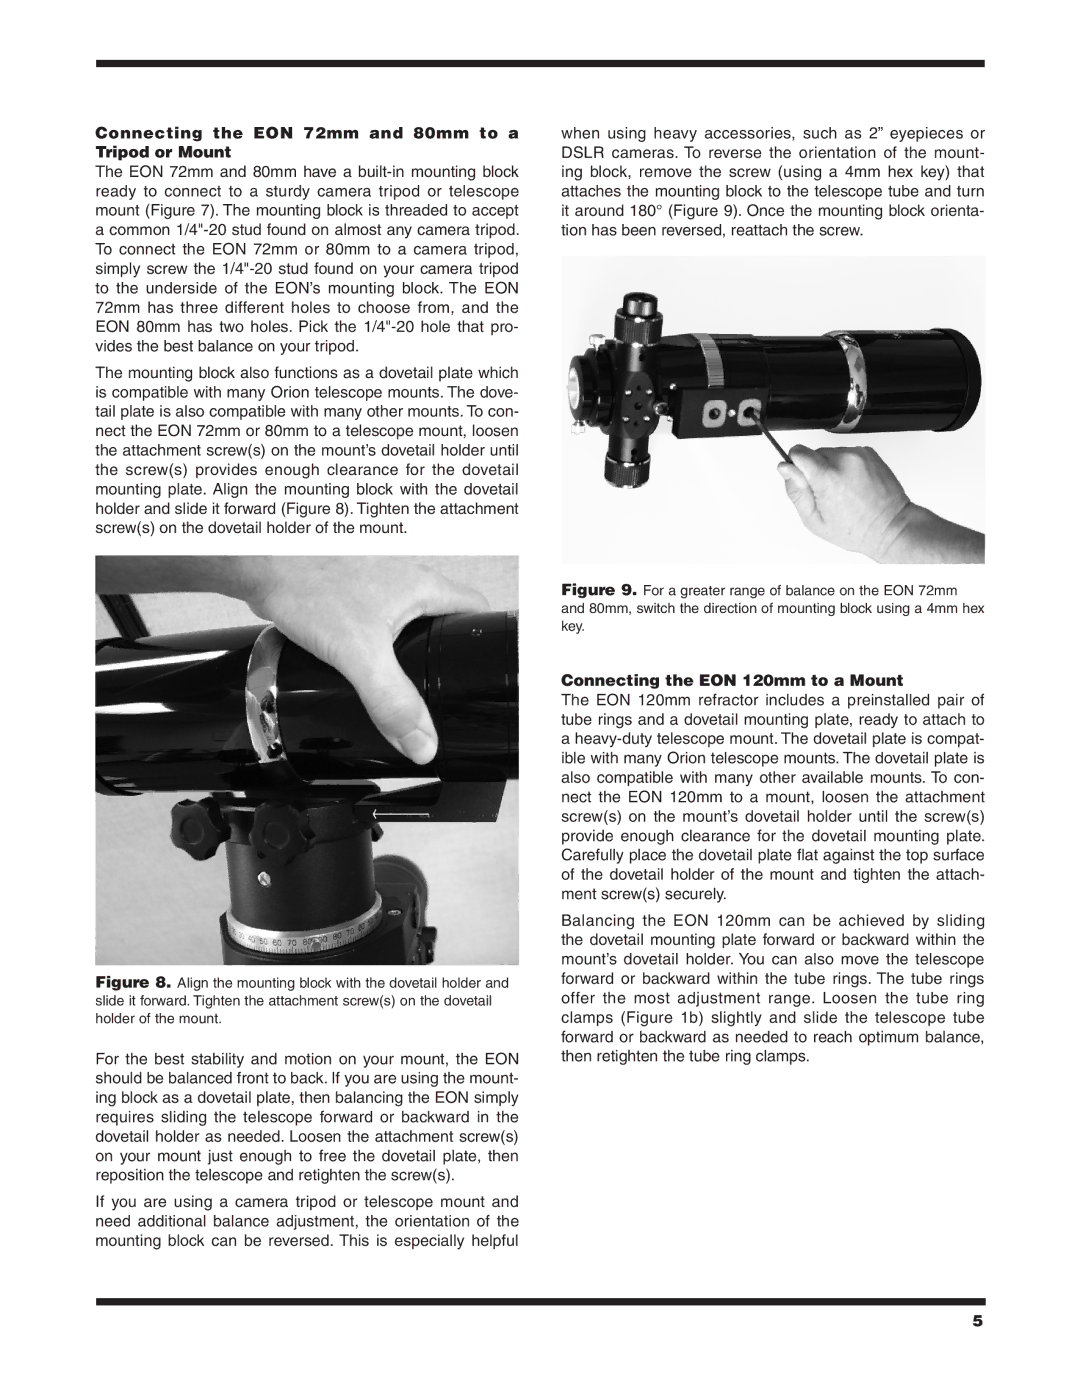
#9781 EON 72MM specifications
The Orion #9781 EON 72MM is a premium refractor telescope designed for both amateur astronomers and seasoned stargazers. Renowned for its impressive optical performance and robust build quality, the EON 72MM combines advanced technologies with user-friendly features, making it an excellent choice for those looking to explore the night sky in detail.One of the standout features of the EON 72MM is its high-quality 72mm apochromatic objective lens. This lens is engineered with exceptional glass quality that minimizes chromatic aberration and maximizes color correction. As a result, users can expect crisp, clear images with true-to-life color representation, allowing for stunning views of celestial objects such as planets, nebulae, and star clusters.
The telescope is equipped with a dual-speed 2-inch focuser, which provides precise control over focusing. This dual-speed design allows users to achieve sharp focus when observing high-magnification targets, making it easier to lock onto and appreciate fine details in distant objects. The EON 72MM also includes a 1.25-inch adapter, providing versatility in the selection of eyepieces.
Another prominent aspect of the Orion EON 72MM is its lightweight construction. Weighing in at just under 5 pounds, the telescope is highly portable, allowing astronomers to easily transport it to remote viewing locations or set it up in their backyard for a quick stargazing session. The telescope also includes a sturdy, adjustable mount that provides stability during use and enhances the overall viewing experience.
In addition to its optical quality and physical characteristics, the EON 72MM boasts impressive build quality with a robust aluminum body. The telescope’s finish is designed to withstand the rigors of transport and frequent use while offering aesthetic appeal. Moreover, with a retractable dew shield, the EON 72MM reduces the chances of dew forming on the lens, ensuring clearer views even during long observing sessions.
Overall, the Orion #9781 EON 72MM is an exemplary telescope that combines portability, excellent optics, and user-friendly features. Whether you're a beginner eager to embark on your astronomical journey or an experienced observer seeking a compact option for rich celestial views, the EON 72MM delivers superb performance and reliability, making it a valuable addition to any astronomer's toolkit.

