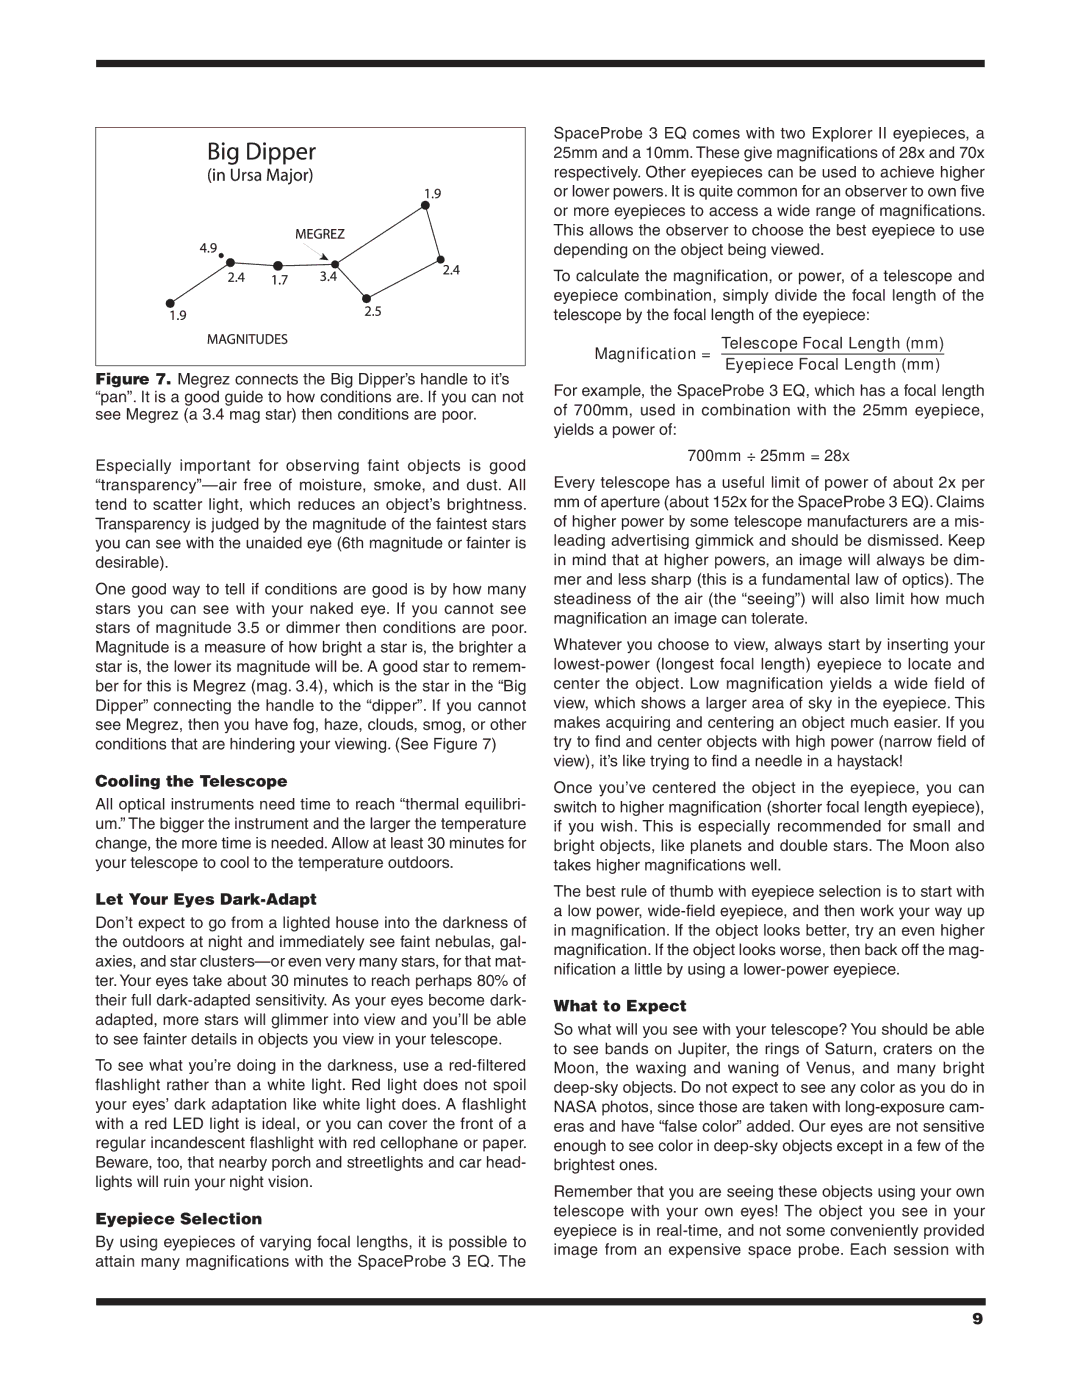
Figure 7. Megrez connects the Big Dipper’s handle to it’s “pan”. It is a good guide to how conditions are. If you can not see Megrez (a 3.4 mag star) then conditions are poor.
Especially important for observing faint objects is good “transparency”—air free of moisture, smoke, and dust. All tend to scatter light, which reduces an object’s brightness. Transparency is judged by the magnitude of the faintest stars you can see with the unaided eye (6th magnitude or fainter is desirable).
One good way to tell if conditions are good is by how many stars you can see with your naked eye. If you cannot see stars of magnitude 3.5 or dimmer then conditions are poor. Magnitude is a measure of how bright a star is, the brighter a star is, the lower its magnitude will be. A good star to remem- ber for this is Megrez (mag. 3.4), which is the star in the “Big Dipper” connecting the handle to the “dipper”. If you cannot see Megrez, then you have fog, haze, clouds, smog, or other conditions that are hindering your viewing. (See Figure 7)
Cooling the Telescope
All optical instruments need time to reach “thermal equilibri- um.” The bigger the instrument and the larger the temperature change, the more time is needed. Allow at least 30 minutes for your telescope to cool to the temperature outdoors.
Let Your Eyes Dark-Adapt
Don’t expect to go from a lighted house into the darkness of the outdoors at night and immediately see faint nebulas, gal- axies, and star
To see what you’re doing in the darkness, use a
Eyepiece Selection
By using eyepieces of varying focal lengths, it is possible to attain many magnifications with the SpaceProbe 3 EQ. The
SpaceProbe 3 EQ comes with two Explorer II eyepieces, a 25mm and a 10mm. These give magnifications of 28x and 70x respectively. Other eyepieces can be used to achieve higher or lower powers. It is quite common for an observer to own five or more eyepieces to access a wide range of magnifications. This allows the observer to choose the best eyepiece to use depending on the object being viewed.
To calculate the magnification, or power, of a telescope and eyepiece combination, simply divide the focal length of the telescope by the focal length of the eyepiece:
Magnification = Telescope Focal Length (mm)
Eyepiece Focal Length (mm)
For example, the SpaceProbe 3 EQ, which has a focal length of 700mm, used in combination with the 25mm eyepiece, yields a power of:
700mm ÷ 25mm = 28x
Every telescope has a useful limit of power of about 2x per
mmof aperture (about 152x for the SpaceProbe 3 EQ). Claims of higher power by some telescope manufacturers are a mis- leading advertising gimmick and should be dismissed. Keep in mind that at higher powers, an image will always be dim- mer and less sharp (this is a fundamental law of optics). The steadiness of the air (the “seeing”) will also limit how much magnification an image can tolerate.
Whatever you choose to view, always start by inserting your
Once you’ve centered the object in the eyepiece, you can switch to higher magnification (shorter focal length eyepiece), if you wish. This is especially recommended for small and bright objects, like planets and double stars. The Moon also takes higher magnifications well.
The best rule of thumb with eyepiece selection is to start with a low power,
What to Expect
So what will you see with your telescope? You should be able to see bands on Jupiter, the rings of Saturn, craters on the Moon, the waxing and waning of Venus, and many bright
Remember that you are seeing these objects using your own telescope with your own eyes! The object you see in your eyepiece is in
9