INSTALLING THE CROSSOVER
There is a tweeter level jumper for adjusting the tweeter.. Cutting this jumper will change the output gain of the tweeter.. Where the adjustment should be depends on the location of the tweeter and your preference.. Adjustments can be made from 0dB to
Use wire tie or screws to secure crossover housing in place..
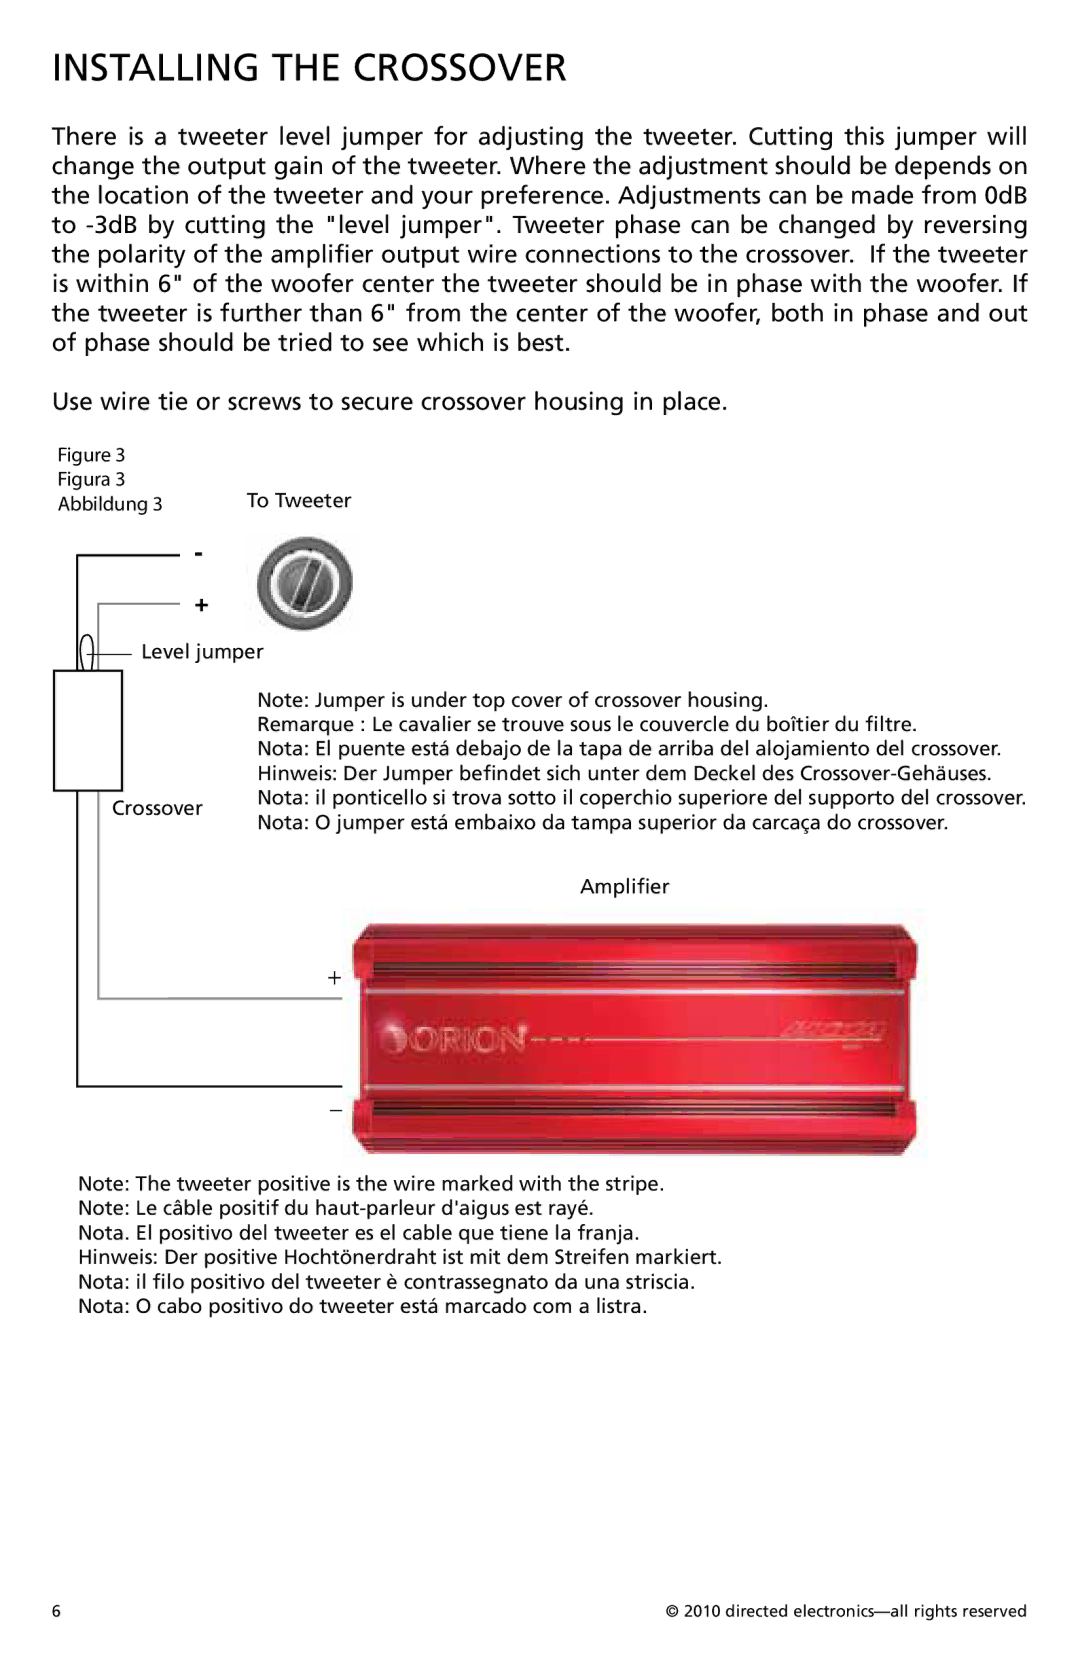
Figure 3 |
|
Figura 3 | To Tweeter |
Abbildung 3 |
-
+
![]() Level jumper
Level jumper
Note: Jumper is under top cover of crossover housing.
Remarque : Le cavalier se trouve sous le couvercle du boîtier du filtre.
Nota: El puente está debajo de la tapa de arriba del alojamiento del crossover.
Hinweis: Der Jumper befindet sich unter dem Deckel des
Crossover Nota: il ponticello si trova sotto il coperchio superiore del supporto del crossover. Nota: O jumper está embaixo da tampa superior da carcaça do crossover.
Amplifier
+
_
Note: The tweeter positive is the wire marked with the stripe.
Note: Le câble positif du
Nota. El positivo del tweeter es el cable que tiene la franja.
Hinweis: Der positive Hochtönerdraht ist mit dem Streifen markiert.
Nota: il filo positivo del tweeter è contrassegnato da una striscia.
Nota: O cabo positivo do tweeter está marcado com a listra.
6 | © 2010 directed |