Oster 128342 Using Your Oster Multi-Use Rice Cooker, Preparing Your Rice Cooker, Rice And Grain

Models: 128342

1 10
Download 10 pages 35.05 Kb
Page 3
Image 3

USING YOUR OSTER® MULTI-USE RICE COOKER

PREPARING YOUR RICE COOKER

Remove any labels or stickers from appliance.

Thoroughly wash Glass Lid, Inner Pot, Paddle, Steaming Tray and Measuring Cup in warm, soapy water before first use, then rinse and dry carefully.

USING YOUR MULTI-USE RICE COOKER

1.Make sure appliance is unplugged.

2.Measure raw rice for desired amount with the Measuring Cup (160 ml) provided.

3.Add rice to inner pot. One cup of the uncooked rice will make about two cups of cooked rice. Unit allows for a maximum of 7 cups (1.2 L) uncooked rice.

4.By using the Measuring Cup, add proper amount of water to the rice inside the Inner Pot (for every cup (160ml) of raw rice, add 1-1/2 cups of water). For stickier rice, add slightly more water. For fluffier rice, use slightly less water.

5.Set the Inner Pot into the Rice Cooker. Make sure that the Inner Pot sits directly in contact with the heating plate by turning it slightly from right to left until it is seated properly. Cover with Lid. DO NOT OPERATE THIS APPLIANCE UNCOVERED. STEAM IS GENERATED DURING USE.

6.Plug the Power Cord into an electrical outlet. Activate the Rice Cooker by pushing down on the On-Switch Button. Make sure the Cook Light (red) is on.

7.After 15 minutes, stir rice. Lift and remove the Lid carefully to avoid scalding and allow water to drip into the Inner Pot. Use the Paddle or another long handheld utensil to scoop and stir rice. After stirring, cover the Inner Pot with the Lid.

8.When your rice is cooked, the Rice Cooker will automatically switch to the warm function and the Keep Warm Light (yellow) will turn on. The Rice Cooker will keep the rice warm until the unit is disconnected from the wall outlet.

9.The Rice Cooker will automatically keep rice warm at 140°F – 175°F (60°C – 80°C).

10.When the rice temperature dips below this range, the yellow Keep Warm Light will turn off and the red Cook Light will turn on indicating that the heat preservation process has begun. When the rice temperature reaches 140°F, the Keep Warm Light (yellow) will once again turn on and the Cook Light (red) will turn off.

11.Allow the appliance to cool completely before cleaning. Disconnect the plug from the wall outlet when not in use.

RICE AND GRAIN

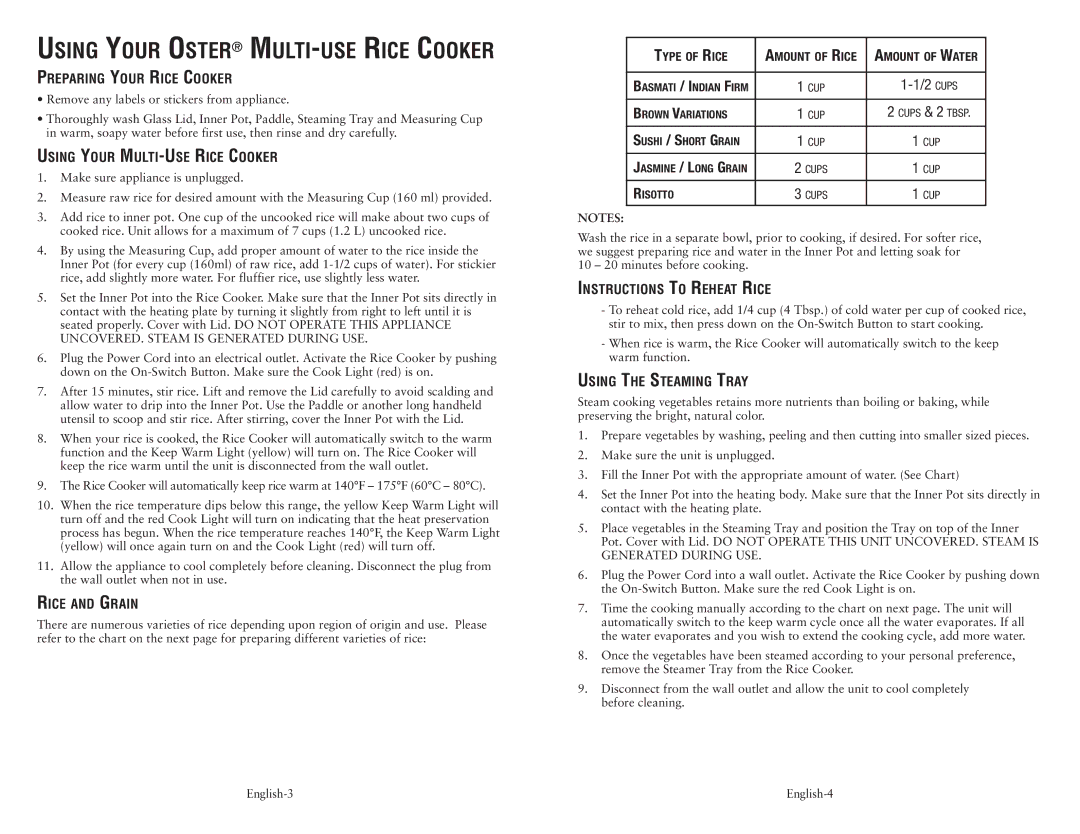
There are numerous varieties of rice depending upon region of origin and use. Please refer to the chart on the next page for preparing different varieties of rice:

TYPE OF RICE

AMOUNT OF RICE

AMOUNT OF WATER


BASMATI / INDIAN FIRM

1 CUP

1-1/2 CUPS


BROWN VARIATIONS

1 CUP

2 CUPS & 2 TBSP.


SUSHI / SHORT GRAIN

1 CUP

1 CUP


JASMINE / LONG GRAIN

2 CUPS

1 CUP


RISOTTO

3 CUPS

1 CUP


NOTES:

Wash the rice in a separate bowl, prior to cooking, if desired. For softer rice, we suggest preparing rice and water in the Inner Pot and letting soak for 10 – 20 minutes before cooking.

INSTRUCTIONS TO REHEAT RICE

-To reheat cold rice, add 1/4 cup (4 Tbsp.) of cold water per cup of cooked rice, stir to mix, then press down on the On-Switch Button to start cooking.

-When rice is warm, the Rice Cooker will automatically switch to the keep warm function.

USING THE STEAMING TRAY

Steam cooking vegetables retains more nutrients than boiling or baking, while preserving the bright, natural color.

1.Prepare vegetables by washing, peeling and then cutting into smaller sized pieces.

2.Make sure the unit is unplugged.

3.Fill the Inner Pot with the appropriate amount of water. (See Chart)

4.Set the Inner Pot into the heating body. Make sure that the Inner Pot sits directly in contact with the heating plate.

5.Place vegetables in the Steaming Tray and position the Tray on top of the Inner Pot. Cover with Lid. DO NOT OPERATE THIS UNIT UNCOVERED. STEAM IS GENERATED DURING USE.

6.Plug the Power Cord into a wall outlet. Activate the Rice Cooker by pushing down the On-Switch Button. Make sure the red Cook Light is on.

7.Time the cooking manually according to the chart on next page. The unit will automatically switch to the keep warm cycle once all the water evaporates. If all the water evaporates and you wish to extend the cooking cycle, add more water.

8.Once the vegetables have been steamed according to your personal preference, remove the Steamer Tray from the Rice Cooker.

9.Disconnect from the wall outlet and allow the unit to cool completely before cleaning.

English-3

English-4

Page 3
Image 3
Oster 128342 Using Your Oster Multi-Use Rice Cooker, Preparing Your Rice Cooker, Using Your Multi-Use Rice Cooker