Features of Your Stand Mixer (cont.)
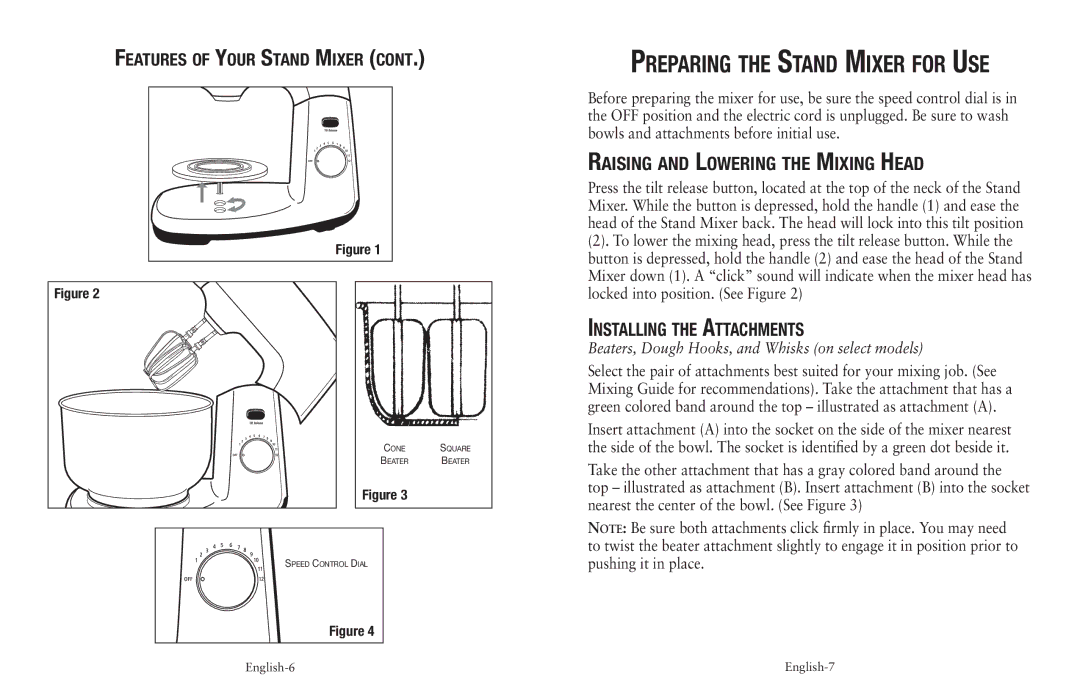
Figure 1
Figure 2
Cone Square
Beater Beater
Figure 3
Speed Control Dial
Figure 4
Preparing the Stand Mixer for Use
Before preparing the mixer for use, be sure the speed control dial is in the OFF position and the electric cord is unplugged. Be sure to wash bowls and attachments before initial use.
Raising and Lowering the Mixing Head
Press the tilt release button, located at the top of the neck of the Stand Mixer. While the button is depressed, hold the handle (1) and ease the head of the Stand Mixer back. The head will lock into this tilt position
(2). To lower the mixing head, press the tilt release button. While the button is depressed, hold the handle (2) and ease the head of the Stand Mixer down (1). A “click” sound will indicate when the mixer head has locked into position. (See Figure 2)
Installing the Attachments
Beaters, Dough Hooks, and Whisks (on select models)
Select the pair of attachments best suited for your mixing job. (See Mixing Guide for recommendations). Take the attachment that has a green colored band around the top – illustrated as attachment (A).
Insert attachment (A) into the socket on the side of the mixer nearest the side of the bowl. The socket is identified by a green dot beside it.
Take the other attachment that has a gray colored band around the top – illustrated as attachment (B). Insert attachment (B) into the socket nearest the center of the bowl. (See Figure 3)
Note: Be sure both attachments click firmly in place. You may need to twist the beater attachment slightly to engage it in position prior to pushing it in place.