ELECTRICAL CONNECTION
a.Make sure your car battery is a 12 volt (6 filler caps) negative ground system (if not, a converter will be necessary).
b.Before starting wiring connections, disconnect the power supply by removing the fuse from the fuse box.
c.Connect the power wire to one of the extra terminals of the fuse box.
d.Connect the black ground wire to a metal part of the car. It is important to make good contact.
e.Make other wiring connections as shown.
f.If your car does not have ISO connector, you can procure it from any car accessory shop.
Notes: INCORRECT WIRING OR OPERATION WILL AVOID THE WARRANTY OF THIS UNIT.
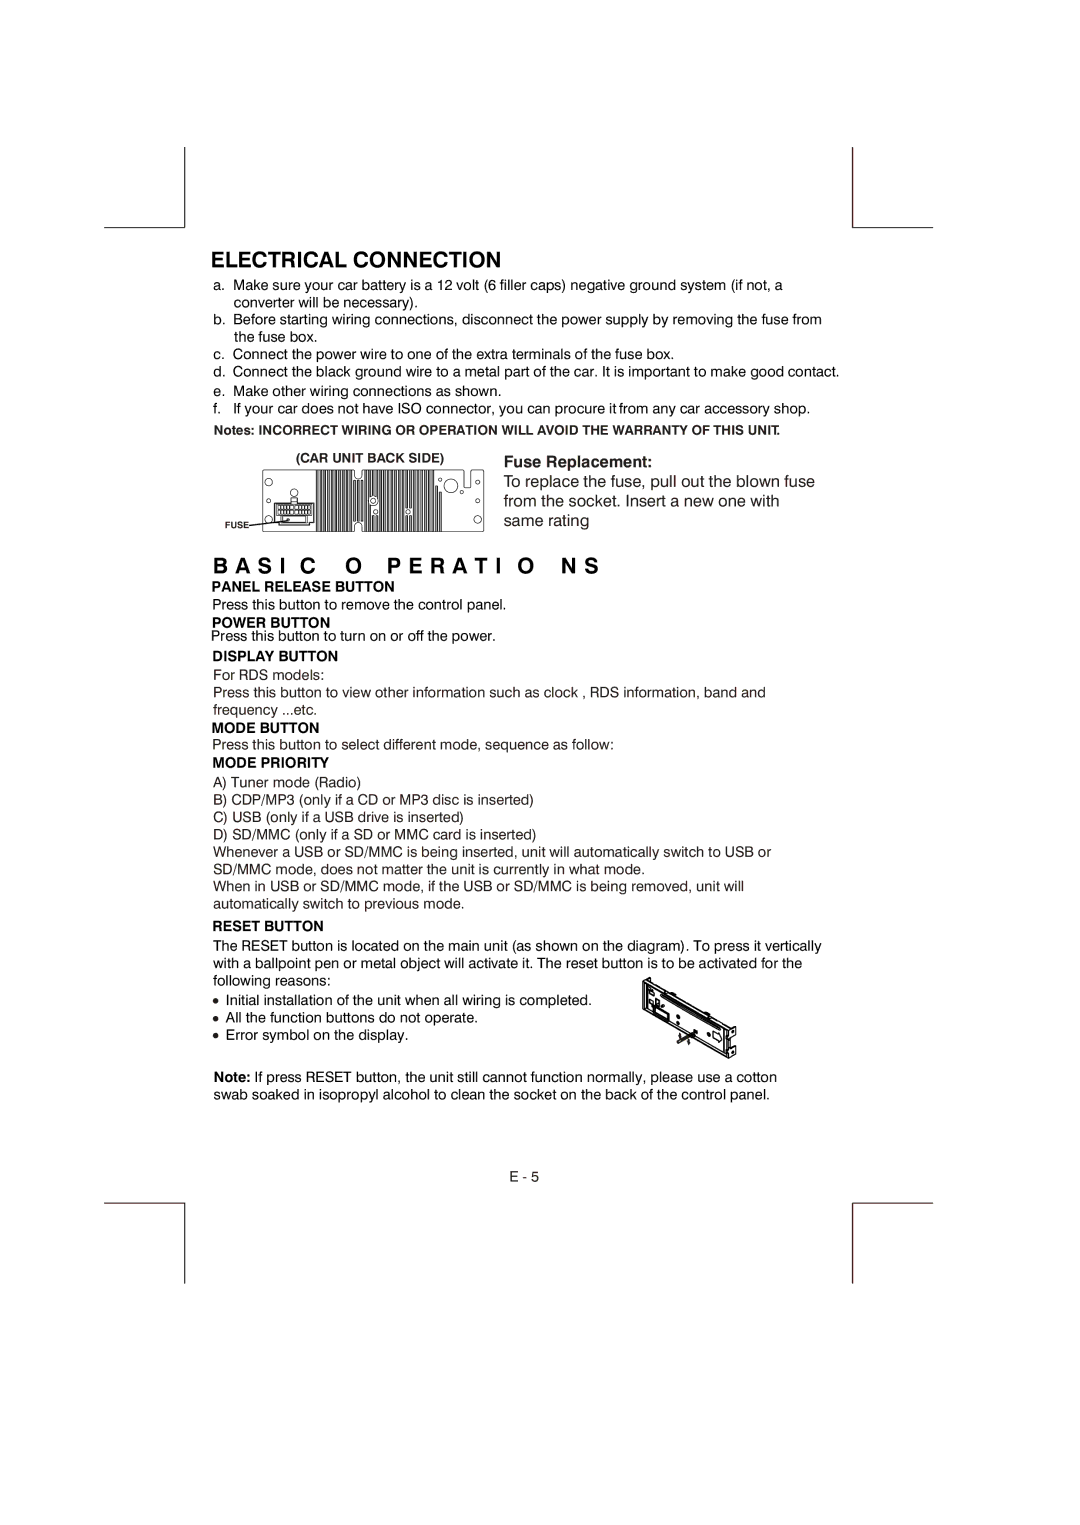
(CAR UNIT BACK SIDE) | Fuse Replacement: |
FUSE![]()
![]()
To replace the fuse, pull out the blown fuse
from the socket. Insert a new one with
same rating
B A S I C O P E R A T I O N S
PANEL RELEASE BUTTON
Press this button to remove the control panel.
POWER BUTTON
Press this button to turn on or off the power.
DISPLAY BUTTON
For RDS models:
Press this button to view other information such as clock , RDS information, band and frequency ...etc.
MODE BUTTON
Press this button to select different mode, sequence as follow:
MODE PRIORITY
A)Tuner mode (Radio)
B)CDP/MP3 (only if a CD or MP3 disc is inserted)
C)USB (only if a USB drive is inserted)
D)SD/MMC (only if a SD or MMC card is inserted)
Whenever a USB or SD/MMC is being inserted, unit will automatically switch to USB or SD/MMC mode, does not matter the unit is currently in what mode.
When in USB or SD/MMC mode, if the USB or SD/MMC is being removed, unit will automatically switch to previous mode.
RESET BUTTON
The RESET button is located on the main unit (as shown on the diagram). To press it vertically with a ballpoint pen or metal object will activate it. The reset button is to be activated for the following reasons:![]()
![]()
![]()
Initial installation of the unit when all wiring is completed.
All the function buttons do not operate.
Error symbol on the display.
Note: If press RESET button, the unit still cannot function normally, please use a cotton swab soaked in isopropyl alcohol to clean the socket on the back of the control panel.
E - 5