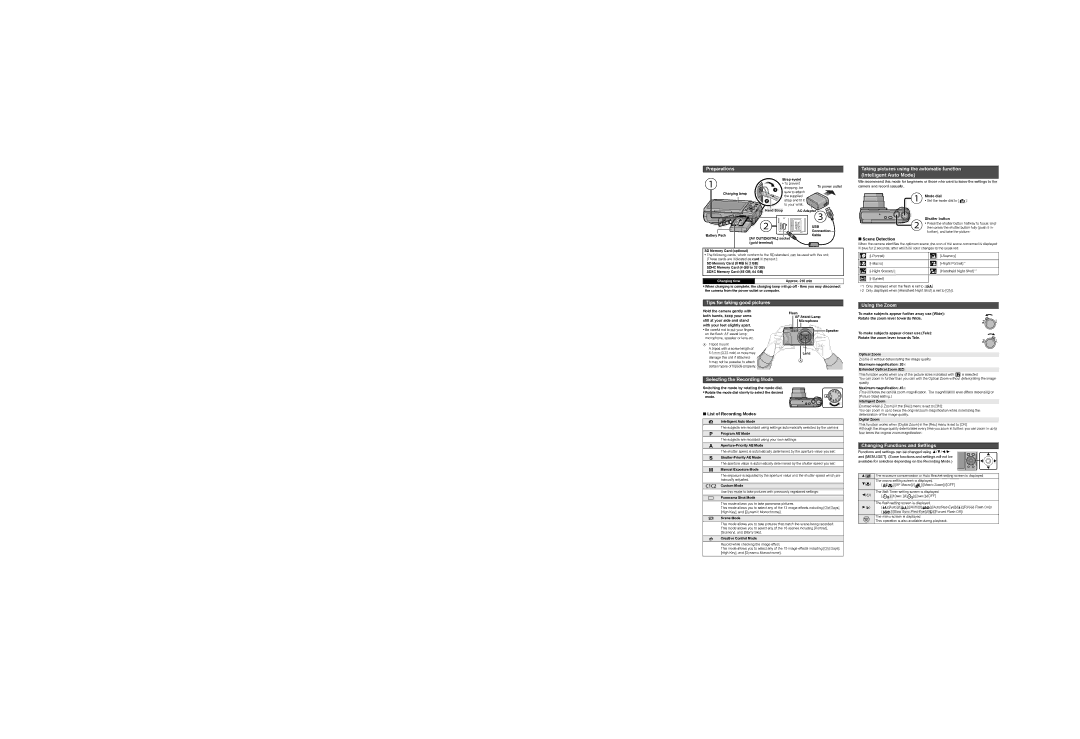
Preparations
Strap eyelet |
| |
• To prevent | To power outlet | |
| dropping, be | |
Charging lamp | sure to attach |
|
the supplied |
| |
|
| |
| strap and fit it |
|
| to your wrist. |
|
Hand Strap | AC Adaptor | |
|
| USB |
|
| Connection |
Battery Pack |
| Cable |
[AV OUT/DIGITAL] socket |
| |
(gold terminal) |
|
|
SD Memory Card (optional)
•The following cards, which conform to the SD standard, can be used with this unit. (These cards are indicated as card in the text.)
SD Memory Card (8 MB to 2 GB) SDHC Memory Card (4 GB to 32 GB) SDXC Memory Card (48 GB, 64 GB)
Charging time | Approx. 210 min |
•When charging is complete, the charging lamp will go off - then you may disconnect the camera from the power outlet or computer.
Tips for taking good pictures
Taking pictures using the automatic function
(Intelligent Auto Mode)
We recommend this mode for beginners or those who want to leave the settings to the camera and record casually.
Mode dial
•Set the mode dial to [ ![]() ].
].
Shutter button
• Press the shutter button halfway to focus, and then press the shutter button fully (push it in further), and take the picture.
∫Scene Detection
When the camera identifies the optimum scene, the icon of the scene concerned is displayed in blue for 2 seconds, after which its color changes to the usual red.
|
|
|
| ||||
|
|
|
| ||||
|
|
|
| ||||
|
|
|
|
|
|
|
|
|
|
|
| ||||
|
|
|
| ||||
|
|
|
| ||||
|
|
|
|
|
|
|
|
|
|
|
| [iHandheld Night Shot]¢2 | |||
|
|
|
| ||||
|
|
|
| ||||
|
|
|
|
|
|
|
|
|
|
|
|
| |||
|
|
|
|
| |||
|
|
|
|
| |||
|
|
|
|
|
|
|
|
¢1 | Only displayed when the flash is set to [ |
|
| ]. |
| ||
|
| ||||||
¢2 | Only displayed when [iHandheld Night Shot] is set to [ON]. | ||||||
Using the Zoom
Hold the camera gently with both hands, keep your arms still at your side and stand with your feet slightly apart.
•Be careful not to put your fingers on the flash, AF assist lamp, microphone, speaker or lens etc.
ATripod mount
A tripod with a screw length of 5.5 mm (0.22 inch) or more may damage this unit if attached.
It may not be possible to attach certain types of tripods properly.
Flash
AF Assist Lamp
Microphone
Speaker |
Lens
To make subjects appear further away use (Wide):
Rotate the zoom lever towards Wide.
To make subjects appear closer use (Tele):
Rotate the zoom lever towards Tele.
Optical Zoom
Zooms in without deteriorating the image quality.
Maximum magnification: 20k
Extended Optical Zoom (EZ)
This function works when any of the picture sizes indicated with ![]() is selected.
is selected.
Selecting the Recording Mode
Switching the mode by rotating the mode dial.
• Rotate the mode dial slowly to select the desired mode.
∫List of Recording Modes
¦Intelligent Auto Mode
The subjects are recorded using settings automatically selected by the camera.
Program AE Mode
The subjects are recorded using your own settings.
The shutter speed is automatically determined by the aperture value you set.
The aperture value is automatically determined by the shutter speed you set.
Manual Exposure Mode
The exposure is adjusted by the aperture value and the shutter speed which are manually adjusted.
Custom Mode
Use this mode to take pictures with previously registered settings.
Panorama Shot Mode
This mode allows you to take panorama pictures.
This mode allows you to select any of the 13 image effects including [Old Days], [High Key], and [Dynamic Monochrome].
ÛScene Mode
This mode allows you to take pictures that match the scene being recorded. This mode allows you to select any of the 16 scenes including [Portrait], [Scenery], and [Starry Sky].
Creative Control Mode
Record while checking the image effect.
This mode allows you to select any of the 15 image effects including [Old Days], [High Key], and [Dynamic Monochrome].
You can zoom in further than you can with the Optical Zoom without deteriorating the image quality.
Maximum magnification: 45k
(This includes the optical zoom magnification. The magnification level differs depending on [Picture Size] setting.)
Intelligent Zoom
Enabled when [i.Zoom] in the [Rec] menu is set to [ON].
You can zoom in up to twice the original zoom magnification while minimizing the deterioration of the image quality.
Digital Zoom
This function works when [Digital Zoom] in the [Rec] menu is set to [ON].
Although the image quality deteriorates every time you zoom in further, you can zoom in up to four times the original zoom magnification.
Changing Functions and Settings
Functions and settings can be changed using 3/4/2/1 and [MENU/SET]. (Some functions and settings will not be available for selection depending on the Recording Mode.)
3(È) | The exposure compensation or Auto Bracket setting screen is displayed. | ||||||
4(#) | The macro setting screen is displayed. | ||||||
[ | ]([AF Macro])/[ | ]([Macro Zoom])/[OFF] | |||||
|
|
|
| ||||
2(ë) | The | ||||||
[ | ]([10sec.])/[ | ]([2sec.])/[OFF] | |||||
|
|
|
| ||||
| The flash setting screen is displayed. | ||||||
1(‰) | [‡]([Auto])/[ |
|
| ]([iAuto])/[ | |||
| |||||||
| [ | ]([Slow | |||||
The menu screen is displayed.
This operation is also available during playback.
