6Press the home button to close the browser.
7Turn on the
0123456789ABC |
8Select the SSID displayed on the screen of the camera.
9Return to the home screen, and then start “Image App”.
• Steps 2 through 6 are not required from the second time on.
Using the QR code to set up a connection (If you are using an Android device)
1Press and hold [Wi-Fi].
• The QR code will be displayed on the camera screen.
Please set on your smartphone |
|
Please scan the QR code using "Image App", | |
or enter the password into |
|
SSID: |
|
Password: | QR code |
| |
Change method | Cancel |
2On the smartphone/tablet, start “Image App”.
3Select [QR code].
4Using “Image App”, scan the QR code displayed on the screen of the camera.
∫Entering a password to set up a connection
1Press and hold [Wi-Fi].
• The Password will be displayed on the camera screen.
Please set on your smartphone
Please scan the QR code using "Image App",
(For Windows)
Supported OS: WindowsR XP/Windows VistaR/WindowsR 7/WindowsR 8/WindowsR 8.1
Example: Windows 7
1Select a destination folder, then
2Select [Properties], then enable sharing of the folder.
• For details, refer to the operating instructions of your PC or Help on the OS.
(For Mac)
Supported OS: OS X v10.5 to v10.9
Example: OS X v10.8
1Select a destination folder, then click the following items: [File] > [Get Info]
2Enable sharing of the folder.
• For details, refer to the operating instructions of your PC or Help on the OS.
Sending images to the PC
You can send pictures and motion pictures recorded with this unit to a PC.
The connection methods described in this manual are examples. For details on other connection methods, refer to “Owner’s Manual for advanced features (PDF format)”.
Preparations:
•If the workgroup of the destination PC has been changed from the standard setting, you also need to change the setting of this unit in [PC Connection].
1 Press
2 | Press 3/4/2/1 to select [New Connection], and then press [MENU/SET]. | |
3 | Press 3/4 to select the sending method. |
|
| Sending an image each time you record it ([Send | Select a function |
| Images While Recording]) | |
| Remote Shooting & View | |
| Available file format: JPEG | |
| Send Images While Recording | |
|
| |
| Sending selected images ([Send Images Stored in the | Send Images Stored in the Camera |
| Camera]) |
|
| Available file format: JPEG/MP4 |
|
or enter the password into
SSID: ![]()
Password: ![]()
SSID
Password
Cancel | Select | Set |
4 | Press 3/4 to select [PC], and then press [MENU/SET]. |
5 | Select the connection method. |
Change method | Cancel |
2Turn on the
3Select the SSID displayed on the screen of the camera.
4Enter the password displayed on the screen of the ![]()
camera.
• If you are using an Android device, marking the box for | ||||
password display will allow the device to display the |
|
|
|
|
password as you enter it. |
| 0123456789ABC | ||
5 On the smartphone/tablet, start “Image App”. |
|
|
|
|
|
|
|
| |
|
|
|
|
|
Controlling the camera with the smartphone/tablet
∫Recording images with the smartphone/tablet (remote recording)
1 Connect to a smartphone/tablet.
2 Select [ ![]() ] on the screen of “Image App”.
] on the screen of “Image App”. ![]()
• The recorded images are saved in the camera.
• Motion pictures cannot be recorded.
∫Playing back the camera’s images on the
smartphone/tablet
1 | Connect to a smartphone/tablet. | ||
2 | Select [ |
| ] on the screen of “Image App”. |
• Images in the camera are displayed on the screen of the smartphone/tablet.
3 Touch an image to enlarge it.
• Motion pictures cannot be played back.
∫ Saving the camera’s images in the smartphone/tablet
1 Connect to a smartphone/tablet.
2 Select [ ![]()
![]()
![]() ] on the screen of “Image App”.
] on the screen of “Image App”.
3 Press and hold an image, and drag it to save it on the smartphone/tablet.
• Motion pictures cannot be saved.
∫Sending location information to the camera from a smartphone/tablet
You can acquire location information from a smartphone/tablet, and write it on images afterwards.
• Read the [Help] in the “Image App” menu for further details on how to operate.
Setting up a connection to a PC via a wireless access point
Creating a destination folder for images
To send pictures to a PC, you need to create a destination folder on the PC in advance.
•Create a PC user account [account name (up to 254 characters) and password (up to 32 characters)] consisting of alphanumeric characters.
An attempt to create a receive folder may fail if the account includes
Example: Selecting [WPS |
1 | Select [Via Network]. | Select connection method |
| |
2 | Select [WPS |
| ||
Connect to the | Via Network |
| ||
|
| network (AP) | Direct |
|
|
|
|
| |
|
| Cancel | Select | Set |
3 | Press and hold the WPS button of the wireless | (Example) |
|
|
| access point until it switches to WPS mode. |
|
|
|
6On the camera, perform the operation that matches your purpose.
[Send Images While Recording]
1 Select the PC you want to connect to and the destination folder.
2 Take a picture with the camera.
[Send Images Stored in the Camera]
1 Select the PC you want to connect to and the destination folder.
2 Select [SINGLE] or [MULTI], and then select the images you want to send.
•When the PC you want to connect to is not displayed, select [Manual Input], and enter the computer name of the PC (NetBIOS name for Apple Mac computers).
•Folders sorted by the sent date are created in the specified folder, and pictures are saved in those folders.
•If the screen for a user account and password entry appears, enter the one you set on your PC.
•When the computer name (NetBIOS name for Apple Mac computers) contains a space (blank character), etc., it may not be recognized correctly. If a connection attempt fails, we recommend that you change the computer name (or NetBIOS name) to the one consisting of only alphanumeric characters, with a maximum of 15 characters.
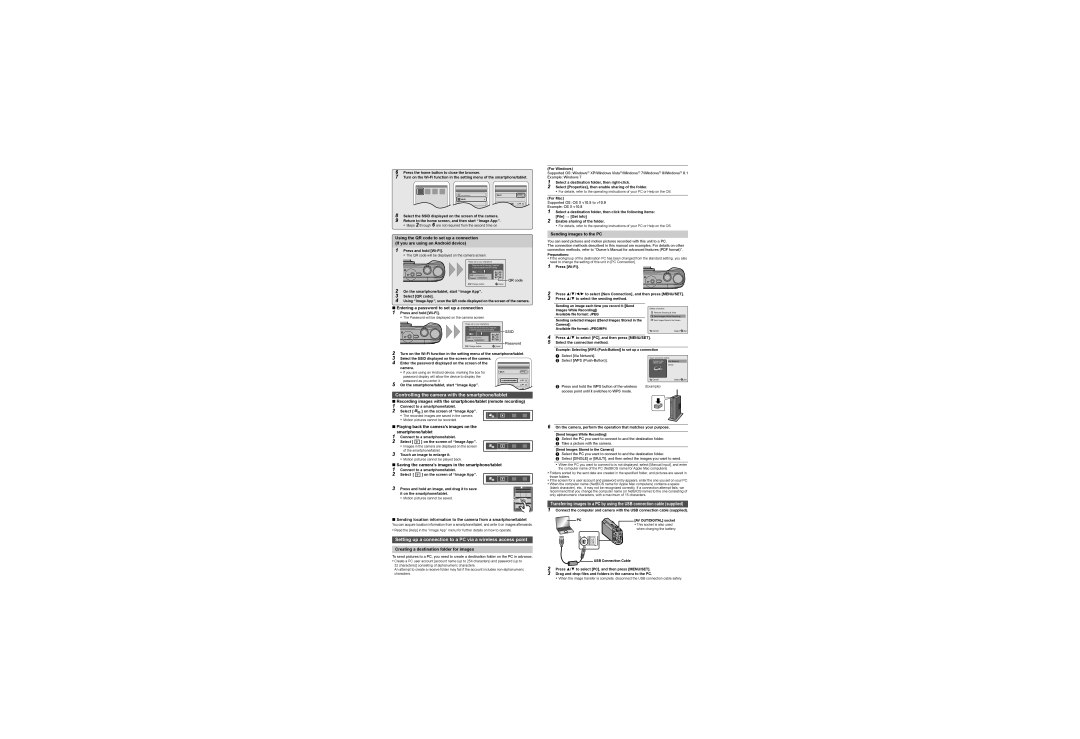
Transferring images to a PC by using the USB connection cable (supplied)
1Connect the computer and camera with the USB connection cable (supplied).
PC | [AV OUT/DIGITAL] socket |
• This socket is also used when charging the battery.
![]() USB Connection Cable
USB Connection Cable
2Press 3/4 to select [PC], and then press [MENU/SET].
3Drag and drop files and folders in the camera to the PC.
• When the image transfer is complete, disconnect the USB connection cable safely.