Turning on/off the unit
Press [POWER Í].
The unit is turned off when [POWER Í] is pressed again.
≥ Press [POWER Í] for approx. 0.5 seconds to turn on the |
unit when the battery pack and the remote control are used. |
≥ The power is shut off if the screen is closed while the power |
is “On”. |
≥ When the “Automatic Standby (No Action)” is set to “On” |
(initially set to “On”), the unit will be turned off automatically |
after 15 minutes |
(5 minutes when the battery pack is used) when it is in |
stopped status (> 29). |
Showing FUNCTION MENU
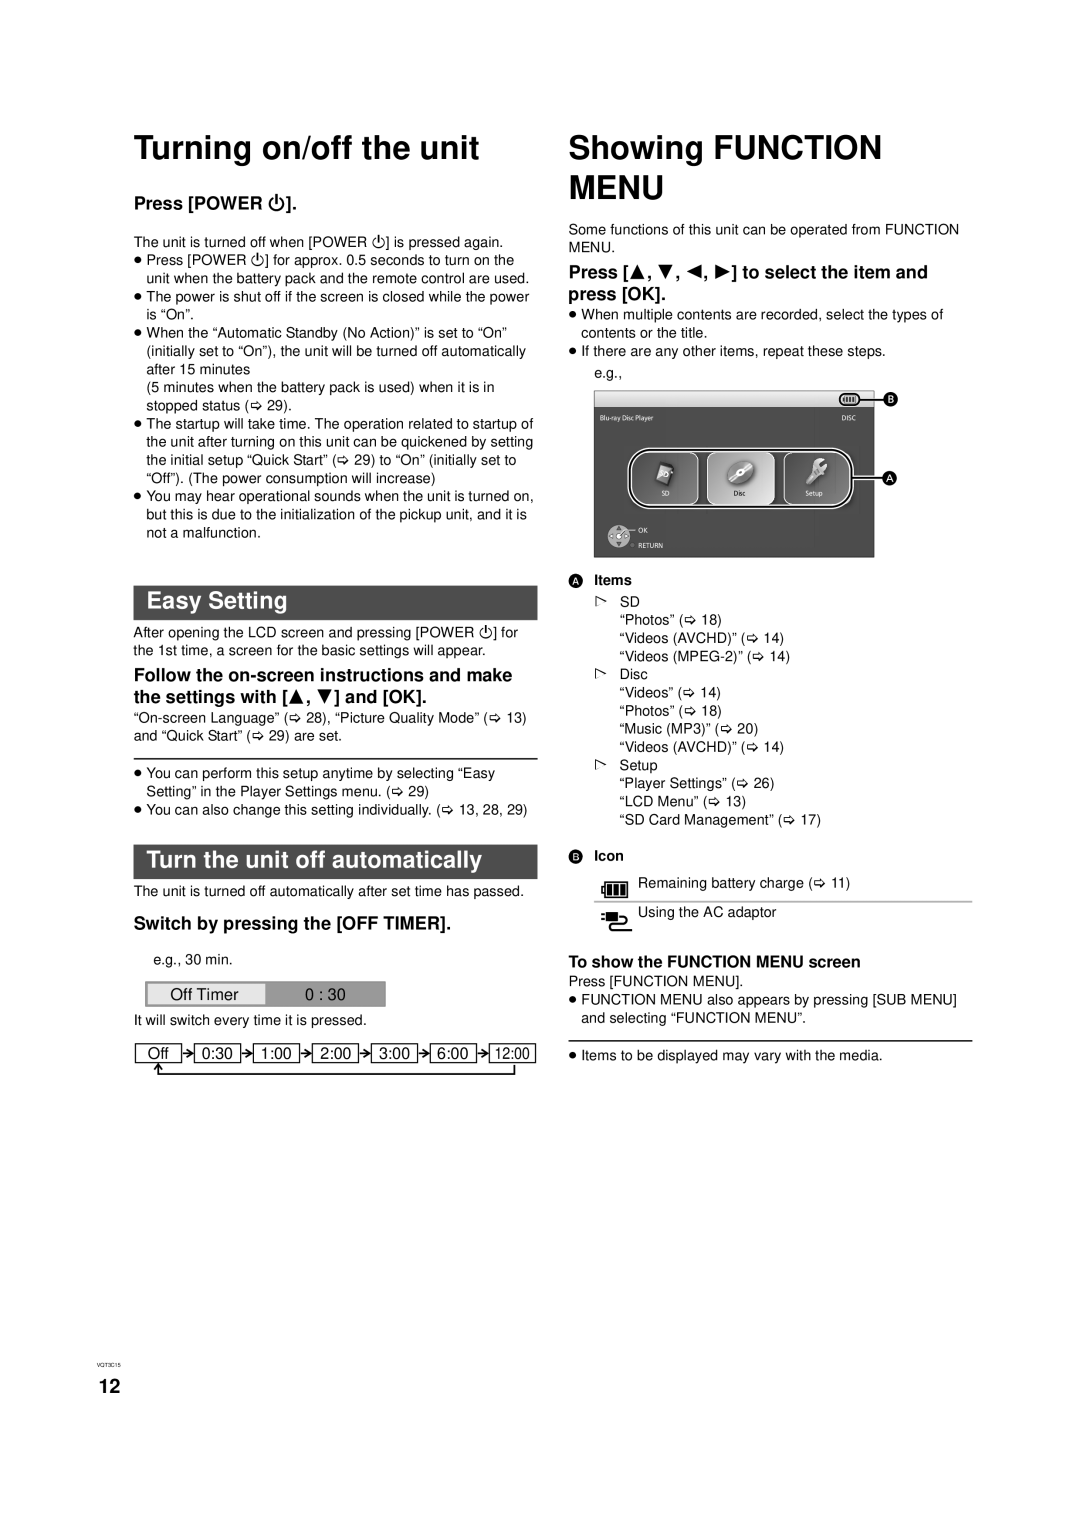
Some functions of this unit can be operated from FUNCTION MENU.
Press [3, 4, 2, 1] to select the item and press [OK].
≥When multiple contents are recorded, select the types of contents or the title.
≥If there are any other items, repeat these steps.
e.g.,
≥ The startup will take time. The operation related to startup of |
the unit after turning on this unit can be quickened by setting |
the initial setup “Quick Start” (> 29) to “On” (initially set to |
“Off”). (The power consumption will increase) |
≥ You may hear operational sounds when the unit is turned on, |
but this is due to the initialization of the pickup unit, and it is |
not a malfunction. |
ャㄍㄖノㄓㄚチュㄊㄔチヱㄍㄚㄆㄓ
SD
![]() OK
OK
![]() RETURN
RETURN
ュリヴヤ
DiscSetup
Easy Setting
After opening the LCD screen and pressing [POWER Í] for the 1st time, a screen for the basic settings will appear.
Follow the
≥You can perform this setup anytime by selecting “Easy Setting” in the Player Settings menu. (> 29)
≥You can also change this setting individually. (> 13, 28, 29)
Turn the unit off automatically
The unit is turned off automatically after set time has passed.
Switch by pressing the [OFF TIMER].
e.g., 30 min.
Off Timer | 0 : 30 |
It will switch every time it is pressed.
Off 

 0:30
0:30 

 1:00
1:00 

 2:00
2:00 

 3:00
3:00 

 6:00
6:00 

 12:00
12:00
AItems
!SD
“Photos” (> 18)
“Videos (AVCHD)” (> 14) “Videos
!Disc
“Videos” (> 14) “Photos” (> 18) “Music (MP3)” (> 20) “Videos (AVCHD)” (> 14)
!Setup
“Player Settings” (> 26) “LCD Menu” (> 13)
“SD Card Management” (> 17)
BIcon
Remaining battery charge (> 11)
Using the AC adaptor
To show the FUNCTION MENU screen
Press [FUNCTION MENU].
≥FUNCTION MENU also appears by pressing [SUB MENU] and selecting “FUNCTION MENU”.
≥Items to be displayed may vary with the media.
VQT3C15
12