Things You Should Know
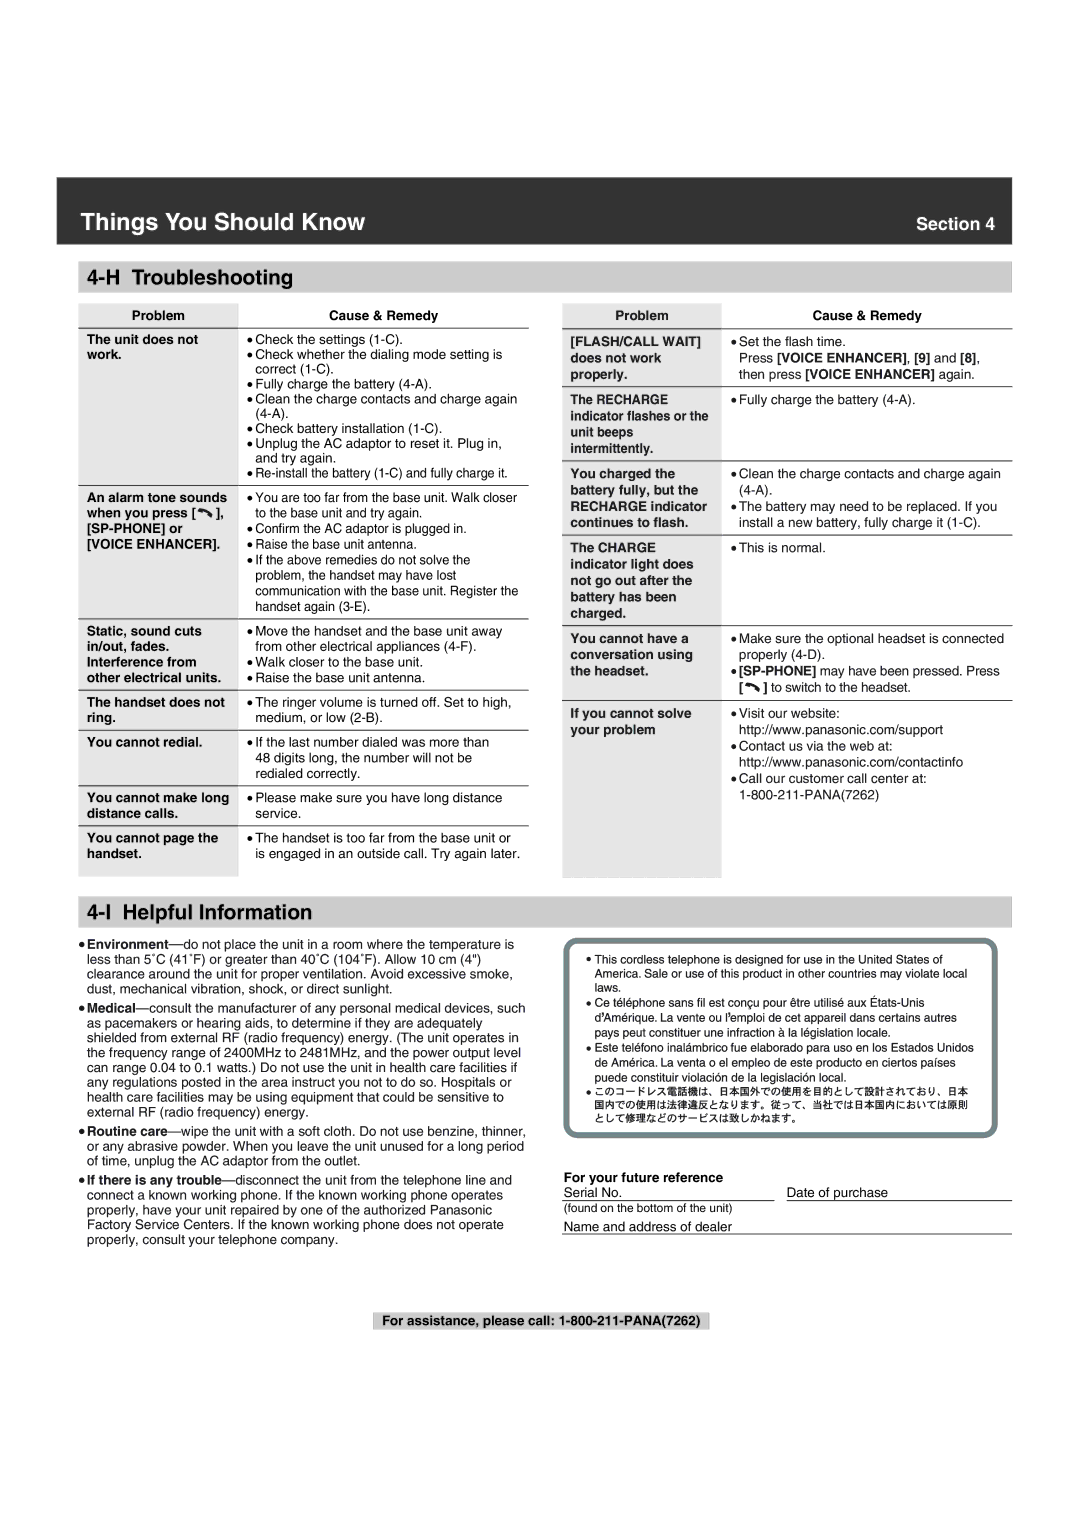
4-H Troubleshooting
Section 4
Problem
The unit does not work.
An alarm tone sounds
when you press [ ![]() ],
],
[VOICE ENHANCER].
Static, sound cuts in/out, fades. Interference from other electrical units.
The handset does not ring.
You cannot redial.
You cannot make long distance calls.
You cannot page the handset.
Cause & Remedy
•Check the settings
•Check whether the dialing mode setting is correct
•Fully charge the battery
•Clean the charge contacts and charge again
•Check battery installation
•Unplug the AC adaptor to reset it. Plug in, and try again.
•
•You are too far from the base unit. Walk closer to the base unit and try again.
•Confirm the AC adaptor is plugged in.
•Raise the base unit antenna.
•If the above remedies do not solve the problem, the handset may have lost communication with the base unit. Register the handset again
•Move the handset and the base unit away from other electrical appliances
•Walk closer to the base unit.
•Raise the base unit antenna.
•The ringer volume is turned off. Set to high, medium, or low
•If the last number dialed was more than 48 digits long, the number will not be redialed correctly.
•Please make sure you have long distance service.
•The handset is too far from the base unit or is engaged in an outside call. Try again later.
Problem
[FLASH/CALL WAIT] does not work properly.
The RECHARGE indicator flashes or the unit beeps intermittently.
You charged the battery fully, but the RECHARGE indicator continues to flash.
The CHARGE indicator light does not go out after the battery has been charged.
You cannot have a conversation using the headset.
If you cannot solve your problem
Cause & Remedy
•Set the flash time.
Press [VOICE ENHANCER], [9] and [8], then press [VOICE ENHANCER] again.
•Fully charge the battery
•Clean the charge contacts and charge again
•The battery may need to be replaced. If you install a new battery, fully charge it
•This is normal.
•Make sure the optional headset is connected properly
•
[ ![]() ] to switch to the headset.
] to switch to the headset.
•Visit our website: http://www.panasonic.com/support
•Contact us via the web at: http://www.panasonic.com/contactinfo
•Call our customer call center at:
4-I Helpful Information
•
•
•Routine
•If there is any
For your future reference |
|
|
Serial No. | Date of purchase | |
(found on the bottom of the unit) |
|
|
Name and address of dealer |
|
|
For assistance, please call:
