
KX-TG7100, KX-TG7123E specifications
The Panasonic KX-TG7123E and KX-TG7100 series of cordless telephones represent a seamless blend of advanced technology, user-friendly features, and solid build quality. These models, designed with the contemporary user in mind, offer a range of functionalities aimed at enhancing the everyday communication experience.One of the standout features of the KX-TG7123E and KX-TG7100 is the DECT 6.0 technology, which ensures crystal-clear sound quality and a stable connection free from interference. The digital enhanced cordless telecommunications (DECT) standard also extends the range of the handset, allowing users to make and receive calls from various rooms without losing clarity. This makes it ideal for larger homes or offices.
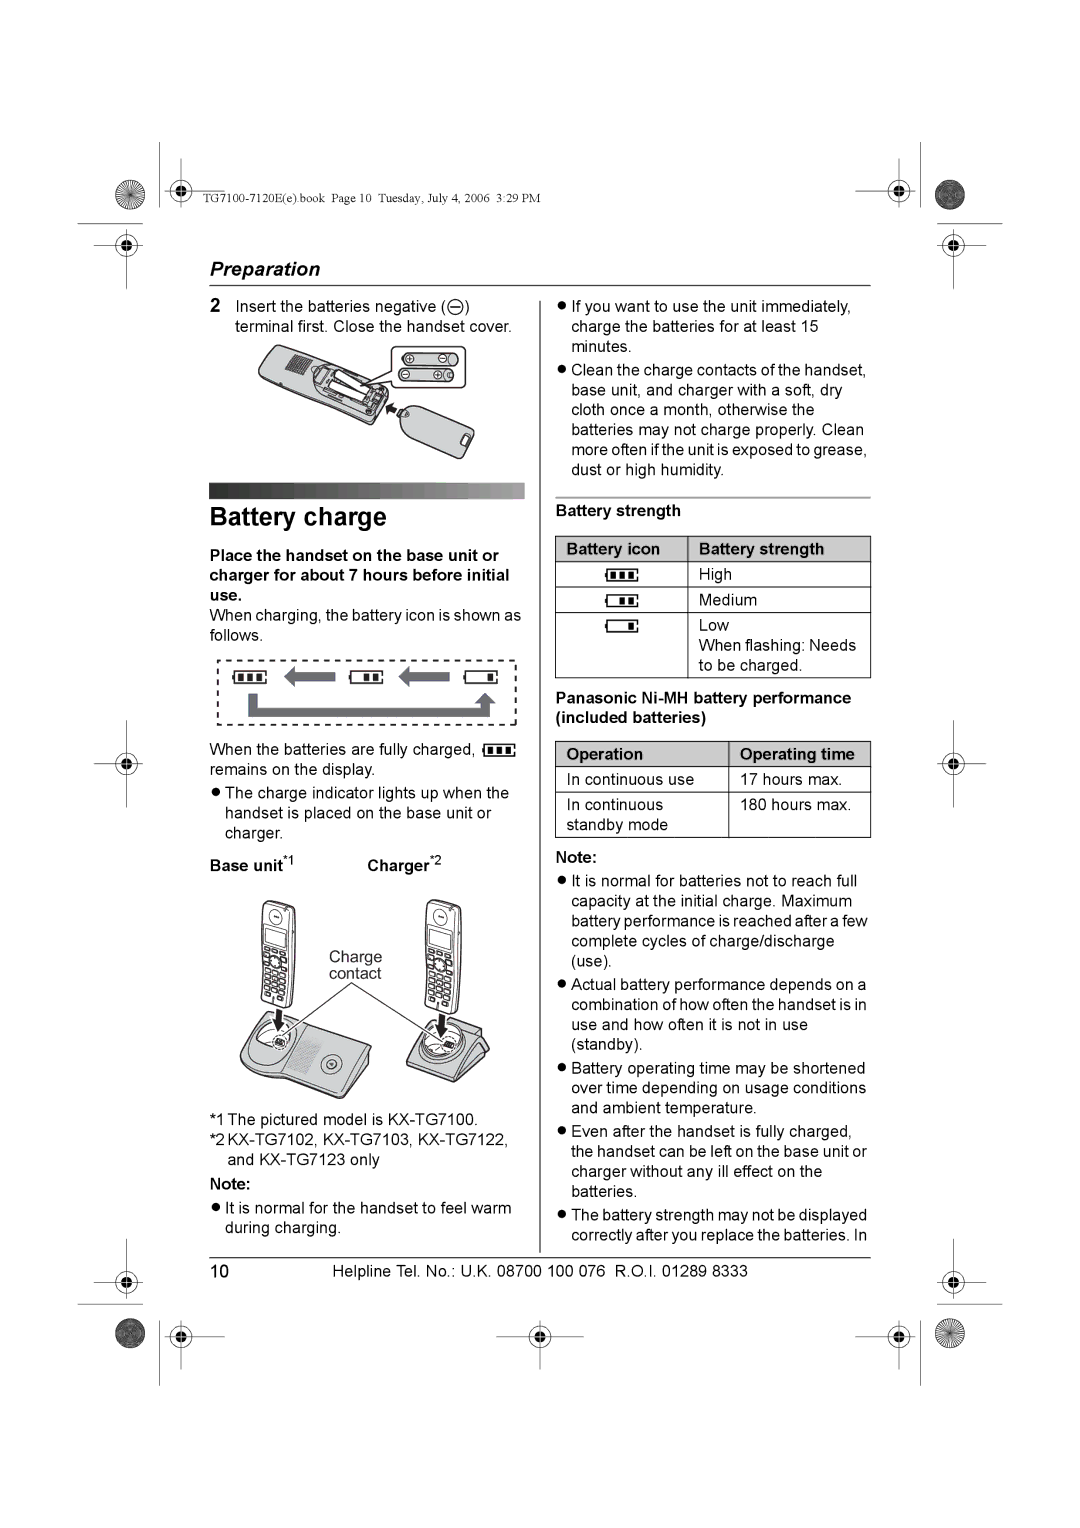
Both models come equipped with an illuminated display, making it easy to read information in low-light conditions. The large phonebook capacity allows users to store up to 100 contacts, streamlining the process of dialing frequently called numbers. Additionally, the KX-TG7123E features a caller ID function, which helps users manage incoming calls effectively by displaying the caller's information before answering.
The Panasonic KX-TG7123E also boasts a built-in answering machine, offering a storage capacity for up to 18 minutes of messages. This feature is particularly useful for busy professionals or families, allowing them to stay on top of missed communications effortlessly. The answering machine can be accessed remotely, ensuring that users can listen to messages at their convenience.
Another notable characteristic is the eco mode, which minimizes power consumption while maintaining optimal performance. This eco-conscious feature not only benefits the environment but also extends the battery life of the handsets, ensuring longer talk times and reduced energy usage.
With a stylish and ergonomic design, both the KX-TG7123E and KX-TG7100 offer comfortable handling during longer calls. The soft-touch buttons enhance usability, while the sleek finish integrates well with modern home or office decor.
In conclusion, the Panasonic KX-TG7123E and KX-TG7100 series stand out as reliable cordless telephones that combine practicality with innovative technology. Their features, including DECT 6.0 technology, large phonebook capacity, built-in answering machine, and eco mode, make them ideal choices for anyone in need of a dependable communication solution. Whether for personal or professional use, these models deliver quality and convenience in daily calling tasks.