NV-HV61 specifications
The Panasonic NV-HV61 is a standout model in the realm of VHS video cassette recorders, showcasing the brand's commitment to innovation and quality. Released during an era when home video was burgeoning, the NV-HV61 exemplifies the technological advancements of the time, appealing to both casual viewers and dedicated videophiles.One of the most notable features of the NV-HV61 is its excellent video quality, which is achieved through the use of Panasonic's proprietary technologies. The machine employs advanced digital signal processing, ensuring that the video output maintains clarity and vibrancy. The built-in 4-head system enhances the playback quality, providing improved longitudinal and transverse fidelity. This means that users can expect superior sound and picture quality, allowing them to enjoy their favorite films and shows precisely as intended.
The NV-HV61 is also characterized by its user-friendly interface, making video recording and playback a straightforward task. With features such as one-touch recording, users can easily capture live broadcasts without any complicated setup. The device is equipped with a variety of recording modes, including EP and SP settings, which allow users to choose between long play and standard recording based on their needs.
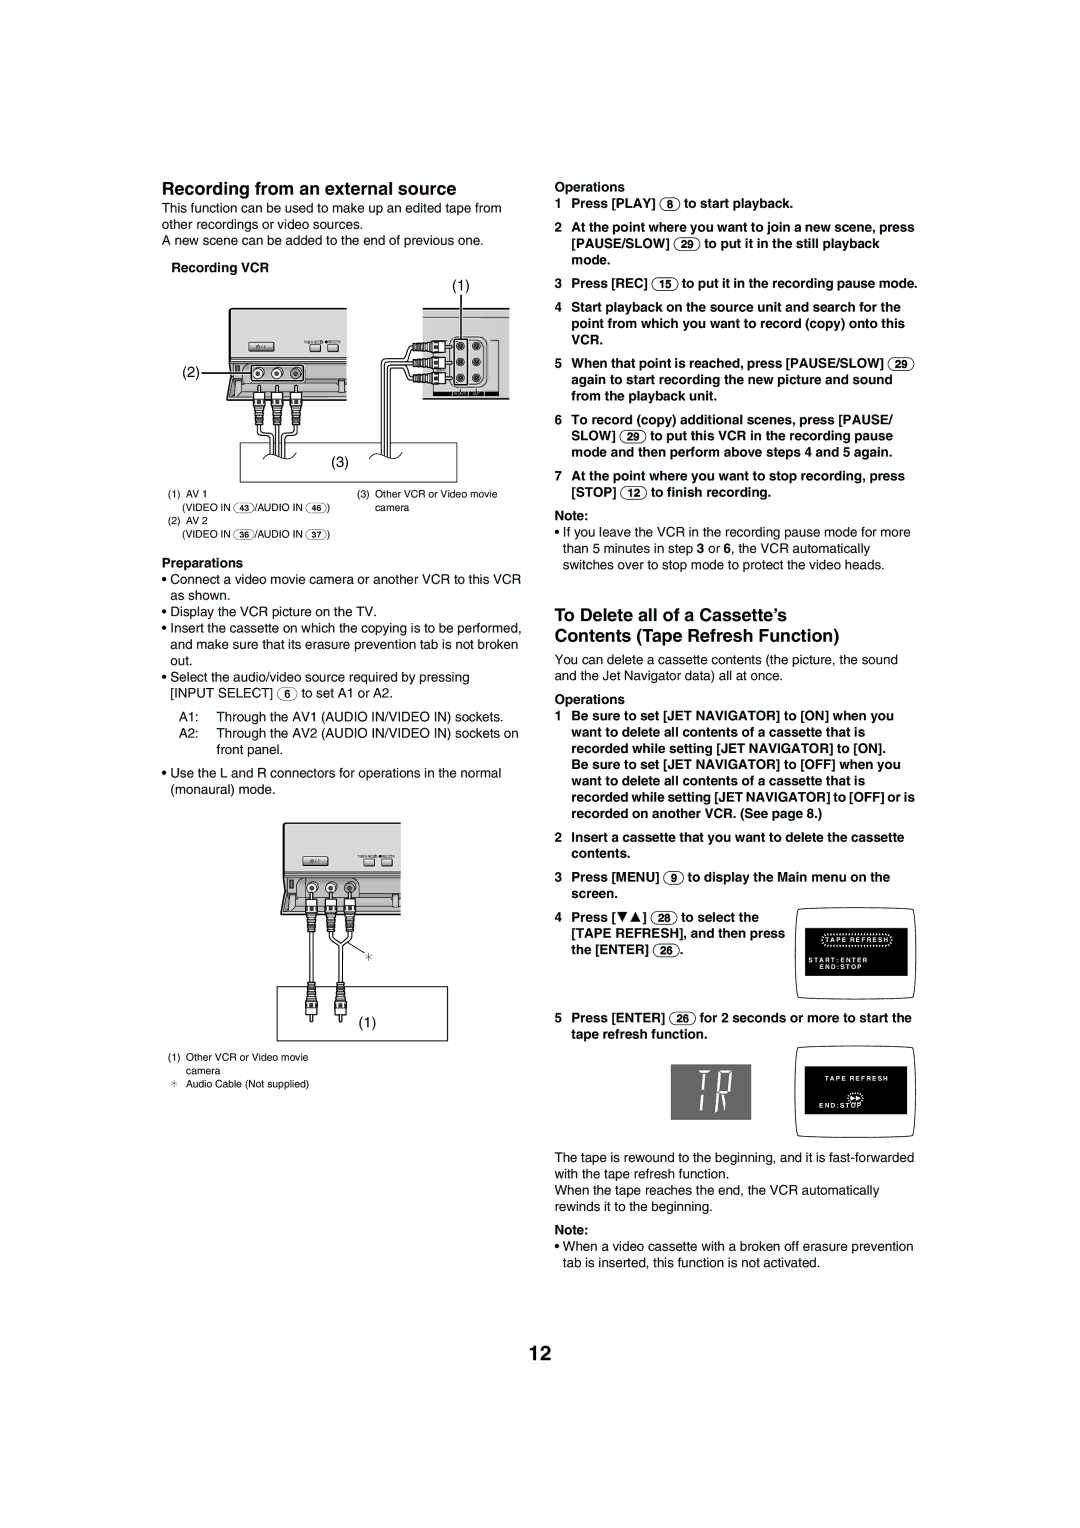
Another highlight of the Panasonic NV-HV61 is its versatility in connectivity. It features several input and output options, including composite video and audio connectors, which enable it to be easily integrated into existing home entertainment systems. Users can connect it to televisions and other devices, making it an excellent addition to any media setup.
In terms of design, the NV-HV61 showcases Panasonic’s attention to aesthetics, combining a sleek, compact form with practicality. The controls are intuitively placed, and the overall build quality is robust, ensuring longevity and reliability. Furthermore, the inclusion of features such as on-screen displays and programmable timers adds to its functionality, making video recording a seamless experience.
Collectively, the Panasonic NV-HV61 stands out with its combination of high-quality playback, user-friendly functionality, and solid connectivity options. While technology has advanced significantly since its initial release, the NV-HV61 remains a beloved choice for enthusiasts of the VHS format, symbolizing a significant era in home entertainment history. Its ability to deliver consistent, quality performance continues to be appreciated by those who cherish classic video formats.

