Warning and Important Information

As this equipment gets hot during use, operate it in a well ventilated place;

Do not install this equipment in a confined space such as a book case or similar unit.

WARNING:

To reduce the risk of fire, electric shock or product damage, do not expose this equipment to rain, moisture, dripping or splashing and ensure that no objects filled with liquids, such as vases, shall be placed on the equipment.

Important

Your attention is drawn to the fact that the recording of pre-recorded tapes or discs or other published or broadcast material may infringe copyright laws.

For your safety

Do not remove outer cover.

Touching internal parts of the VCR is dangerous, and may seriously damage it.

To prevent electric shock, do not remove cover. There are no user serviceable parts inside. Refer all servicing to qualified service personnel.

Inserting Remote Control

Batteries

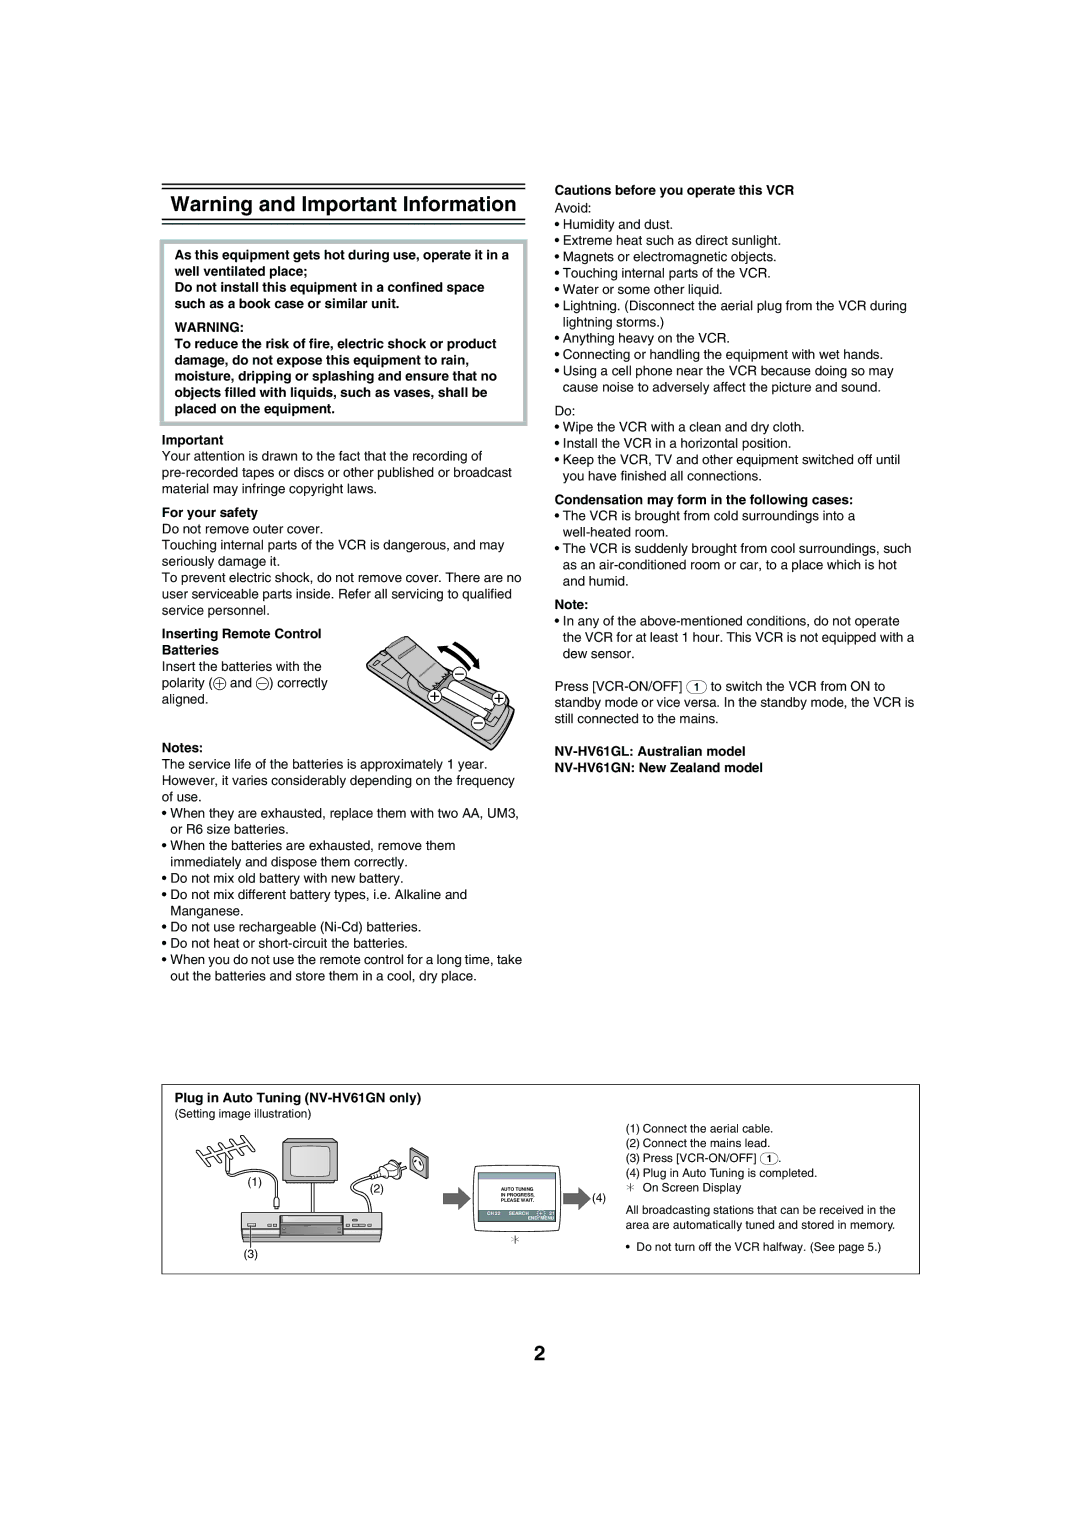
Insert the batteries with the polarity (+ and -) correctly aligned.

Notes:

The service life of the batteries is approximately 1 year. However, it varies considerably depending on the frequency of use.

When they are exhausted, replace them with two AA, UM3, or R6 size batteries.

When the batteries are exhausted, remove them immediately and dispose them correctly.

Do not mix old battery with new battery.

Do not mix different battery types, i.e. Alkaline and Manganese.

Do not use rechargeable (Ni-Cd) batteries.

Do not heat or short-circuit the batteries.

When you do not use the remote control for a long time, take out the batteries and store them in a cool, dry place.

Cautions before you operate this VCR

Avoid:

Humidity and dust.

Extreme heat such as direct sunlight.

Magnets or electromagnetic objects.

Touching internal parts of the VCR.

Water or some other liquid.

Lightning. (Disconnect the aerial plug from the VCR during lightning storms.)

Anything heavy on the VCR.

Connecting or handling the equipment with wet hands.

Using a cell phone near the VCR because doing so may cause noise to adversely affect the picture and sound.

Do:

Wipe the VCR with a clean and dry cloth.

Install the VCR in a horizontal position.

Keep the VCR, TV and other equipment switched off until you have finished all connections.

Condensation may form in the following cases:

The VCR is brought from cold surroundings into a well-heated room.

The VCR is suddenly brought from cool surroundings, such as an air-conditioned room or car, to a place which is hot and humid.

Note:

In any of the above-mentioned conditions, do not operate the VCR for at least 1 hour. This VCR is not equipped with a dew sensor.

Press [VCR-ON/OFF] (1) to switch the VCR from ON to standby mode or vice versa. In the standby mode, the VCR is still connected to the mains.

NV-HV61GL: Australian model

NV-HV61GN: New Zealand model

Plug in Auto Tuning (NV-HV61GN only)

(Setting image illustration)

(1) Connect the aerial cable.

(2) Connect the mains lead.

(3) Press [VCR-ON/OFF] (1).

(4) Plug in Auto Tuning is completed.

(1)

(3)

(2)

AUTO TUNING

IN PROGRESS,

PLEASE WAIT.

CH 22 SEARCH

21

END: MENU

¢

¢ On Screen Display

(4)

All broadcasting stations that can be received in the area are automatically tuned and stored in memory.

• Do not turn off the VCR halfway. (See page 5.)

2

Page 2
Image 2
Panasonic NV-HV61 For your safety, Inserting Remote Control Batteries, Condensation may form in the following cases

NV-HV61 specifications

The Panasonic NV-HV61 is a standout model in the realm of VHS video cassette recorders, showcasing the brand's commitment to innovation and quality. Released during an era when home video was burgeoning, the NV-HV61 exemplifies the technological advancements of the time, appealing to both casual viewers and dedicated videophiles.

One of the most notable features of the NV-HV61 is its excellent video quality, which is achieved through the use of Panasonic's proprietary technologies. The machine employs advanced digital signal processing, ensuring that the video output maintains clarity and vibrancy. The built-in 4-head system enhances the playback quality, providing improved longitudinal and transverse fidelity. This means that users can expect superior sound and picture quality, allowing them to enjoy their favorite films and shows precisely as intended.

The NV-HV61 is also characterized by its user-friendly interface, making video recording and playback a straightforward task. With features such as one-touch recording, users can easily capture live broadcasts without any complicated setup. The device is equipped with a variety of recording modes, including EP and SP settings, which allow users to choose between long play and standard recording based on their needs.

Another highlight of the Panasonic NV-HV61 is its versatility in connectivity. It features several input and output options, including composite video and audio connectors, which enable it to be easily integrated into existing home entertainment systems. Users can connect it to televisions and other devices, making it an excellent addition to any media setup.

In terms of design, the NV-HV61 showcases Panasonic’s attention to aesthetics, combining a sleek, compact form with practicality. The controls are intuitively placed, and the overall build quality is robust, ensuring longevity and reliability. Furthermore, the inclusion of features such as on-screen displays and programmable timers adds to its functionality, making video recording a seamless experience.

Collectively, the Panasonic NV-HV61 stands out with its combination of high-quality playback, user-friendly functionality, and solid connectivity options. While technology has advanced significantly since its initial release, the NV-HV61 remains a beloved choice for enthusiasts of the VHS format, symbolizing a significant era in home entertainment history. Its ability to deliver consistent, quality performance continues to be appreciated by those who cherish classic video formats.