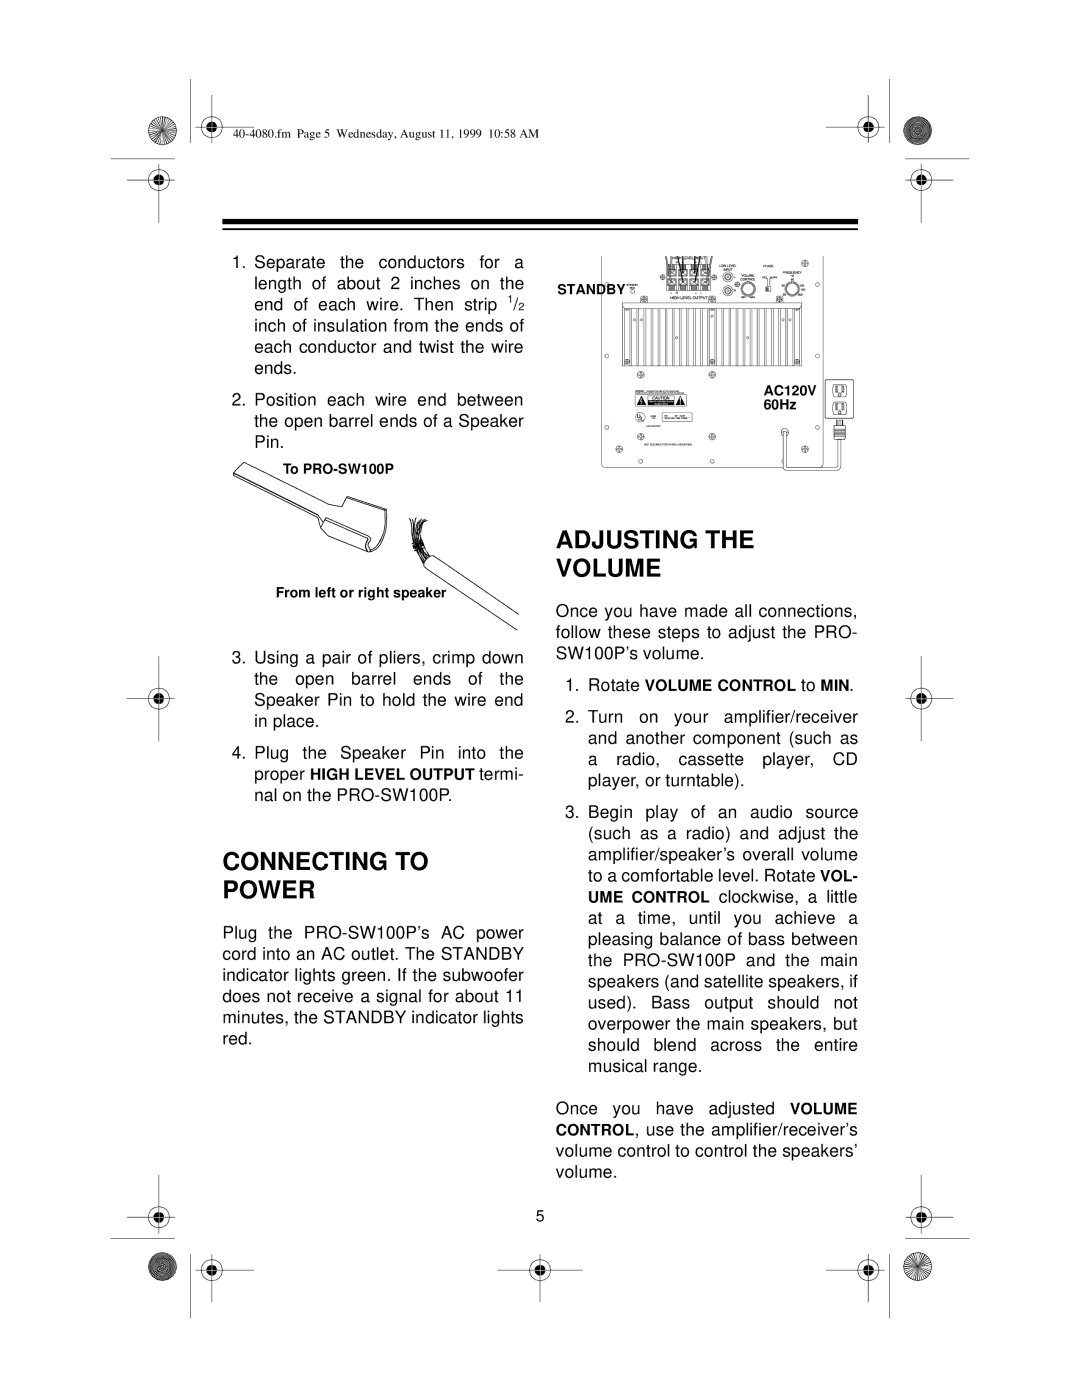
1. Separate the conductors for a |
| |
length of about 2 inches on the | STANDBY | |
end of each wire. Then strip 1/2 | ||
| ||
inch of insulation from the ends of |
| |
each conductor and twist the wire |
| |
ends. |
|
2. Position each wire end between the open barrel ends of a Speaker Pin.
To
AC120V
60Hz
From left or right speaker
3.Using a pair of pliers, crimp down the open barrel ends of the Speaker Pin to hold the wire end in place.
4.Plug the Speaker Pin into the proper HIGH LEVEL OUTPUT termi- nal on the
CONNECTING TO
POWER
Plug the
ADJUSTING THE
VOLUME
Once you have made all connections, follow these steps to adjust the PRO- SW100P’s volume.
1.Rotate VOLUME CONTROL to MIN.
2.Turn on your amplifier/receiver and another component (such as a radio, cassette player, CD player, or turntable).
3.Begin play of an audio source (such as a radio) and adjust the amplifier/speaker’s overall volume to a comfortable level. Rotate VOL- UME CONTROL clockwise, a little at a time, until you achieve a pleasing balance of bass between the
Once you have adjusted VOLUME CONTROL, use the amplifier/receiver’s volume control to control the speakers’ volume.
5