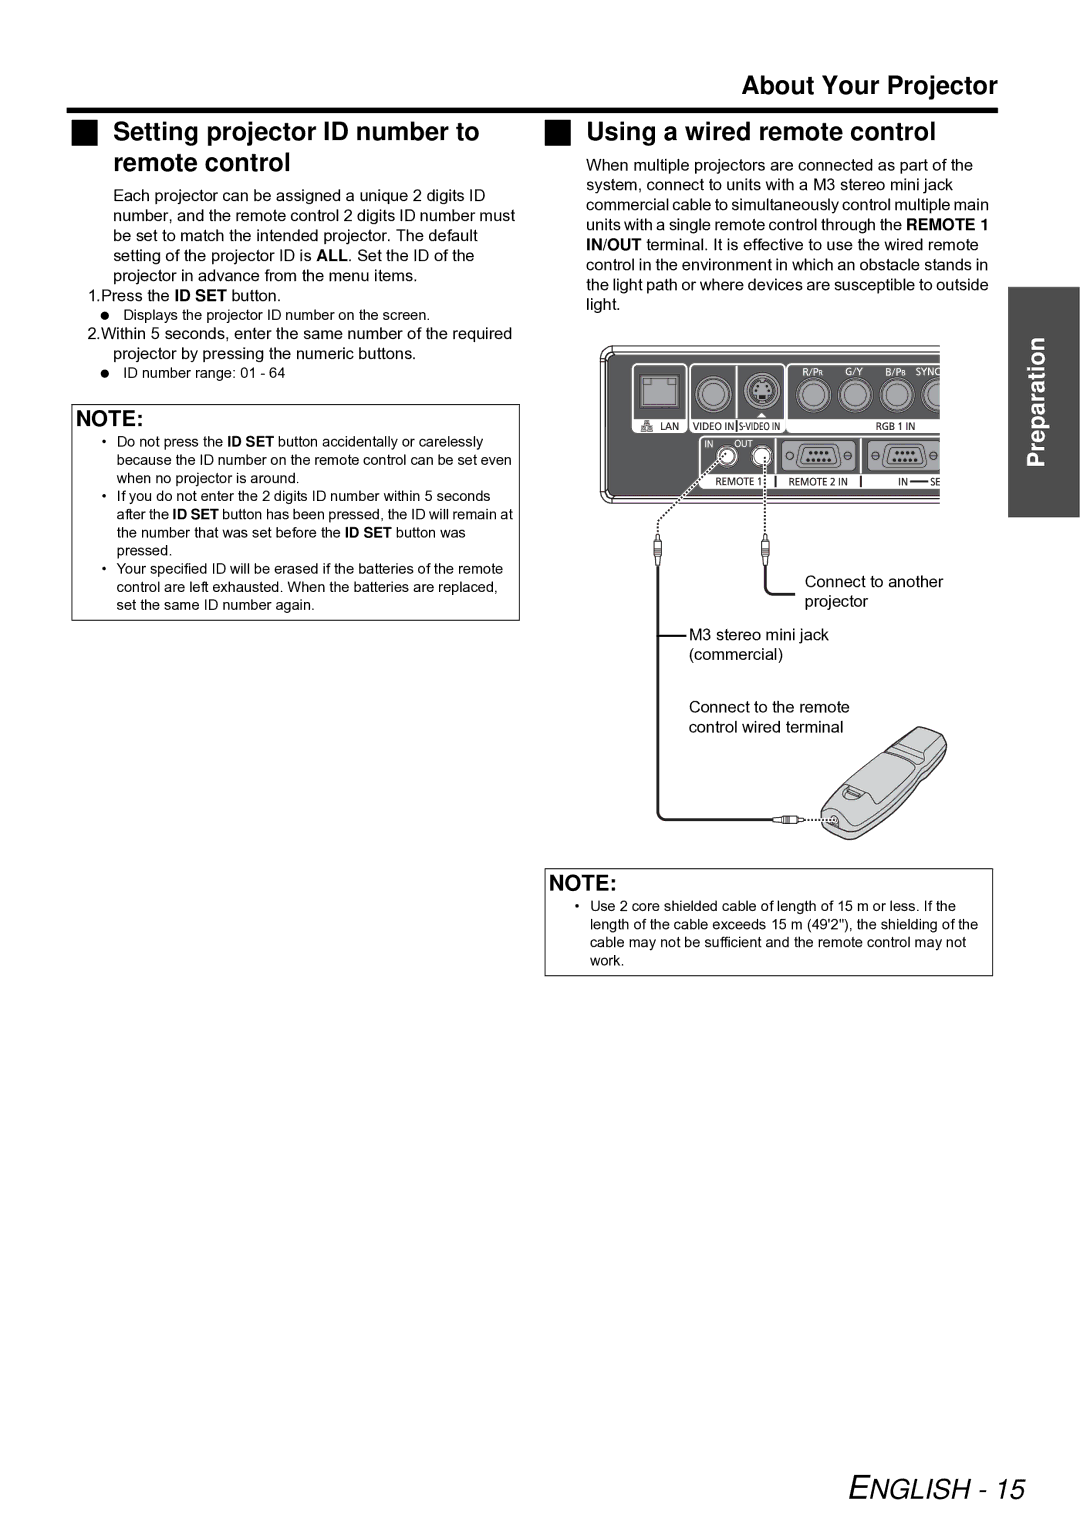
PT-D5000U, PT-DW6300U specifications
The Panasonic PT-DW6300U and PT-D5000U are two powerful projectors designed for large venues, offering advanced features and cutting-edge technology that cater to a variety of professional settings, including corporate environments, educational institutions, and staging events.The PT-DW6300U is a high-quality 3-chip DLP projector with a brightness level of 6,300 lumens and a resolution of WUXGA (1920x1200). One of its standout features is the Dynamic Iris technology, which enhances contrast and delivers vibrant, sharp images even in brightly lit rooms. The projector is equipped with a dual lamp system, ensuring reliability and extended operational life, which is crucial for continuous use in demanding environments. Additionally, the PT-DW6300U supports a variety of sources, including HDMI, DVI-D, and component inputs, making it versatile for multi-source presentations.
On the other hand, the PT-D5000U is a formidable option with a brightness of 5,000 lumens and a native resolution of XGA (1024x768). This model also employs 3-chip DLP technology, ensuring excellent color fidelity and image stability. A key highlight of the PT-D5000U is its advanced cooling system, which helps maintain optimal operating temperatures, thereby enhancing the projector's longevity. It also features a lens shift capability that allows greater flexibility in installation, enabling users to project images at various angles without compromising quality.
Both projectors utilize Panasonic's proprietary Eco Filter technology, which provides long-term filtration without needing frequent replacements, thus reducing maintenance costs. The automation features of these projectors further enhance usability; both models can be easily integrated into existing AV systems and support network monitoring for remote management.
In summary, the Panasonic PT-DW6300U and PT-D5000U projectors offer impressive brightness, reliability, and advanced features that make them ideal for professional environments. Their combination of high-resolution output, versatile connectivity options, and intelligent cooling systems positions them at the forefront of modern projection technology, catering to the demanding needs of today’s presentations and events. With these models, Panasonic continues to deliver exceptional visual experiences tailored for large audiences, ensuring every detail is clearly visible and impactful.

