Using the digital zoom (– D.ZOOM +) function
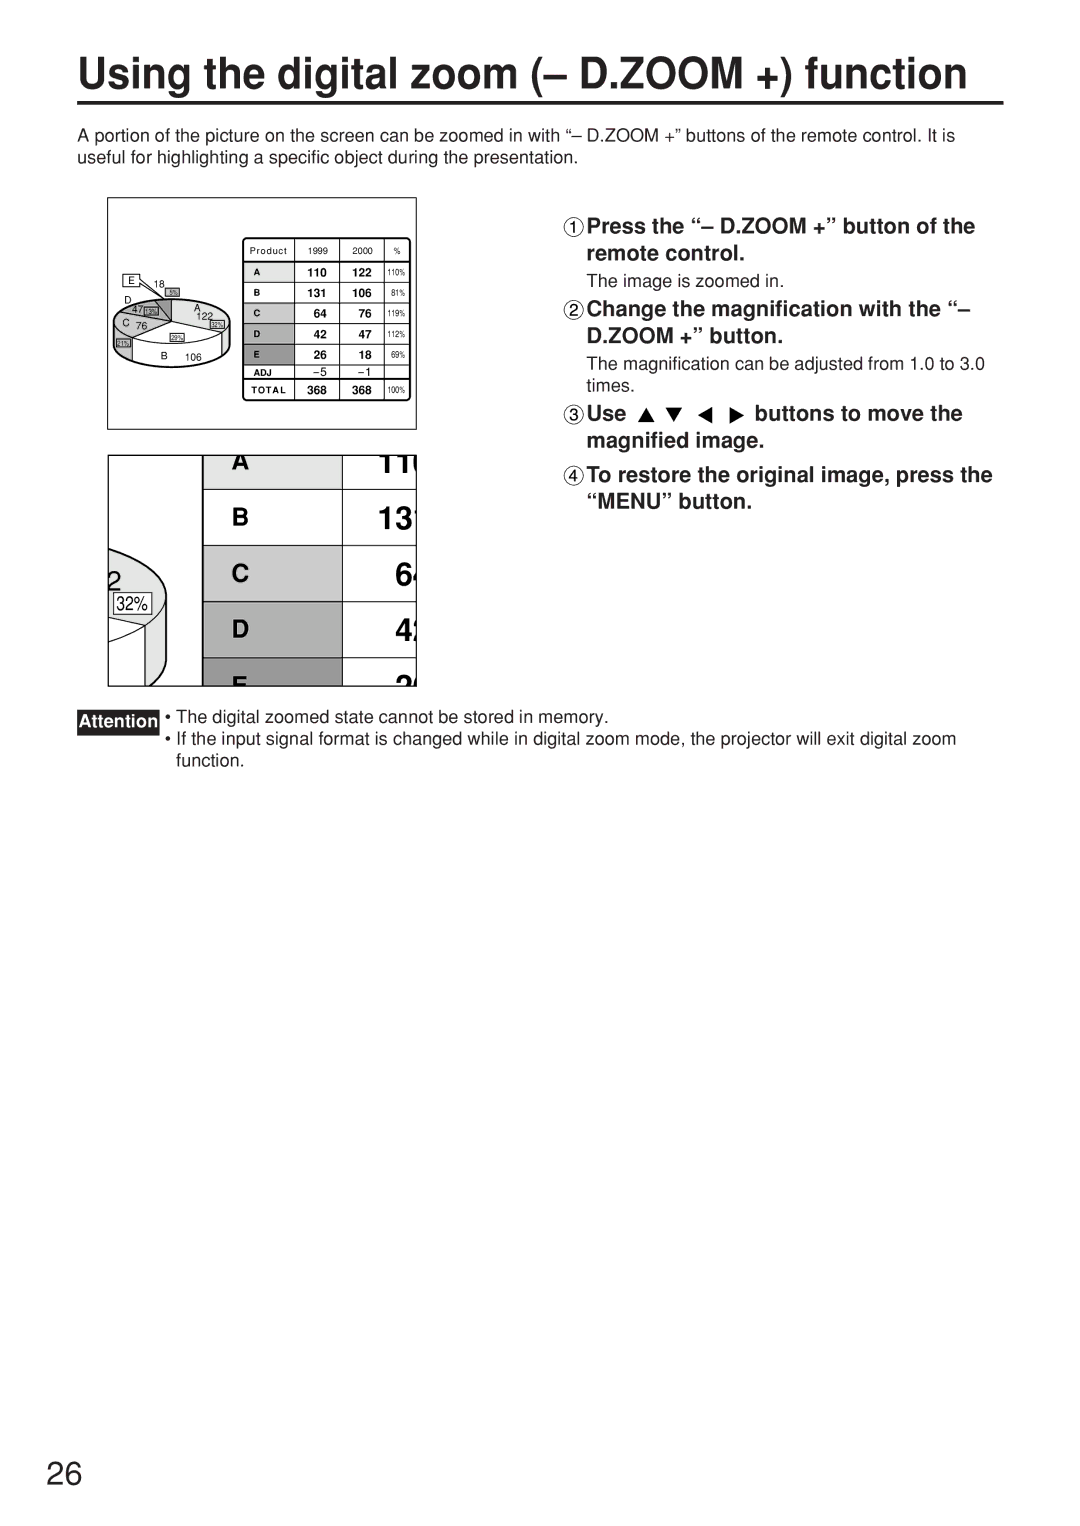
A portion of the picture on the screen can be zoomed in with “– D.ZOOM +” buttons of the remote control. It is useful for highlighting a specific object during the presentation.
|
|
| P r o d u c t | 1999 | 2000 | % |
E | 18 |
| A | 110 | 122 | 110% |
|
| 131 | 106 |
| ||
|
| B | 81% | |||
D | 5% |
| ||||
| A |
|
|
|
| |
47 13% | C | 64 | 76 | 119% | ||
C 76 |
| 122 | ||||
| 32% | D | 42 | 47 | 112% | |
21% | 29% |
| ||||
|
|
|
|
|
| |
| B | 106 | E | 26 | 18 | 69% |
|
|
| ADJ |
| ||
|
|
| T O T A L | 368 | 368 | 100% |
|
|
| A |
|
| 11 |
|
|
| B |
|
| 131 |
2 |
|
| C |
|
| 64 |
32% |
|
| D |
|
| 42 |
|
|
|
|
| ||
|
|
| E |
|
| 2 |
 Press the “– D.ZOOM +” button of the remote control.
The image is zoomed in.
 Change the magnification with the “– D.ZOOM +” button.
The magnification can be adjusted from 1.0 to 3.0 times.
![]() Use
Use ![]()
![]()
![]()
![]() buttons to move the magnified image.
buttons to move the magnified image.
![]() To restore the original image, press the “MENU” button.
To restore the original image, press the “MENU” button.
Attention • The digital zoomed state cannot be stored in memory.
•If the input signal format is changed while in digital zoom mode, the projector will exit digital zoom function.
26
