
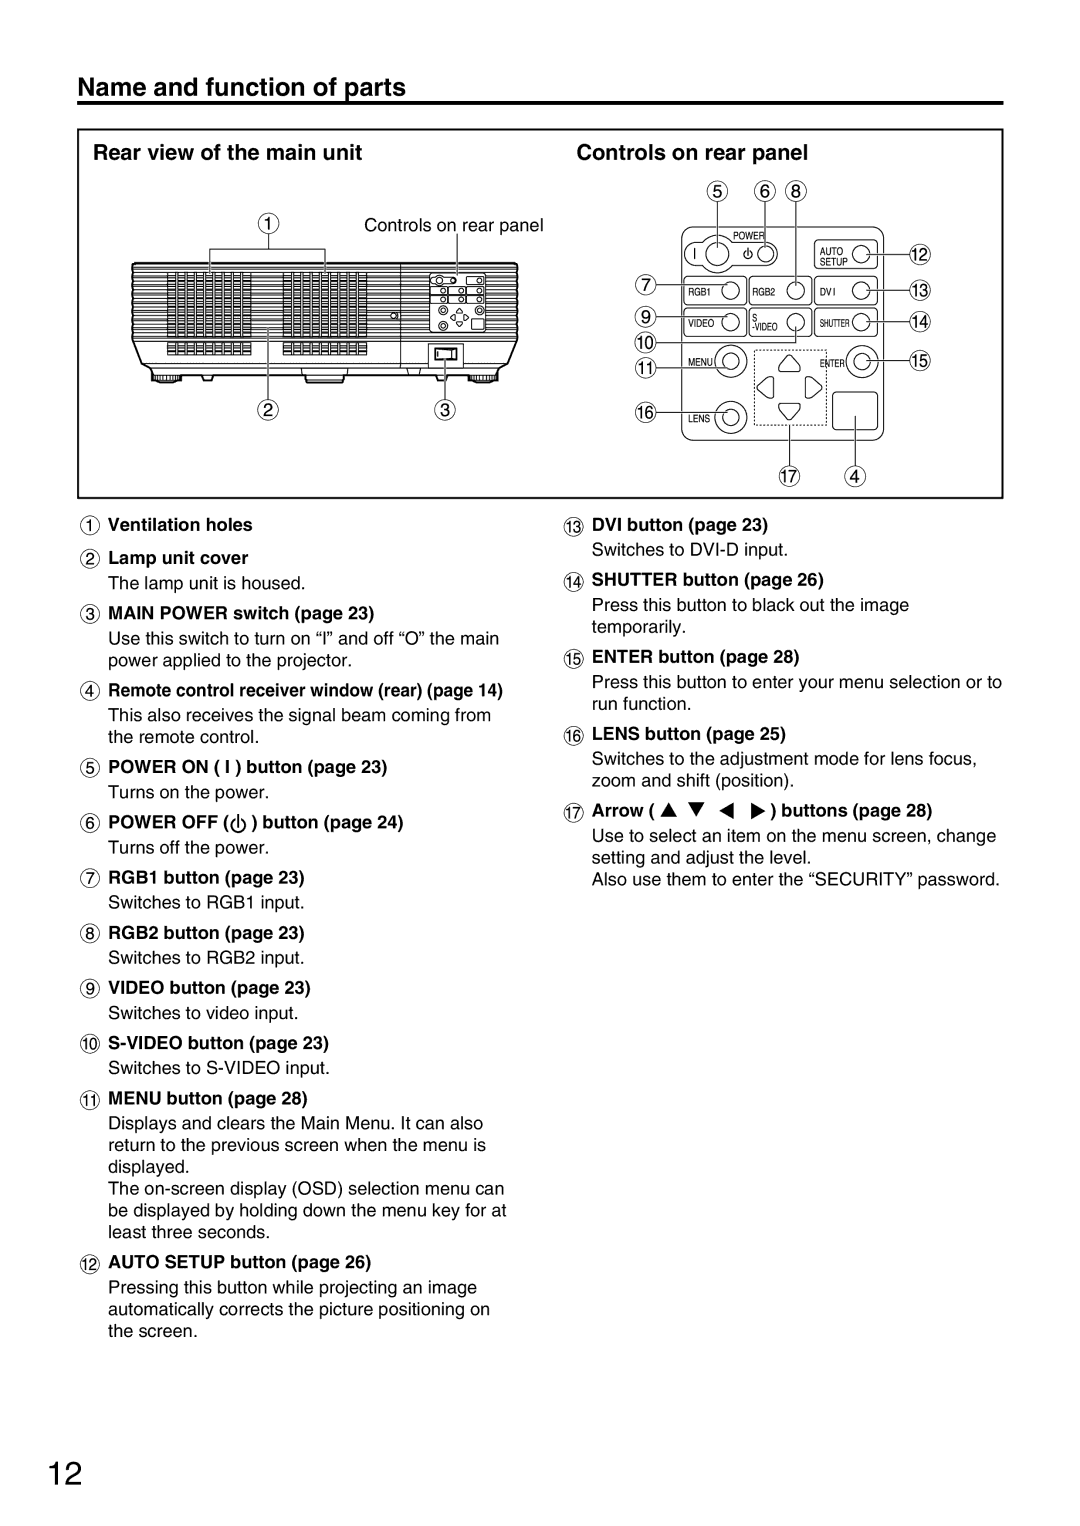
PT-DW5000U, PT-D5600U, PT-D5600UL specifications
The Panasonic PT-D5600UL, PT-D5600U, and PT-DW5000U projectors are designed for professional use in a variety of environments, ranging from corporate settings to educational institutions and large venues. These projectors are renowned for their exceptional image quality, versatile features, and robust performance.At the heart of these projectors is the high-performance DLP technology, which offers remarkable brightness and contrast. The PT-D5600UL and PT-D5600U offer a brightness level of 6000 lumens, while the PT-DW5000U provides 5000 lumens, ensuring clear visibility even in well-lit rooms. This remarkable brightness coupled with a solid contrast ratio provides sharp and vivid images, whether for video presentations or intricate graphics.
The three models are equipped with a versatile lens system, which includes various optional lenses to accommodate different installation requirements. The lens shift feature enhances installation flexibility, allowing for simple adjustments to the image without distortion. The projectors support various resolutions and aspect ratios, including WUXGA (1920 x 1200) for the PT-D5600UL and PT-D5600U, and WXGA (1280 x 800) for the PT-DW5000U, ensuring that users can display content with high precision and clarity.
Panasonic’s innovative Daylight View technology enhances image quality by automatically adjusting color reproduction to match ambient lighting conditions, ensuring that images remain visible and consistent throughout the day. Furthermore, these projectors employ a durable lamp life of up to 3000 hours in normal mode, reducing maintenance needs and costs for users.
For enhanced connectivity, the PT-D5600UL, PT-D5600U, and PT-DW5000U are equipped with multiple input options, including HDMI, DVI-D, and VGA ports, supporting a range of multimedia devices. The projectors also support network monitoring and control via LAN, allowing users to manage settings and monitor performance remotely.
In terms of build quality, these projectors are designed for reliability and longevity. Their robust chassis and advanced cooling system ensure stable operation even during extended use, making them ideal for events or long presentations. Overall, the Panasonic PT-D5600UL, PT-D5600U, and PT-DW5000U projectors deliver a seamless and high-quality projection experience, solidifying Panasonic’s reputation as a leader in the projection technology market.