PT-DW5000UL specifications
The Panasonic PT-DW5000UL is a cutting-edge projection solution designed for professional use in various environments, including conferences, events, and large venues. Boasting a compact and lightweight design, this projector offers an impressive balance of high performance and portability, making it an excellent choice for users who require mobility without compromising on image quality.At the heart of the PT-DW5000UL is its powerful DLP technology, which delivers stunning 5000 lumens brightness and a native resolution of 1920 x 1200 pixels. This outstanding resolution ensures that images are sharp, detailed, and vibrant, making it well-suited for displaying high-definition content, intricate graphics, and dynamic presentations. The projector’s high brightness level is particularly advantageous in well-lit environments, allowing for clear visibility even in challenging lighting conditions.
One of the standout features of the PT-DW5000UL is its advanced Solid Shine laser technology. This innovation eliminates the need for traditional lamps, resulting in a longer lifespan of up to 20,000 hours. This increase in operational longevity not only reduces maintenance costs but also ensures consistent performance over time. Moreover, the laser light source provides stable brightness and vivid colors throughout its lifespan, ensuring that every presentation looks its best.
The projector also incorporates a highly effective Dynamic Contrast feature, which enhances the depth of the images by adjusting light output automatically based on the content being displayed. This capability results in deeper blacks and brighter highlights, creating a more immersive viewing experience.
Connectivity is another significant characteristic of the PT-DW5000UL. It supports a wide range of inputs, including HDMI, DVI-D, and 5BNC, allowing seamless integration with various devices. Furthermore, the projector supports multi-screen and edge blending capabilities, making it suitable for large-scale presentations and installations that require multiple projectors to work in harmony.
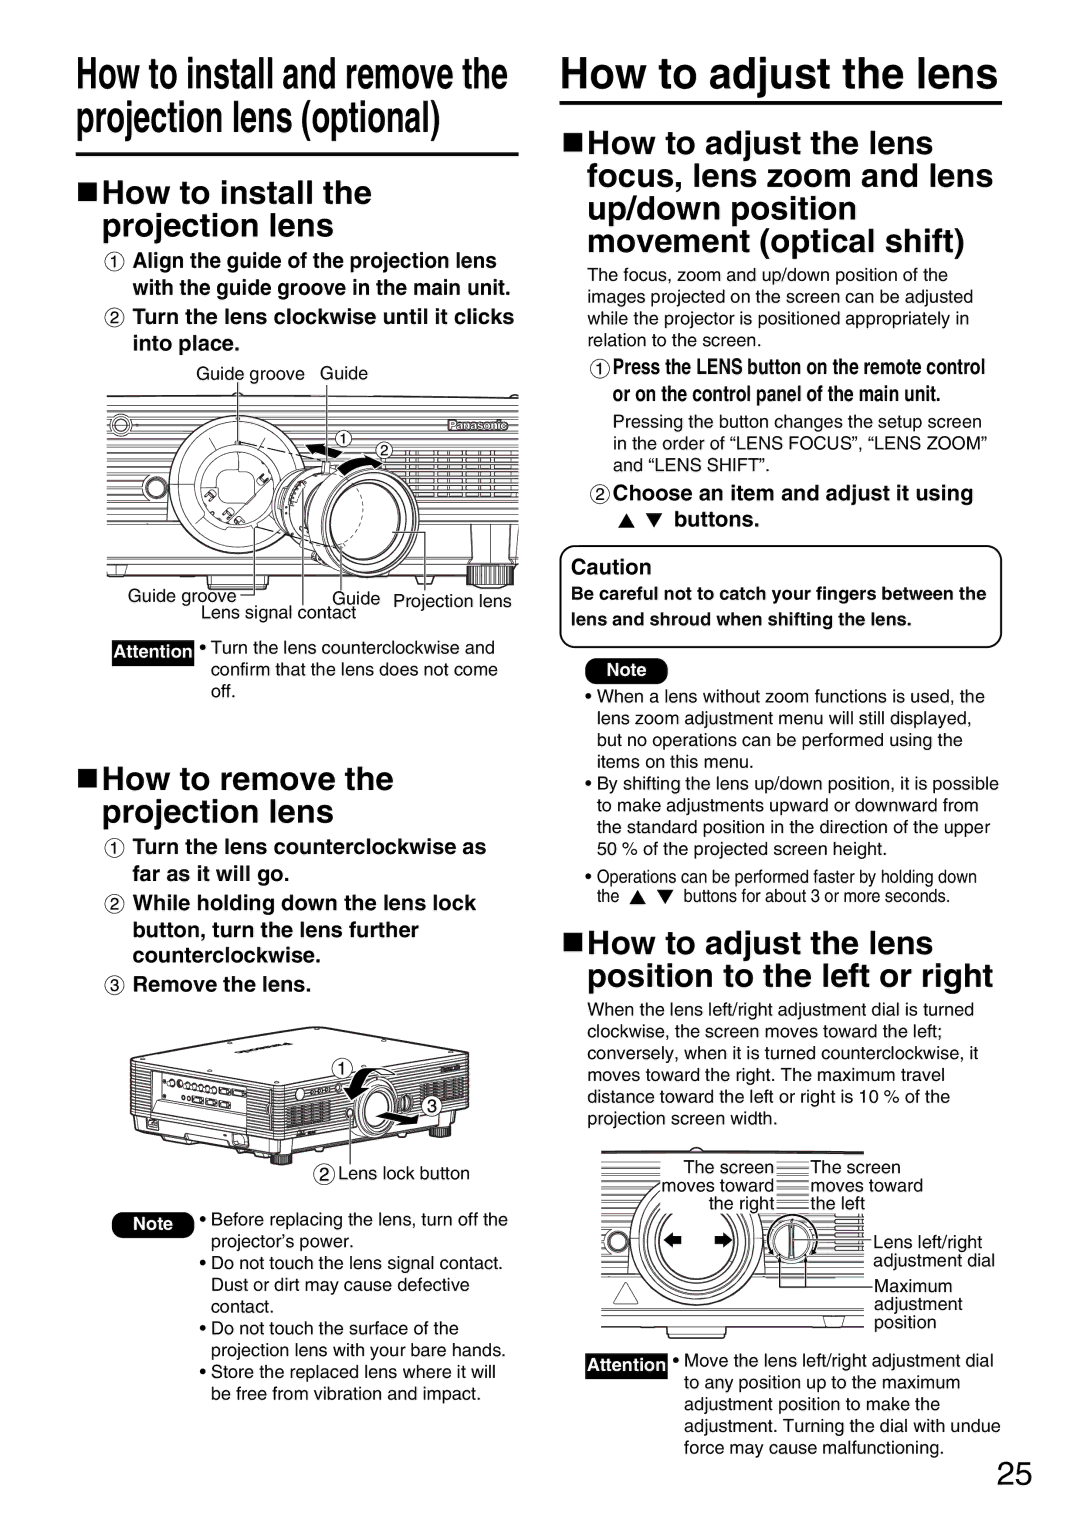
For ease of installation, the PT-DW5000UL features a variety of lens options and a flexible lens shift range, enabling users to adjust the image position without distortion. This adaptability makes it suitable for different venue configurations, whether in an auditorium or an outdoor setting.
In conclusion, the Panasonic PT-DW5000UL stands out as a robust and reliable projector that combines advanced technology with user-friendly features. Its powerful brightness, exceptional image quality, and long-lasting performance make it an ideal choice for professionals seeking a versatile solution for their projection needs.

