OPTION menu
LAMP RUNTIME
You can check how long the lamp has been used.
NOTE:
•LAMP RUNTIME is a relevant matter for lamp replacement timing. See “Replacing the Lamp unit” on page 41.
•When the lamp unit is replaced with the new one
POWER OFF TIMER
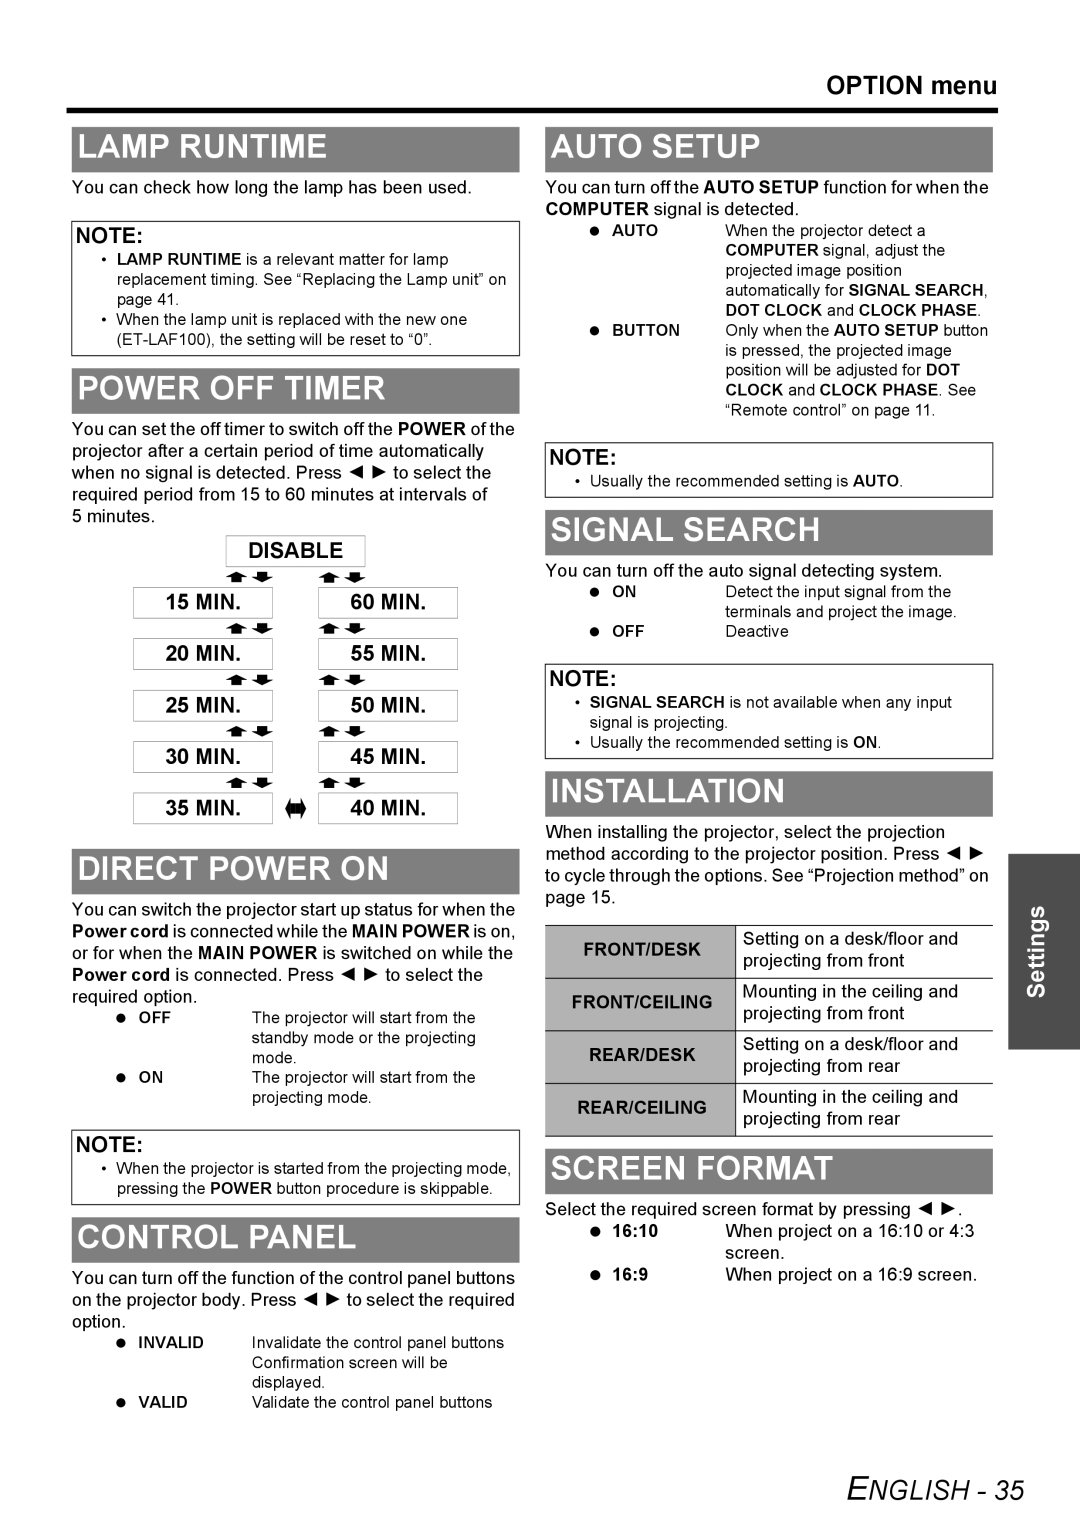
You can set the off timer to switch off the POWER of the projector after a certain period of time automatically when no signal is detected. Press I H to select the required period from 15 to 60 minutes at intervals of
5 minutes.
DISABLE
15 MIN. |
|
|
|
| 60 MIN. | |||||
|
|
|
|
|
|
|
|
|
|
|
AUTO SETUP
You can turn off the AUTO SETUP function for when the COMPUTER signal is detected.
AUTO | When the projector detect a |
| COMPUTER signal, adjust the |
| projected image position |
| automatically for SIGNAL SEARCH, |
| DOT CLOCK and CLOCK PHASE. |
BUTTON | Only when the AUTO SETUP button |
| is pressed, the projected image |
| position will be adjusted for DOT |
| CLOCK and CLOCK PHASE. See |
| “Remote control” on page 11. |
NOTE:
• Usually the recommended setting is AUTO.
SIGNAL SEARCH
You can turn off the auto signal detecting system.
ON | Detect the input signal from the |
| terminals and project the image. |
OFF | Deactive |
20 MIN. |
|
|
|
| 55 MIN. |
|
|
| |||||
|
|
|
|
|
|
|
|
|
|
|
| NOTE: | |
|
|
|
|
|
|
|
|
|
|
| |||
|
|
|
|
|
|
|
|
|
|
| |||
25 MIN. |
|
|
|
| 50 MIN. |
| • | SIGNAL SEARCH is not available when any input | |||||
|
|
|
|
|
|
|
|
|
|
|
|
| signal is projecting. |
|
|
|
|
|
|
|
|
|
|
|
|
| |
|
|
|
|
|
|
|
|
|
|
|
| • | Usually the recommended setting is ON. |
30 MIN. |
|
|
|
| 45 MIN. | ||||||||
|
|
|
|
|
|
| |||||||
|
|
|
|
|
|
| |||||||
35 MIN. |
|
|
| 40 MIN. |
|
|
| ||
|
|
|
DIRECT POWER ON
You can switch the projector start up status for when the Power cord is connected while the MAIN POWER is on, or for when the MAIN POWER is switched on while the Power cord is connected. Press I H to select the required option.
OFF | The projector will start from the |
| standby mode or the projecting |
| mode. |
ON | The projector will start from the |
| projecting mode. |
NOTE:
•When the projector is started from the projecting mode, pressing the POWER button procedure is skippable.
CONTROL PANEL
You can turn off the function of the control panel buttons on the projector body. Press I H to select the required option.
INVALID | Invalidate the control panel buttons |
| Confirmation screen will be |
| displayed. |
VALID | Validate the control panel buttons |
INSTALLATION
When installing the projector, select the projection method according to the projector position. Press I H to cycle through the options. See “Projection method” on page 15.
FRONT/DESK | Setting on a desk/floor and | |
projecting from front | ||
| ||
FRONT/CEILING | Mounting in the ceiling and | |
projecting from front | ||
| ||
REAR/DESK | Setting on a desk/floor and | |
projecting from rear | ||
| ||
REAR/CEILING | Mounting in the ceiling and | |
projecting from rear | ||
| ||
|
| |
SCREEN FORMAT | ||
Select the required screen format by pressing I H. | ||
16:10 | When project on a 16:10 or 4:3 |
| screen. |
16:9 | When project on a 16:9 screen. |
