
PT-LB10NTE, PT-LB10VE, PT-LB10SE, PT-LB10E specifications
The Panasonic PT-LB10 series, including the PT-LB10VE, PT-LB10E, and PT-LB10SE models, represents a blend of advanced projection technology and practical design, tailored for diverse applications from education to corporate environments. These portable projectors are characterized by their compact size, lightweight construction, and high-efficiency performance, making them suitable for both small classrooms and larger meeting spaces.One of the standout features of the PT-LB10 series is its impressive brightness level, with outputs reaching up to 3,000 lumens. This ensures that images remain vibrant and clear, even in environments with ambient light. Additionally, the projectors boast a contrast ratio of up to 2000:1, which enhances depth and detail in presentations, making them ideal for displaying text, graphs, and images with clarity.
The PT-LB10 series employs LCD technology, providing sharp and accurate color reproduction. The three-LCD system results in rich colors and high image quality, suitable for a vast array of content types. The projectors feature a native XGA resolution (1024x768), which contributes to the sharpness and detail of projected images.
Another significant aspect of the PT-LB10 models is their user-friendly setup and operation. They come equipped with an automatic horizontal/vertical keystone correction feature, allowing users to quickly adjust the image distortion caused by angled projections. This is especially useful in dynamic environments where immediate adjustments may be necessary.
Connectivity options are abundant, with HDMI, VGA, and USB ports available for versatile input sources. The USB port also allows for easy plug-and-play presentations without the need for additional software, enhancing the convenience for users on the go.
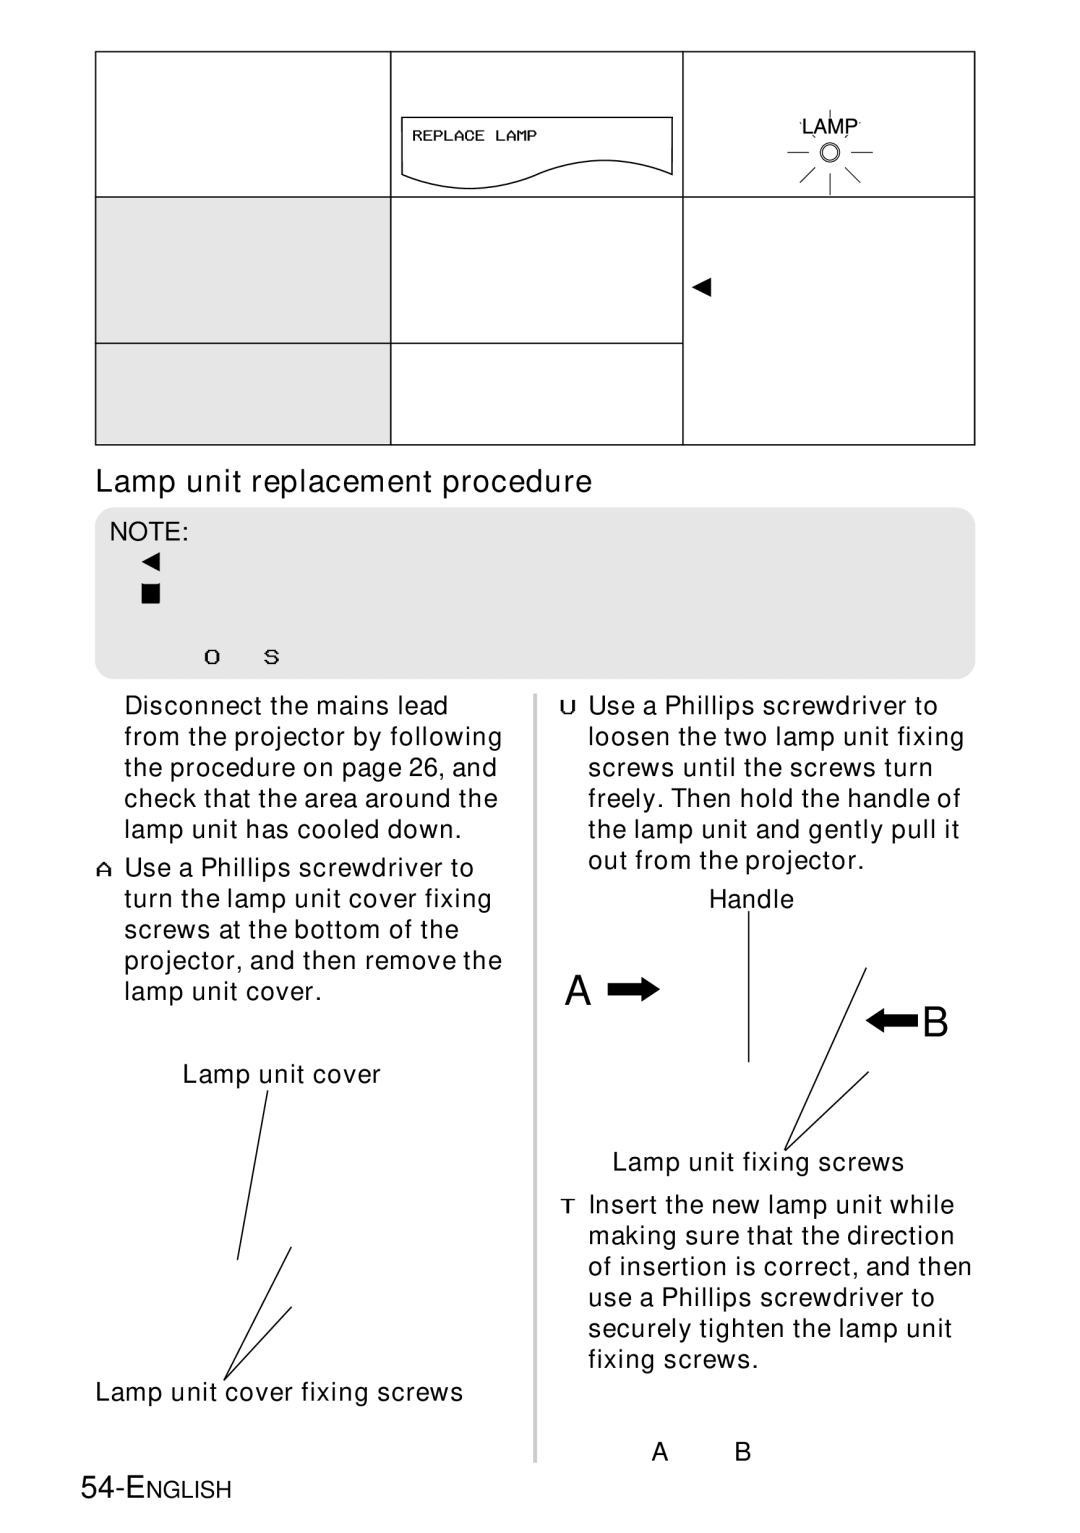
Energy efficiency is a notable characteristic of the PT-LB10 series as well. The projectors incorporate an Eco Management feature, allowing for reduced power consumption and extending the life of the lamps, which can last up to 5,000 hours in eco mode.
Furthermore, the design ethos of these projectors focuses on portability, with each model weighing less than 3 kg. This makes them easy to transport between locations, a key requirement for educators and business professionals alike.
Overall, the Panasonic PT-LB10VE, PT-LB10E, and PT-LB10SE projectors are built for reliability and performance, catering to users who demand high-quality visuals and convenience, ensuring they meet various presentation needs effectively.