ONE-TOUCH TIMER
RECORDING (OTR)
The
EXAMPLE:
1Press the POWER button to turn on the TV/VCR.
2Load a video cassette with the erase prevention tab intact.
3Press the SPEED button to select the desired tape speed (SP or SLP). SP or SLP will appear on the screen.
|
|
| 00:00:00 SP |
4 Set the TV/CATV option to the | |||
appropriate setting (See page 16). | |||
|
|
|
|
| TV | - VHF/UHF channels |
|
| CATV | - CABLE TV channels |
|
5Press the Direct Channel Selection buttons or CH C or D button to select the channel to be recorded.
6Press the REC/OTR button to
begin recording. Press the button | OTR 0 : 30 |
again to stop recording after 30 | CH 012 |
| |
minutes. Each additional press of |
|
the REC/OTR button will increase |
|
recording time as shown below, |
|
up to a maximum of 5 hours. |
|
“OTR” will appear on the screen. |
|
TIMER RECORDING
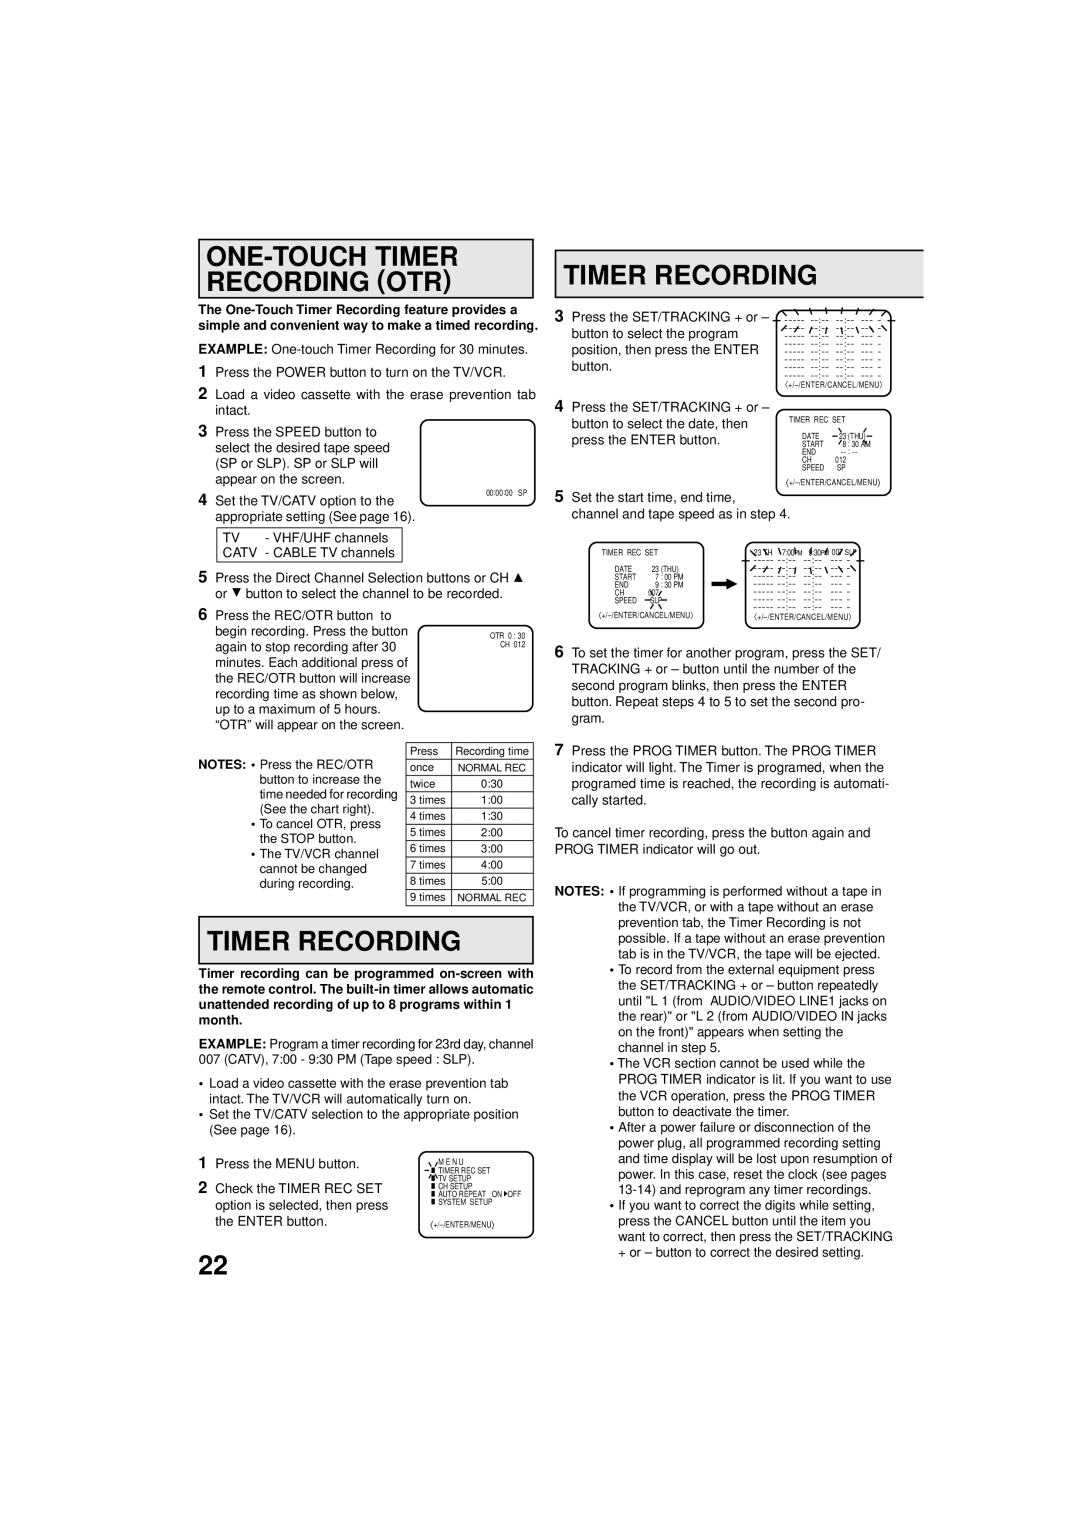
3 Press the SET/TRACKING + or – | ||
button to select the program | ||
position, then press the ENTER | ||
button.----- | ||
〈
4Press the SET/TRACKING + or –
button to select the date, then | ·TIMER REC SET |
| |
press the ENTER button. | DATE | 23 | (THU) |
START | 8 | : 30 AM | |
| END | ||
| CH | 012 |
|
| SPEED | SP |
|
5Set the start time, end time,
channel and tape speed as in step 4.
TIMER REC SET |
| 23 TH 7:00PM | 9:30PM 007 SLP | |
|
|
| ||
DATE | 23 | (THU) | ||
START | 7 | : 00 PM | ||
END | 9 | : 30 PM | ||
CH | 007 |
| ||
SPEED | SLP | |||
〈 | ||||
〈 | ||||
6 To set the timer for another program, press the SET/ |
TRACKING + or – button until the number of the |
second program blinks, then press the ENTER |
button. Repeat steps 4 to 5 to set the second pro- |
gram. |
NOTES: • Press the REC/OTR button to increase the time needed for recording (See the chart right).
•To cancel OTR, press the STOP button.
•The TV/VCR channel cannot be changed during recording.
Press | Recording time |
once | NORMAL REC |
twice | 0:30 |
3 times | 1:00 |
4 times | 1:30 |
5 times | 2:00 |
6 times | 3:00 |
7 times | 4:00 |
|
|
8 times | 5:00 |
|
|
9 times | NORMAL REC |
|
|
7 Press the PROG TIMER button. The PROG TIMER |
indicator will light. The Timer is programed, when the |
programed time is reached, the recording is automati- |
cally started. |
To cancel timer recording, press the button again and PROG TIMER indicator will go out.
NOTES: • If programming is performed without a tape in the TV/VCR, or with a tape without an erase prevention tab, the Timer Recording is not
TIMER RECORDING
Timer recording can be programmed
EXAMPLE: Program a timer recording for 23rd day, channel
007 (CATV), 7:00 - 9:30 PM (Tape speed : SLP).
•Load a video cassette with the erase prevention tab intact. The TV/VCR will automatically turn on.
•Set the TV/CATV selection to the appropriate position (See page 16).
1 | Press the MENU button. |
| M E N U |
| TIMER REC SET | ||
2 | Check the TIMER REC SET |
| TV SETUP |
| |||
| CH SETUP | ||
| |||
| AUTO REPEAT ON OFF | ||
| |||
| option is selected, then press | · | SYSTEM SETUP |
|
|
| |
| the ENTER button. |
|
22
possible. If a tape without an erase prevention tab is in the TV/VCR, the tape will be ejected.
•To record from the external equipment press the SET/TRACKING + or – button repeatedly until "L 1 (from AUDIO/VIDEO LINE1 jacks on the rear)" or "L 2 (from AUDIO/VIDEO IN jacks on the front)" appears when setting the channel in step 5.
•The VCR section cannot be used while the PROG TIMER indicator is lit. If you want to use the VCR operation, press the PROG TIMER button to deactivate the timer.
•After a power failure or disconnection of the power plug, all programmed recording setting and time display will be lost upon resumption of power. In this case, reset the clock (see pages
•If you want to correct the digits while setting, press the CANCEL button until the item you want to correct, then press the SET/TRACKING + or – button to correct the desired setting.