SET UP for Input Signals
SYNC
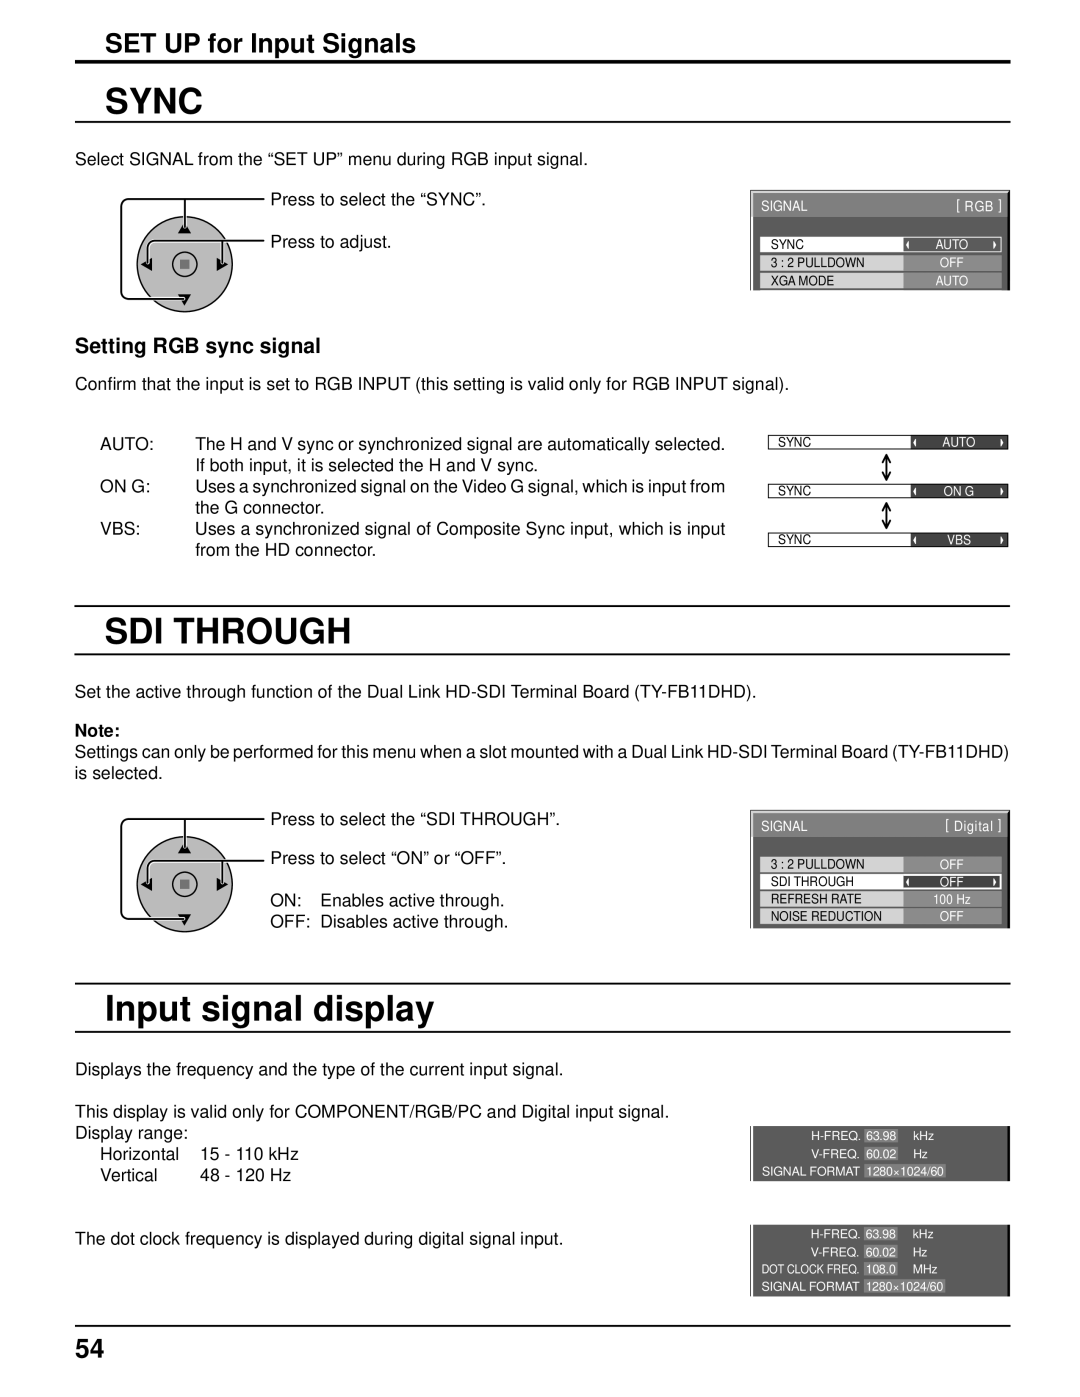
Select SIGNAL from the “SET UP” menu during RGB input signal.
Press to select the “SYNC”.
Press to adjust.
SIGNAL | [ RGB ] |
SYNC | AUTO |
3 : 2 PULLDOWN | OFF |
XGA MODE | AUTO |
Setting RGB sync signal
Confirm that the input is set to RGB INPUT (this setting is valid only for RGB INPUT signal).
AUTO: | The H and V sync or synchronized signal are automatically selected. |
| If both input, it is selected the H and V sync. |
ON G: | Uses a synchronized signal on the Video G signal, which is input from |
| the G connector. |
VBS: | Uses a synchronized signal of Composite Sync input, which is input |
| from the HD connector. |
SYNCAUTO
SYNC | ON G |
SYNCVBS
SDI THROUGH
Set the active through function of the Dual Link
Note:
Settings can only be performed for this menu when a slot mounted with a Dual Link
Press to select the “SDI THROUGH”.
Press to select “ON” or “OFF”.
ON: Enables active through.
OFF: Disables active through.
SIGNAL | [ Digital ] |
3 : 2 PULLDOWN | OFF |
SDI THROUGH | OFF |
REFRESH RATE | 100 Hz |
NOISE REDUCTION | OFF |
Input signal display
Displays the frequency and the type of the current input signal.
This display is valid only for COMPONENT/RGB/PC and Digital input signal.
Display range: |
|
|
Horizontal | 15 | - 110 kHz |
Vertical | 48 | - 120 Hz |
The dot clock frequency is displayed during digital signal input.
SIGNAL FORMAT 1280×1024/60
DOT CLOCK FREQ. 108.0 MHz
SIGNAL FORMAT 1280×1024/60
54