
TH-L32U30X, TH-L32U30T, TH-L32U30M specifications
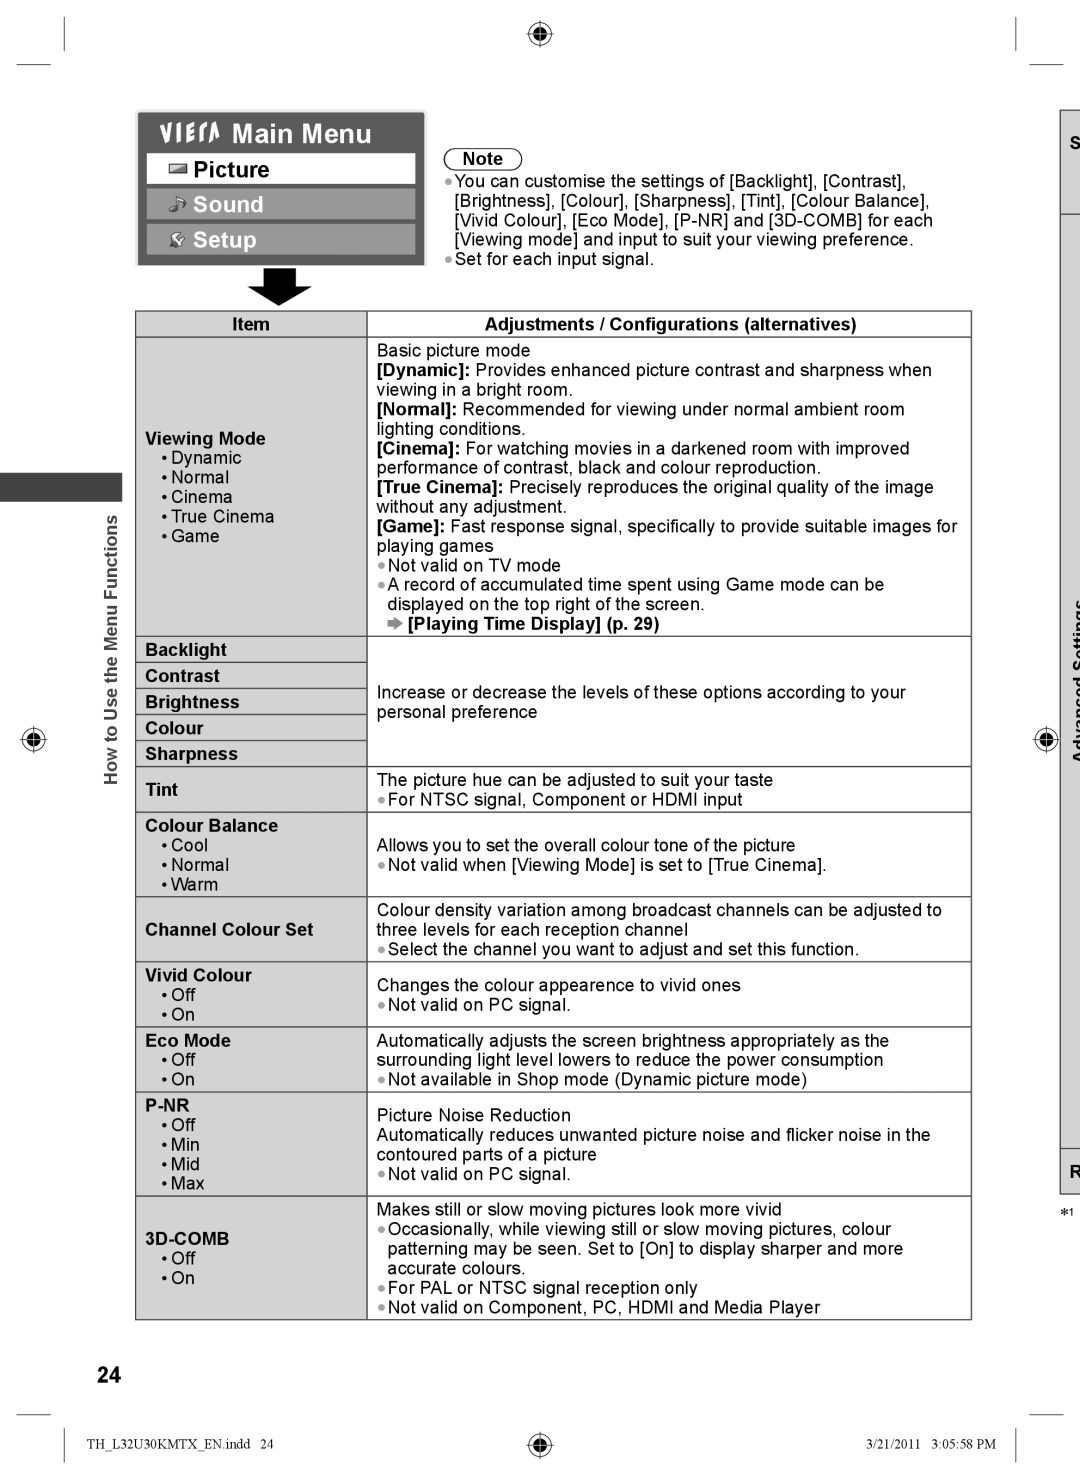
The Panasonic TH-L32U30 series, comprising models TH-L32U30T, TH-L32U30M, and TH-L32U30X, represents a fine example of Panasonic's commitment to delivering quality television experiences in compact formats. This series was particularly developed for consumers seeking efficiency, quality, and advanced technology features in a 32-inch display.One of the standout features of the TH-L32U30 models is their Full HD resolution. With a stunning 1920x1080 pixel count, these televisions offer crystal clear images that enhance movie nights, gaming sessions, or binge-watching favorite series. The incorporation of IPS panel technology ensures wide viewing angles and maintains color integrity, making them suitable for larger groups or family gatherings.
The series is also equipped with VIERA Connect, Panasonic's proprietary smart TV platform. This feature allows users to access a plethora of online content, including popular streaming services and social media applications. The intuitive interface makes navigation seamless, and with built-in Wi-Fi, connecting to home networks is a breeze. Viewers can enjoy a range of apps and internet browsing capabilities, creating an interactive viewing experience.
Another impressive aspect of the TH-L32U30 lineup is its audio technology. With VIERA’s high-quality audio processing, users can expect an enhanced sound experience that matches the vivid visuals. The integration of Dolby Virtual Surround gives the illusion of a multi-channel sound system, making every movie or show into an engaging experience.
For those concerned with energy consumption, the TH-L32U30 series is designed with energy efficiency in mind. It meets stringent energy-saving standards, helping to reduce electricity bills while being environmentally friendly.
The sleek design of these televisions complements any living space, featuring slim bezels and a modern stand that offers both stability and style. Their lightweight nature makes mounting or repositioning simple and convenient.
In summary, the Panasonic TH-L32U30 series, including the models TH-L32U30T, TH-L32U30M, and TH-L32U30X, combines advanced screen technology, robust smart features, impressive audio performance, and energy efficiency in a compact design. This makes them an ideal choice for consumers looking to elevate their home entertainment experience without sacrificing space.