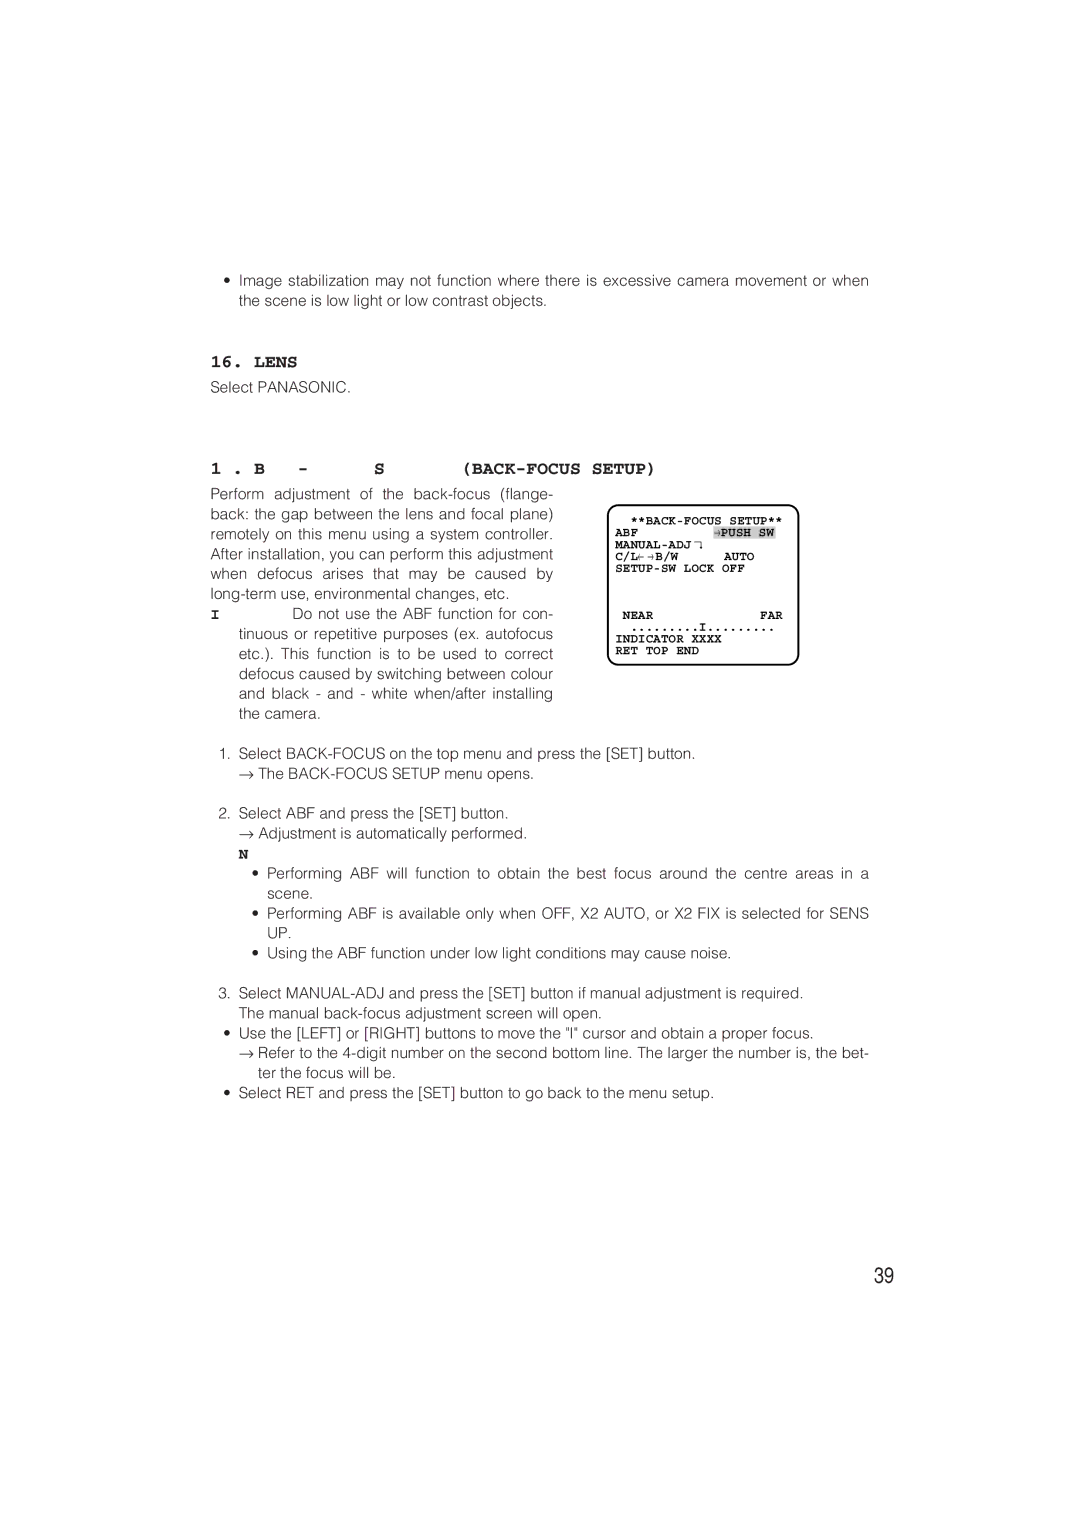
WV-CW480S specifications
The Panasonic WV-CW480S is an advanced network camera specifically designed for high-performance surveillance in various environments. This camera is particularly known for its exceptional image quality and versatility, making it an ideal choice for both indoor and outdoor applications.One of the key features of the WV-CW480S is its high-resolution imaging capability, providing 720p HD video output. This resolution allows for a clearer and more detailed view of monitored areas, enabling users to identify faces and license plates with ease. The camera employs a progressive scan CCD sensor which enhances the image quality, particularly in situations with varying light conditions.
Another standout technology in the WV-CW480S is its Wide Dynamic Range (WDR) feature. This technology helps the camera capture clear images in scenes with both bright and dark areas. It achieves this by processing multiple images taken at different exposures and combining them into a single image. This capability is crucial for effectively monitoring areas like entrances or parking lots, where lighting conditions can fluctuate dramatically.
The WV-CW480S also includes excellent low-light performance, which is aided by its integrated IR (infrared) illuminators. This allows the camera to maintain high-quality video even in complete darkness, making it effective for 24/7 surveillance. Additionally, the camera's intelligent digital noise reduction helps to enhance image clarity in low-light situations without compromising on detail.
Moreover, the camera is equipped with advanced motion detection capabilities. Users can set specific areas for motion detection, allowing for customized monitoring and reducing false alarms. This feature can be particularly useful in busy environments, ensuring that critical events are captured without unnecessary alerts.
The WV-CW480S is designed with ease of installation in mind. Its compact and robust construction allows for flexible mounting options, making it suitable for a variety of settings. Furthermore, the camera supports Power over Ethernet (PoE), simplifying wiring and reducing installation costs.
In summary, the Panasonic WV-CW480S is a powerful surveillance tool that combines high-resolution imaging, WDR technology, and excellent low-light performance. Its advanced features cater to a wide range of surveillance needs, making it a reliable choice for businesses and security professionals looking to enhance their monitoring capabilities. With its versatile design and advanced technologies, the WV-CW480S stands out in the field of security cameras.

