'IMPORTANT NOTESI
Please note:
*Thank you for purchasing the ParaBody LAT MACHINE. Please read these
instructions thoroughly and keep them for future reference. This product must be assembled on a flat, level surface to assure its proper function.
*This product must be assembled on a flat, level surface to assure its proper function. DO NOT securely tighten any frame connections until the entire frame has been assembled, unless otherwise stated.
ITools Required for Assembly I
* Rubber mallet or hammer * 3/4" wrench
* 9/16" wrench
*Ratchet with 3/4" and 9/16" sockets * 5/32" Allen wrench
* Adjustable wrench * Tape measure
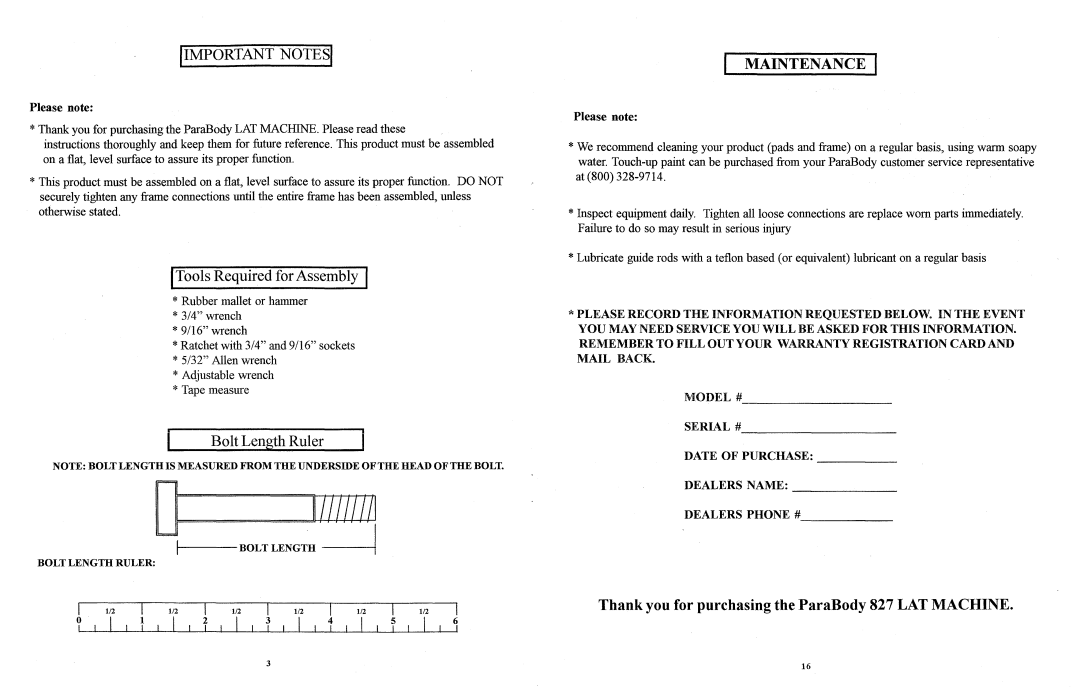
1 B_ol_t_L_en~gt,-h_R_u_l_er i
NOTE: BOLT LENGTH IS MEASURED FROM THE UNDERSIDE OF THE HEAD OF THE BOLT.
BOLT LENGTH RULER:
I | 1/2 | I | 1/2 | I | 1/2 | I | 1/2 | I | 1/2 | I | 1/2 | I |
1..t | 11 | |||||||||||
MAINTENANCE I
Please note:
*We recommend cleaning your product (pads and·frame) on a regular basis, using warm soapy
water.
*Inspect equipment daily. Tighten all loose connections are replace worn parts immediately. Failure to do so may result in serious injury
*Lubricate guide rods with a teflon based (or equivalent) lubricant on a regular basis
*PLEASE RECORD THE INFORMATION REQUESTED BELOW. IN THE EVENT YOU MAY NEED SERVICE YOU WILL BE ASKED FOR THIS INFORMATION. REMEMBER TO FILL OUT YOUR WARRANTY REGISTRATION CARD AND MAIL BACK
MODEL # | _ |
SERIAL # | _ |
DATE OF PURCHASE: | _ |
DEALERS NAME: | _ |
DEALERS PHONE # | _ |
Thank you for purchasing the ParaBody 827 LAT MACHINE.
3 | 16 |
