MILLENIA SERIES: FRONT AND CENTER SPEAKERS, OM-575 specifications
The Paradigm Millenia Series: Front and Center Speakers, specifically the OM-575 model, stands out as an exceptional component in the realm of home audio. Renowned for their blend of innovative technology, sleek design, and exceptional sonic performance, these speakers are a testament to Paradigm's commitment to providing high-quality audio solutions.One of the primary features of the OM-575 is its advanced driver technology. This model typically incorporates a high-excursion woofers that deliver rich, deep bass performance while also offering impressive clarity across midrange frequencies. The carefully engineered drivers work in harmony to produce a well-balanced sound, ensuring that each note is rendered with precision.
In addition to outstanding driver technology, the OM-575 employs cutting-edge dispersion patterns that enhance the listening experience. This technology ensures that sound is evenly distributed throughout the room, allowing for a larger sweet spot. This means that regardless of where listeners are seated, they will experience a consistent and immersive audio experience.
The design of the Paradigm Millenia OM-575 is another notable feature. With its contemporary aesthetics, it seamlessly fits into various interior styles, making it an attractive choice for modern home decor. The cabinet is constructed from high-quality materials, ensuring durability while also minimizing resonance that can interfere with sound quality.
Further enhancing its performance, the OM-575 includes advanced crossover technology. This allows for precise frequency separation, making the transitions between the speakers seamless and natural. This focus on sound clarity means that dialogue in movies, music lyrics, and intricate instrumentals come through with exceptional fidelity.
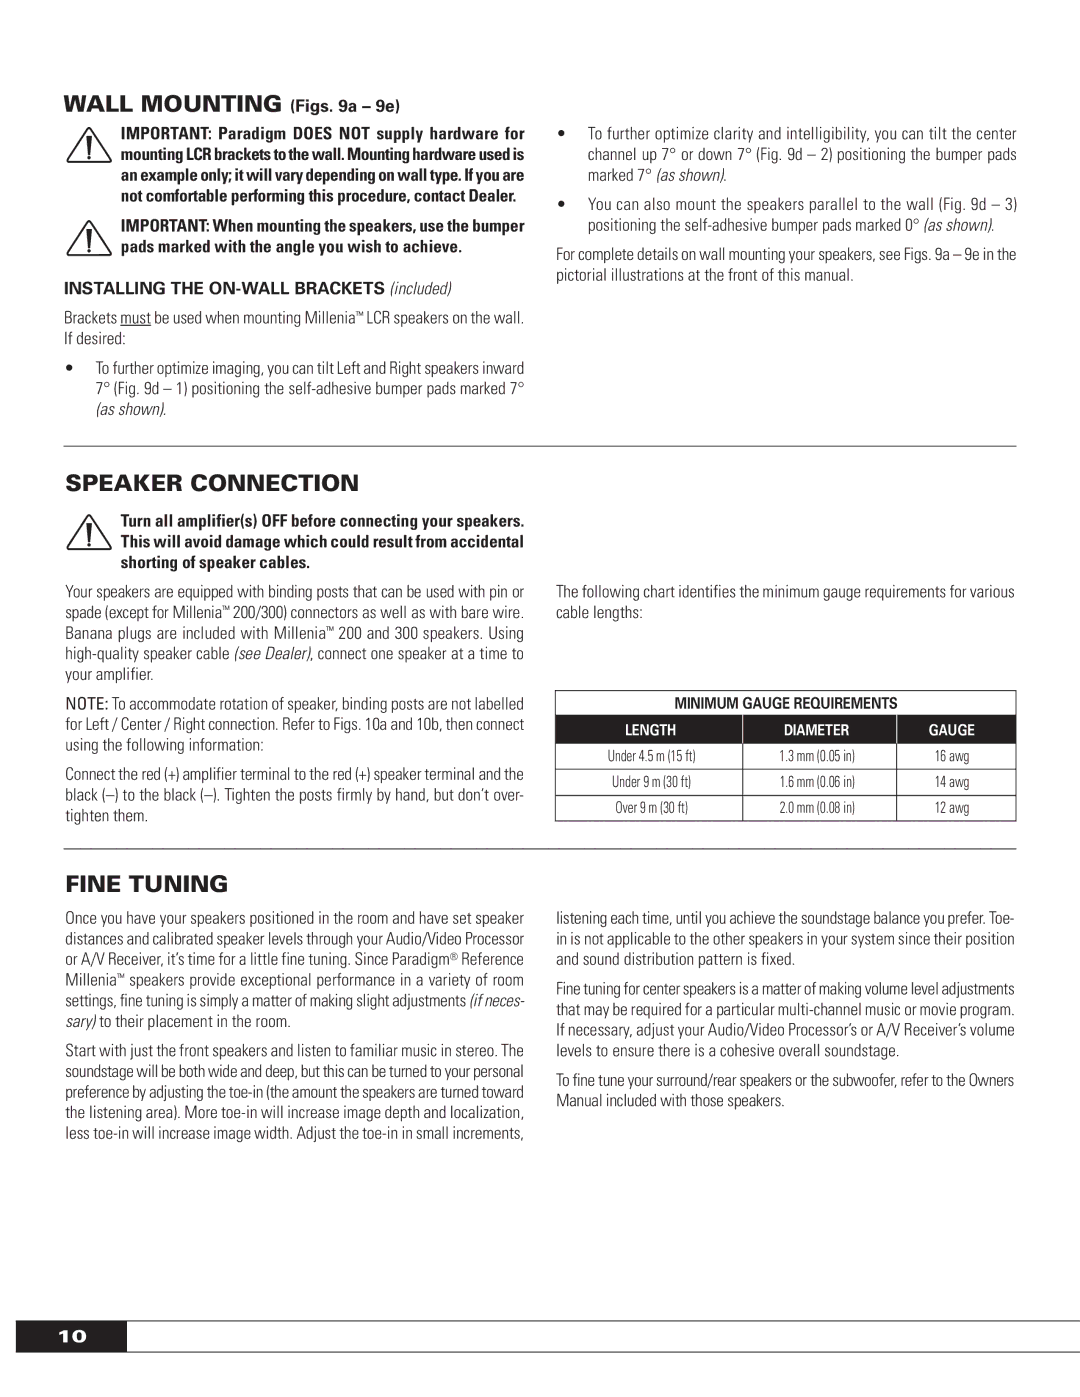
The connectivity options on the OM-575 are also user-friendly, designed to accommodate a variety of home audio systems. Whether used in a dedicated home theater or as part of a high-fidelity music setup, these speakers can easily integrate with other audio equipment.
Finally, the Paradigm Millenia Series OM-575 speakers are characterized by a commitment to performance without compromising on aesthetics. With their sleek profile and elegant finish, they are not just speakers; they are a statement piece that enhances any living space while delivering audio that captivates.
In summary, the Paradigm Millenia Series: OM-575 Front and Center Speakers epitomize high-performance audio engineering combined with stylish design and intelligent technology, making them a prime choice for audiophiles and casual listeners alike.

