Manuals
/
Parasound
/
Home Audio
/
Stereo Amplifier
Parasound
A 31
manual
OWNER’S Guide
Models:
A 31
1
1
20
20
Download
20 pages
56.29 Kb
1
2
3
4
5
6
7
8
Specs
Bare Speaker Wire Ends
Warranty
Complementary Configuration
Problems and Remedies
Gain Control Settings
Safety
AC Power Cord
Repair or Service
Page 1
Image 1
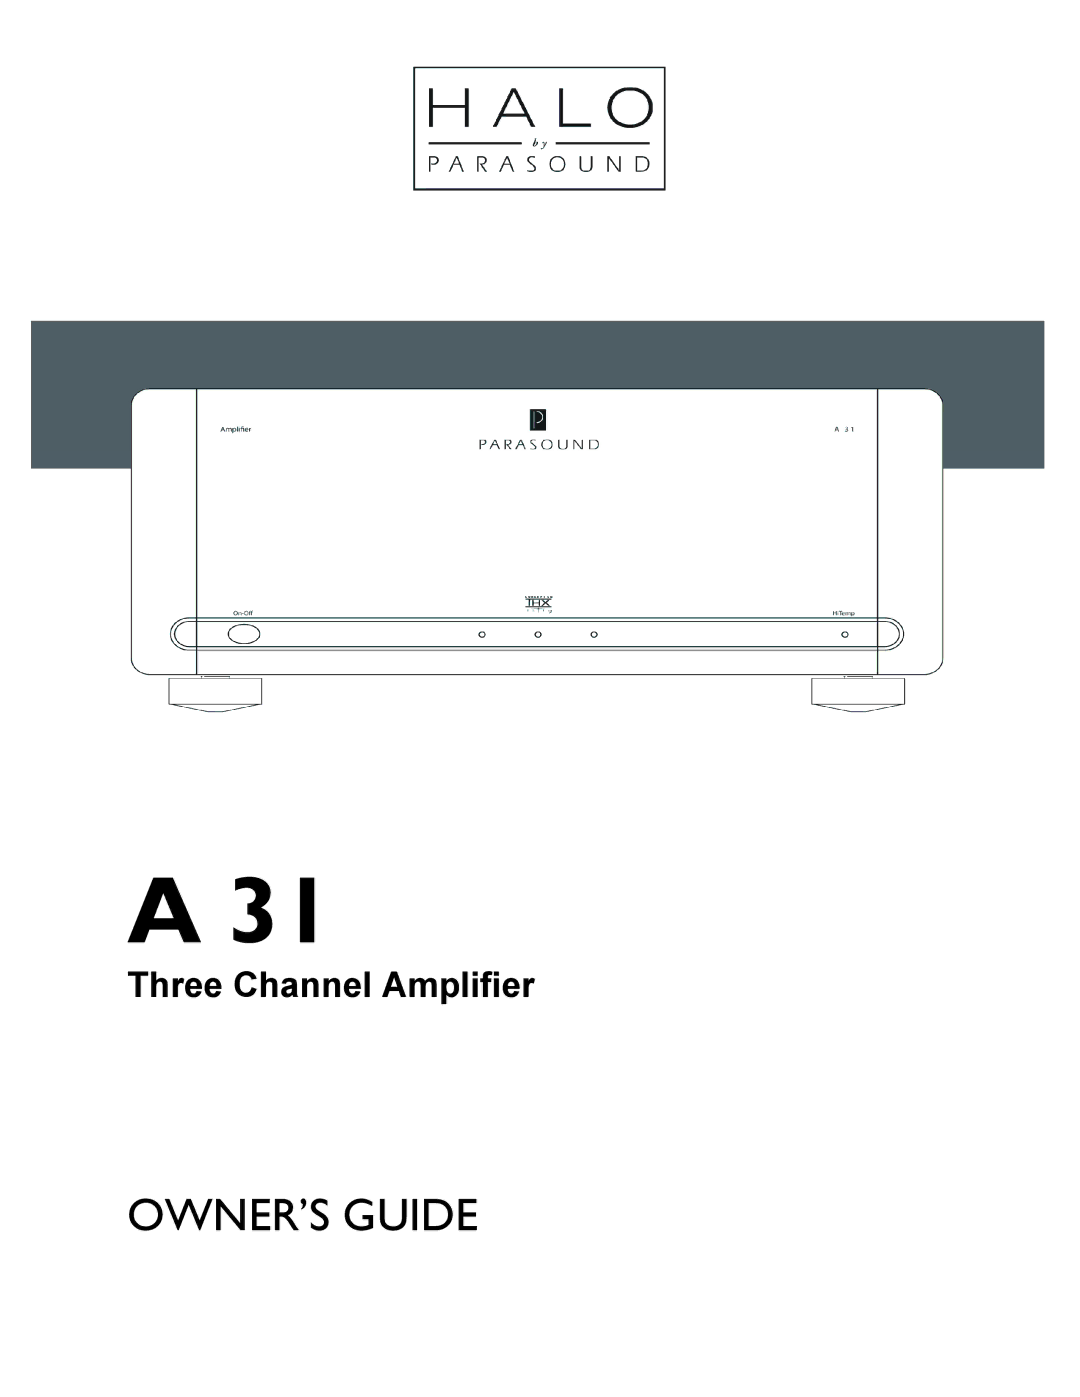
A 31
Three Channel Amplifier
OWNER’S GUIDE
Page 1
Page 2
Page 1
Image 1
Page 1
Page 2
Contents
OWNER’S Guide
Important Safety Instructions
Table of Contents
Thank You for Choosing Parasound
Important Warranty information
Parasound Staff Keeping Records for Future Reference
AC Mains Voltage
Unpacking Your a 31 & Placement Guidelines
Unpacking Your a
Rack Mounting Your Parasound a
Audio Input Connections
Audio Connections
Speaker Connections
Speaker Wire Length and Gauge thickness
Speaker Terminals
Correct Speaker Polarity is Important
When to Set the Gain Control Knobs Above or Below Normal
Gain Control Settings
Manual Position
Turn On Options
Audio Position Automatic on/off
12V Position Automatic on/off
Volt Jacks
AC Power Cord
12V In Jack
12V Loop Out Jack
On-Off Button
Front Panel Operation
Balanced and Unbalanced Lines
Technically Speaking
Ground Loops Eliminating Hum and Buzz
Power Supply
Bare Speaker Wire Ends
Parasound a 31 Design Overview
Circuit Designed by John Curl
Relay-Bypassed Soft Start Circuit
Complementary Configuration
Audio Circuit Path Topology
Input Stage
Class A-A/B Operation
Output Stage
Total Protection DC Servos
Total Protection Relays
Unit will not turn on
Problems and Remedies
No sound from speakers
Background Hum or Hiss
Are You Having Difficulty?
Repair or Service
Specifications
Parasound Products, Inc McKinnon Ave, San Francisco, CA
Top
Page
Image
Contents