Bulletin | Karrykrimp 2 |
Installation |
|
1. Remove crimper and all accessories from shipping crate.
Verify that you have received the following items:
• Base Machine | |
• Silver Die Ring | |
• Black Die Ring | |
• Hose Assembly | |
• Stand Assembly | 832021 |
• Technical Manual |
•Grease
•Training Video/CD
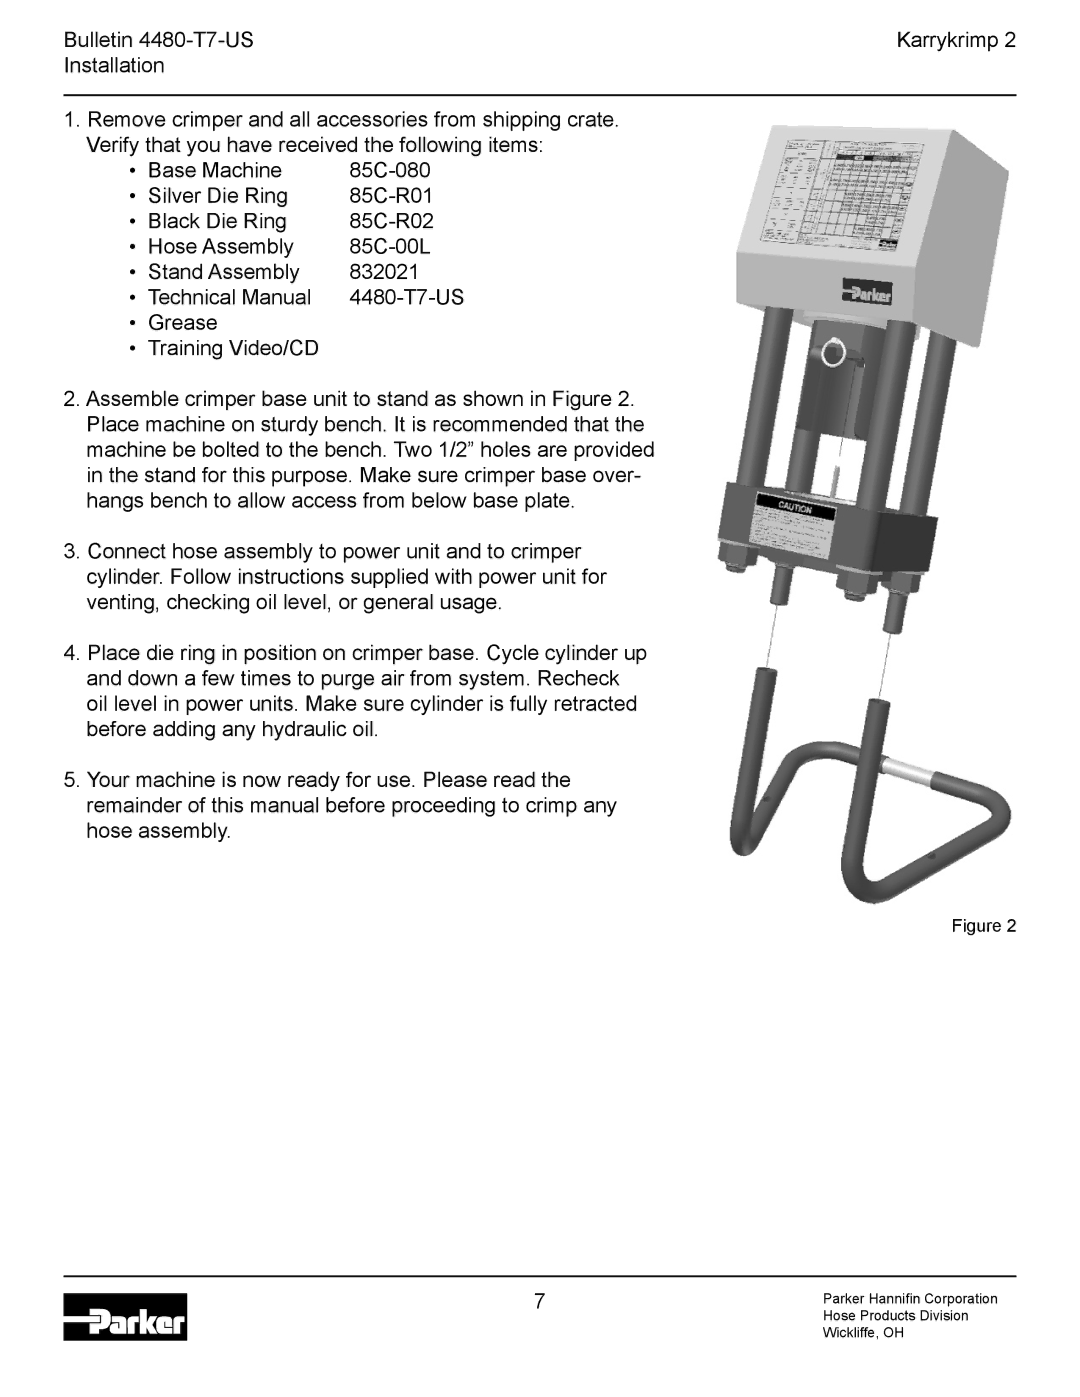
2.Assemble crimper base unit to stand as shown in Figure 2. Place machine on sturdy bench. It is recommended that the machine be bolted to the bench. Two 1/2” holes are provided in the stand for this purpose. Make sure crimper base over- hangs bench to allow access from below base plate.
3.Connect hose assembly to power unit and to crimper cylinder. Follow instructions supplied with power unit for venting, checking oil level, or general usage.
4.Place die ring in position on crimper base. Cycle cylinder up and down a few times to purge air from system. Recheck oil level in power units. Make sure cylinder is fully retracted before adding any hydraulic oil.
5.Your machine is now ready for use. Please read the remainder of this manual before proceeding to crimp any hose assembly.
Figure 2
7 | Parker Hannifin Corporation |
| Hose Products Division |
Wickliffe, OH