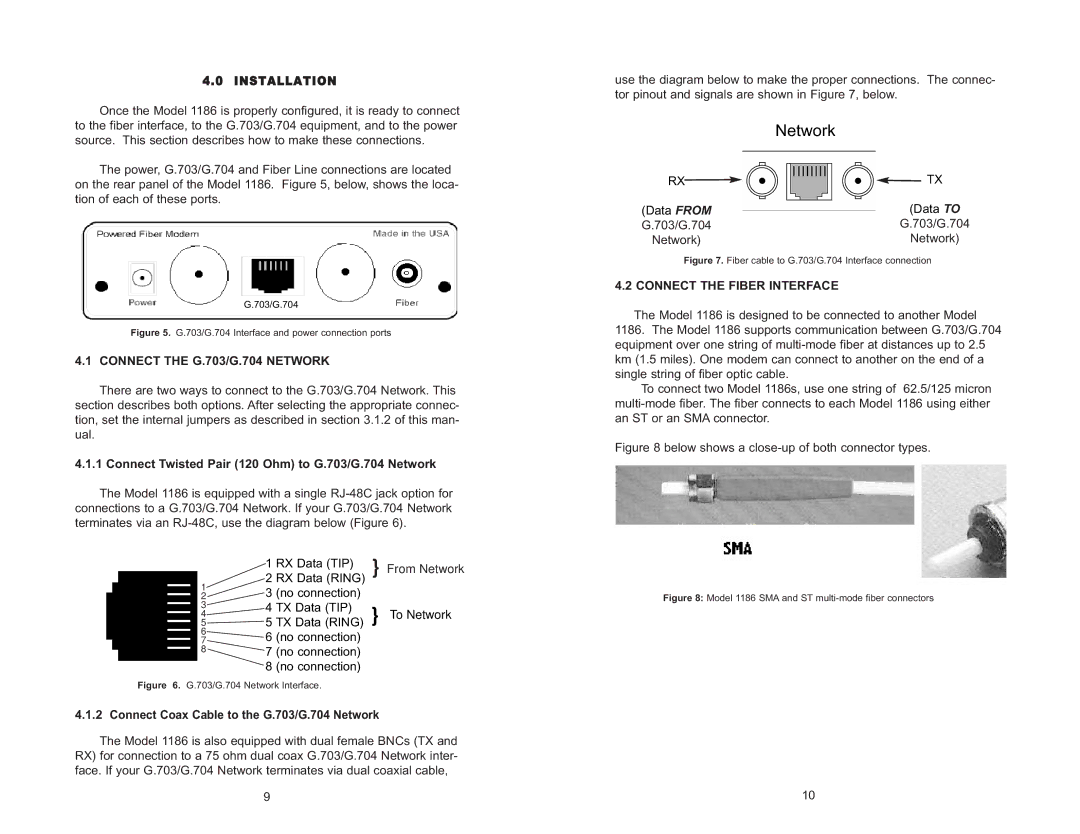
1186 specifications
The Patton Electronics 1186 is a cutting-edge device tailored for efficient transmission and reliable connectivity in various communication systems. Known for its robust performance, the 1186 primarily serves as a T1/E1 multiplexer that seamlessly integrates multiple telecommunication lines into a single, coherent channel. This advanced multiplexer is engineered for both reliability and flexibility, making it an essential tool for businesses looking to enhance their communication infrastructure.One of the standout features of the Patton 1186 is its ability to support multiple digital communication protocols, including T1 and E1 lines. It can efficiently aggregate voice and data traffic, providing a versatile solution for businesses that require high-quality voice services along with data transmission. This capability is vital for companies that rely on voice over IP (VoIP) communications while maintaining a robust data network.
In terms of technology, the 1186 employs advanced digital signal processing to ensure the highest level of signal integrity. This results in minimal latency and optimal bandwidth utilization, crucial for maintaining quality in voice and data transmission. Additionally, the device supports various channelization options, allowing users to configure it according to their specific requirements, whether for voice, video, or data services.
Another characteristic that sets the Patton 1186 apart is its user-friendly interface. The device is equipped with an intuitive management system that simplifies configuration and troubleshooting. This ease of use is complemented by comprehensive diagnostic tools that help network administrators monitor performance and quickly address any issues that may arise.
Reliability is a hallmark of the Patton 1186, featuring robust physical construction that withstands harsh operating environments. Its longevity is further bolstered by built-in redundancy features, ensuring continuous operation even in the event of hardware failures. The device is designed for quick deployment, minimizing downtime during installation.
In summary, the Patton Electronics 1186 is an exemplary T1/E1 multiplexer that offers a unique combination of versatility, reliability, and user-friendliness. With its support for various communication protocols, advanced digital processing technology, and robust build, it stands as an ideal choice for businesses seeking to modernize their communication systems. Its ability to aggregate voice and data streams makes it an integral component of any modern telecommunication setup, paving the way for enhanced connectivity and operational efficiency.