5.0 OPERATION
Once the Model 2703-X21 is properly configured and installed, it should operate transparently. This sections describes power-up, reading the LED status monitors, and using the built-in loopback test modes.
5.1 POWER-UP
To apply power to the Model 2703-X21, first be sure that you have read Section 3.3, and that the unit has the proper voltage setting and fuse. Failure to do so could result in damage to the unit and connected equipment, and may constitute a fire hazard. Having checked the voltage setting, plug the AC power cord into both the Model 2703-X21 and the AC outlet. Then Power-up the unit using the rear Power switch. Note: the “PWR” LED should glow when power is applied to the unit.
5.2 LED STATUS INDICATORS
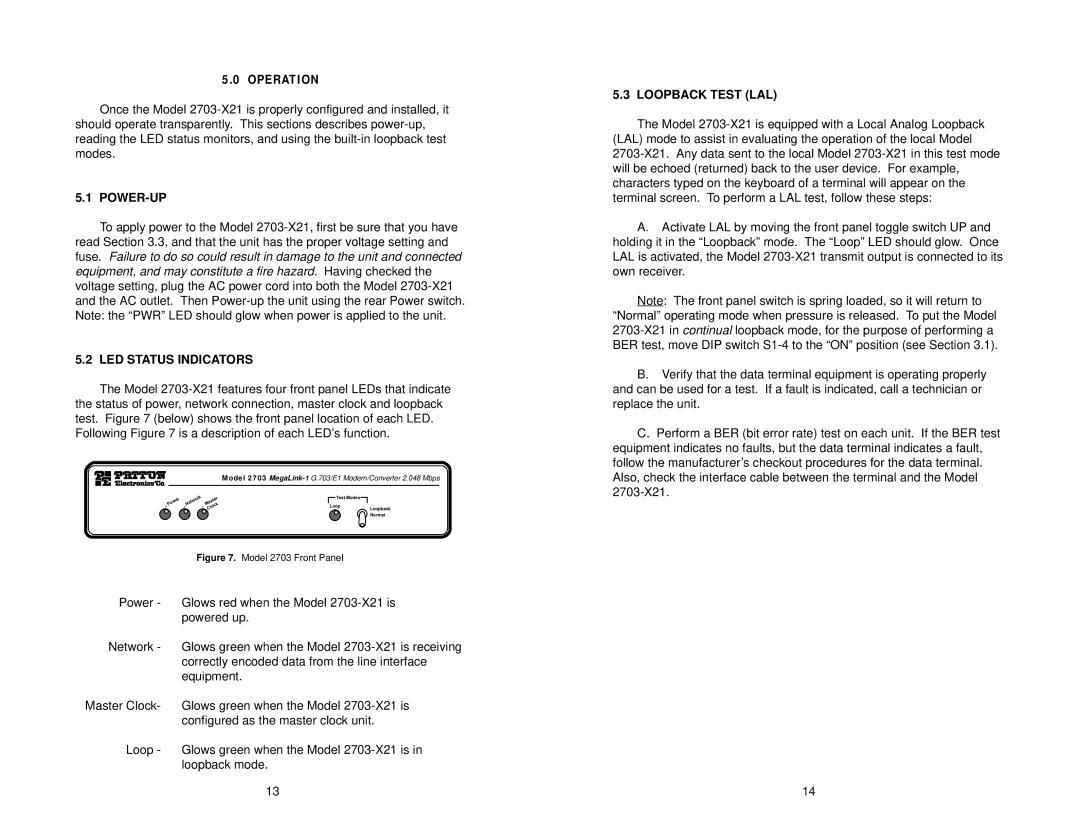
The Model 2703-X21 features four front panel LEDs that indicate the status of power, network connection, master clock and loopback test. Figure 7 (below) shows the front panel location of each LED. Following Figure 7 is a description of each LED’s function.
Model 2703 MegaLink-1G.703/E1 Modem/Converter 2.048 Mbps
Power | Network | Master | | Test Modes | | |
| | | |
Loop | | Loopback |
| | Clock | |
Normal
Figure 7. Model 2703 Front Panel
Power - Glows red when the Model 2703-X21 is powered up.
Network - Glows green when the Model 2703-X21 is receiving correctly encoded data from the line interface equipment.
Master Clock- Glows green when the Model 2703-X21 is configured as the master clock unit.
Loop - Glows green when the Model 2703-X21 is in loopback mode.
13
5.3 LOOPBACK TEST (LAL)
The Model 2703-X21 is equipped with a Local Analog Loopback (LAL) mode to assist in evaluating the operation of the local Model
2703-X21. Any data sent to the local Model 2703-X21 in this test mode will be echoed (returned) back to the user device. For example, characters typed on the keyboard of a terminal will appear on the terminal screen. To perform a LAL test, follow these steps:
A.Activate LAL by moving the front panel toggle switch UP and holding it in the “Loopback” mode. The “Loop” LED should glow. Once LAL is activated, the Model 2703-X21 transmit output is connected to its own receiver.
Note: The front panel switch is spring loaded, so it will return to “Normal” operating mode when pressure is released. To put the Model 2703-X21 in continual loopback mode, for the purpose of performing a BER test, move DIP switch S1-4 to the “ON” position (see Section 3.1).
B.Verify that the data terminal equipment is operating properly and can be used for a test. If a fault is indicated, call a technician or replace the unit.
C.Perform a BER (bit error rate) test on each unit. If the BER test equipment indicates no faults, but the data terminal indicates a fault, follow the manufacturer’s checkout procedures for the data terminal. Also, check the interface cable between the terminal and the Model 2703-X21.
14