3 . Insert the battery with contact end first .
4 . Close the battery door .
5 . Lock the battery door by sliding up the tabs .
To remove the battery, partially open the battery door and tip out the battery . If the battery door is completely open, the hinge prevents the battery from falling out .
C h a r g i n g t h e B a t t e r y
The printer’s battery must be charged before using it . The battery can be charged
♦using the single or four - station charger .
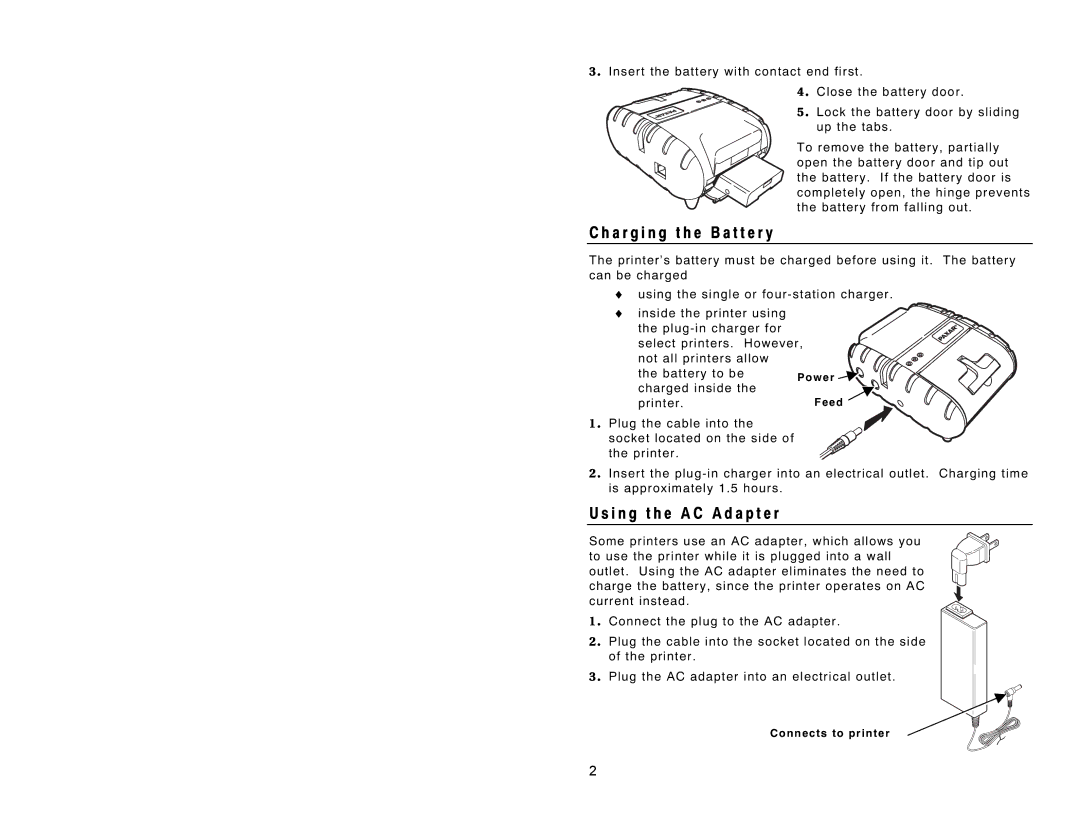
♦inside the printer using
the plug - in charger for select printers . However, not all printers allow
the battery to bePower ![]()
![]() charged inside the
charged inside the![]()
printer .Feed
1 . Plug the cable into the socket located on the side of the printer .
2 . Insert the plug - in charger into an electrical outlet . Charging time is approximately 1 . 5 hours .
U s i n g t h e A C A d a p t e r
Some printers use an AC adapter, which allows you to use the printer while it is plugged into a wall outlet . Using the AC adapter eliminates the need to charge the battery, since the printer operates on AC current instead .
1 . Connect the plug to the AC adapter .
2 . Plug the cable into the socket located on the side of the printer .
3 . Plug the AC adapter into an electrical outlet .
Connects to printer
2