C h a n g i n g F u s e s
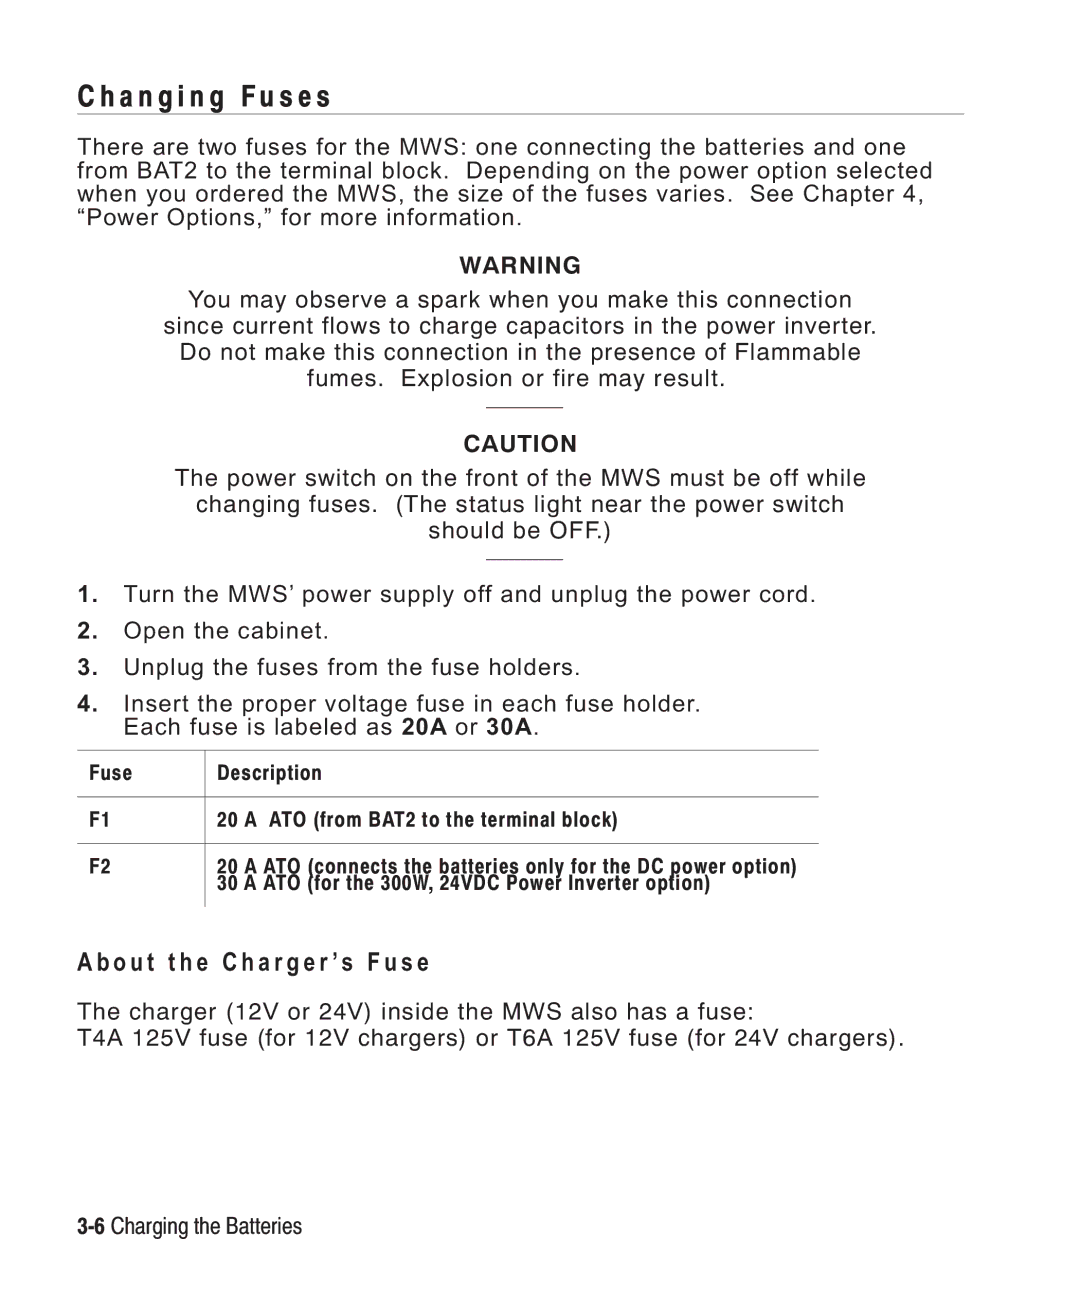
There are two fuses for the MWS: one connecting the batteries and one from BAT2 to the terminal block. Depending on the power option selected when you ordered the MWS, the size of the fuses varies. See Chapter 4, “Power Options,” for more information.
WARNING
You may observe a spark when you make this connection
since current flows to charge capacitors in the power inverter.
Do not make this connection in the presence of Flammable
fumes. Explosion or fire may result.
CAUTION
The power switch on the front of the MWS must be off while
changing fuses. (The status light near the power switch
should be OFF.)
1.Turn the MWS’ power supply off and unplug the power cord.
2.Open the cabinet.
3.Unplug the fuses from the fuse holders.
4.Insert the proper voltage fuse in each fuse holder. Each fuse is labeled as 20A or 30A.
Fuse | Description | |
|
|
|
F1 | 20 | A ATO (from BAT2 to the terminal block) |
|
|
|
F2 | 20 | A ATO (connects the batteries only for the DC power option) |
| 30 A ATO (for the 300W, 24VDC Power Inverter option) | |
|
|
|
A b o u t t h e C h a r g e r ’ s F u s e
The charger (12V or 24V) inside the MWS also has a fuse:
T4A 125V fuse (for 12V chargers) or T6A 125V fuse (for 24V chargers).
