Pelco C1666M-A (4/06) manual Setting The Dip Switches

Models: C1666M-A (4/06)

1 20
Download 20 pages 13.37 Kb
Page 9
Image 9
SETTING THE DIP SWITCHES

SETTING THE DIP SWITCHES

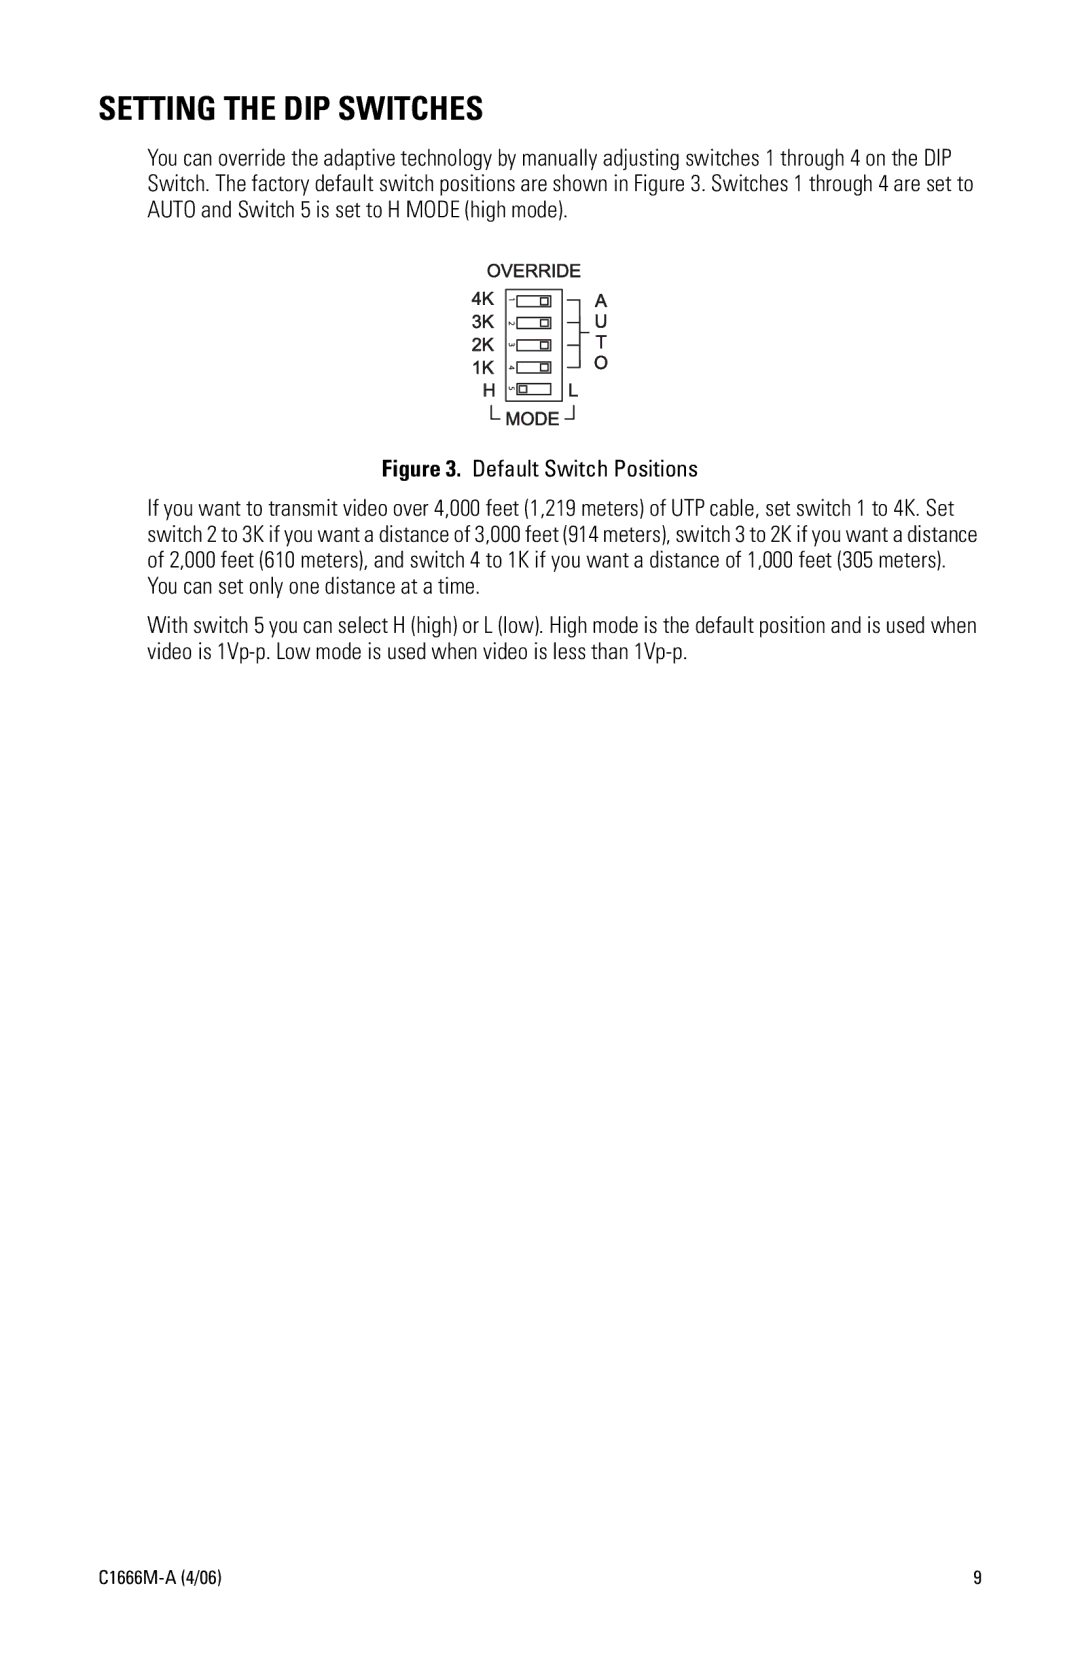
You can override the adaptive technology by manually adjusting switches 1 through 4 on the DIP Switch. The factory default switch positions are shown in Figure 3. Switches 1 through 4 are set to AUTO and Switch 5 is set to H MODE (high mode).

Figure 3. Default Switch Positions

If you want to transmit video over 4,000 feet (1,219 meters) of UTP cable, set switch 1 to 4K. Set switch 2 to 3K if you want a distance of 3,000 feet (914 meters), switch 3 to 2K if you want a distance of 2,000 feet (610 meters), and switch 4 to 1K if you want a distance of 1,000 feet (305 meters). You can set only one distance at a time.

With switch 5 you can select H (high) or L (low). High mode is the default position and is used when video is 1Vp-p. Low mode is used when video is less than 1Vp-p.

C1666M-A (4/06)

9

Page 9
Image 9
Pelco C1666M-A (4/06) manual Setting The Dip Switches

FAQ

What are the factory default switch positions for the Pelco C1666M-A (4/06)?

The factory default switch positions for the Pelco C1666M-A (4/06) are shown in Figure 3, with switches 1 through 4 set to AUTO and switch 5 set to H MODE high mode.

How can I transmit video over a specific distance with the Pelco C1666M-A (4/06) using UTP cable?

You can set switch 1 to 4K for 4,000 feet, switch 2 to 3K for 3,000 feet, switch 3 to 2K for 2,000 feet, and switch 4 to 1K for 1,000 feet. Remember, you can only set one distance at a time.

What is the purpose of switch 5 on the Pelco C1666M-A (4/06)?

Switch 5 allows you to select between H high mode and L low mode for video transmission. High mode is the default position, used for video at 1Vp-p, while low mode is used for video less than 1Vp-p.