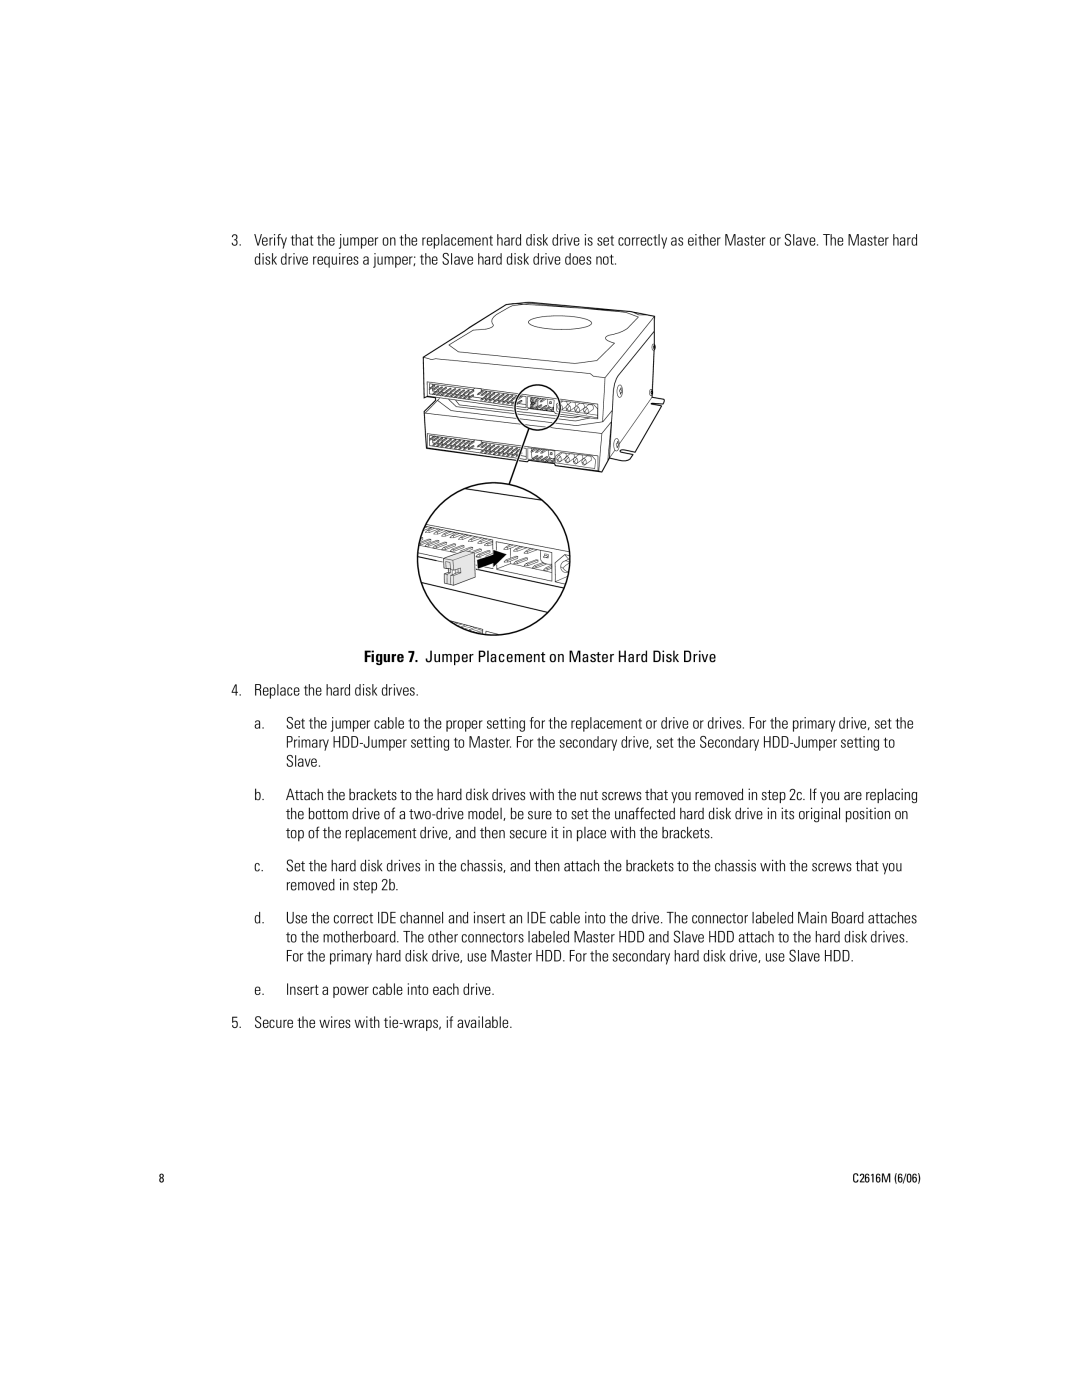
3.Verify that the jumper on the replacement hard disk drive is set correctly as either Master or Slave. The Master hard disk drive requires a jumper; the Slave hard disk drive does not.
Figure 7. Jumper Placement on Master Hard Disk Drive
4.Replace the hard disk drives.
a.Set the jumper cable to the proper setting for the replacement or drive or drives. For the primary drive, set the Primary HDD-Jumper setting to Master. For the secondary drive, set the Secondary HDD-Jumper setting to Slave.
b.Attach the brackets to the hard disk drives with the nut screws that you removed in step 2c. If you are replacing the bottom drive of a
c.Set the hard disk drives in the chassis, and then attach the brackets to the chassis with the screws that you removed in step 2b.
d.Use the correct IDE channel and insert an IDE cable into the drive. The connector labeled Main Board attaches to the motherboard. The other connectors labeled Master HDD and Slave HDD attach to the hard disk drives. For the primary hard disk drive, use Master HDD. For the secondary hard disk drive, use Slave HDD.
e.Insert a power cable into each drive.
5.Secure the wires with
8 | C2616M (6/06) |